Screwing Composite Decking Does More Harm than Good, and Here’s Why
Screwing composite decking probably seems like a good idea at the time. It’s not wood, but it’s close enough, so surely screwing is the best way to secure it. Right? Far from it. No matter how compelled you are to use an alternative to clips, this fixing method poses far more problems than it’s worth. From damaging the boards to voiding your 25 year warranty entirely, screwing composite decking has repercussions that must be explored to be understood.
So, regardless of whether you’re a seasoned explorer or an upcoming handyman, we humbly ask you to put what you know to one side and hear us out. In this instance, nobody knows our products better than us, and we want to ensure you get the very most out of them. Let us explain why screwing composite decking is the worst choice you can make when installing NeoTimber®’s products.
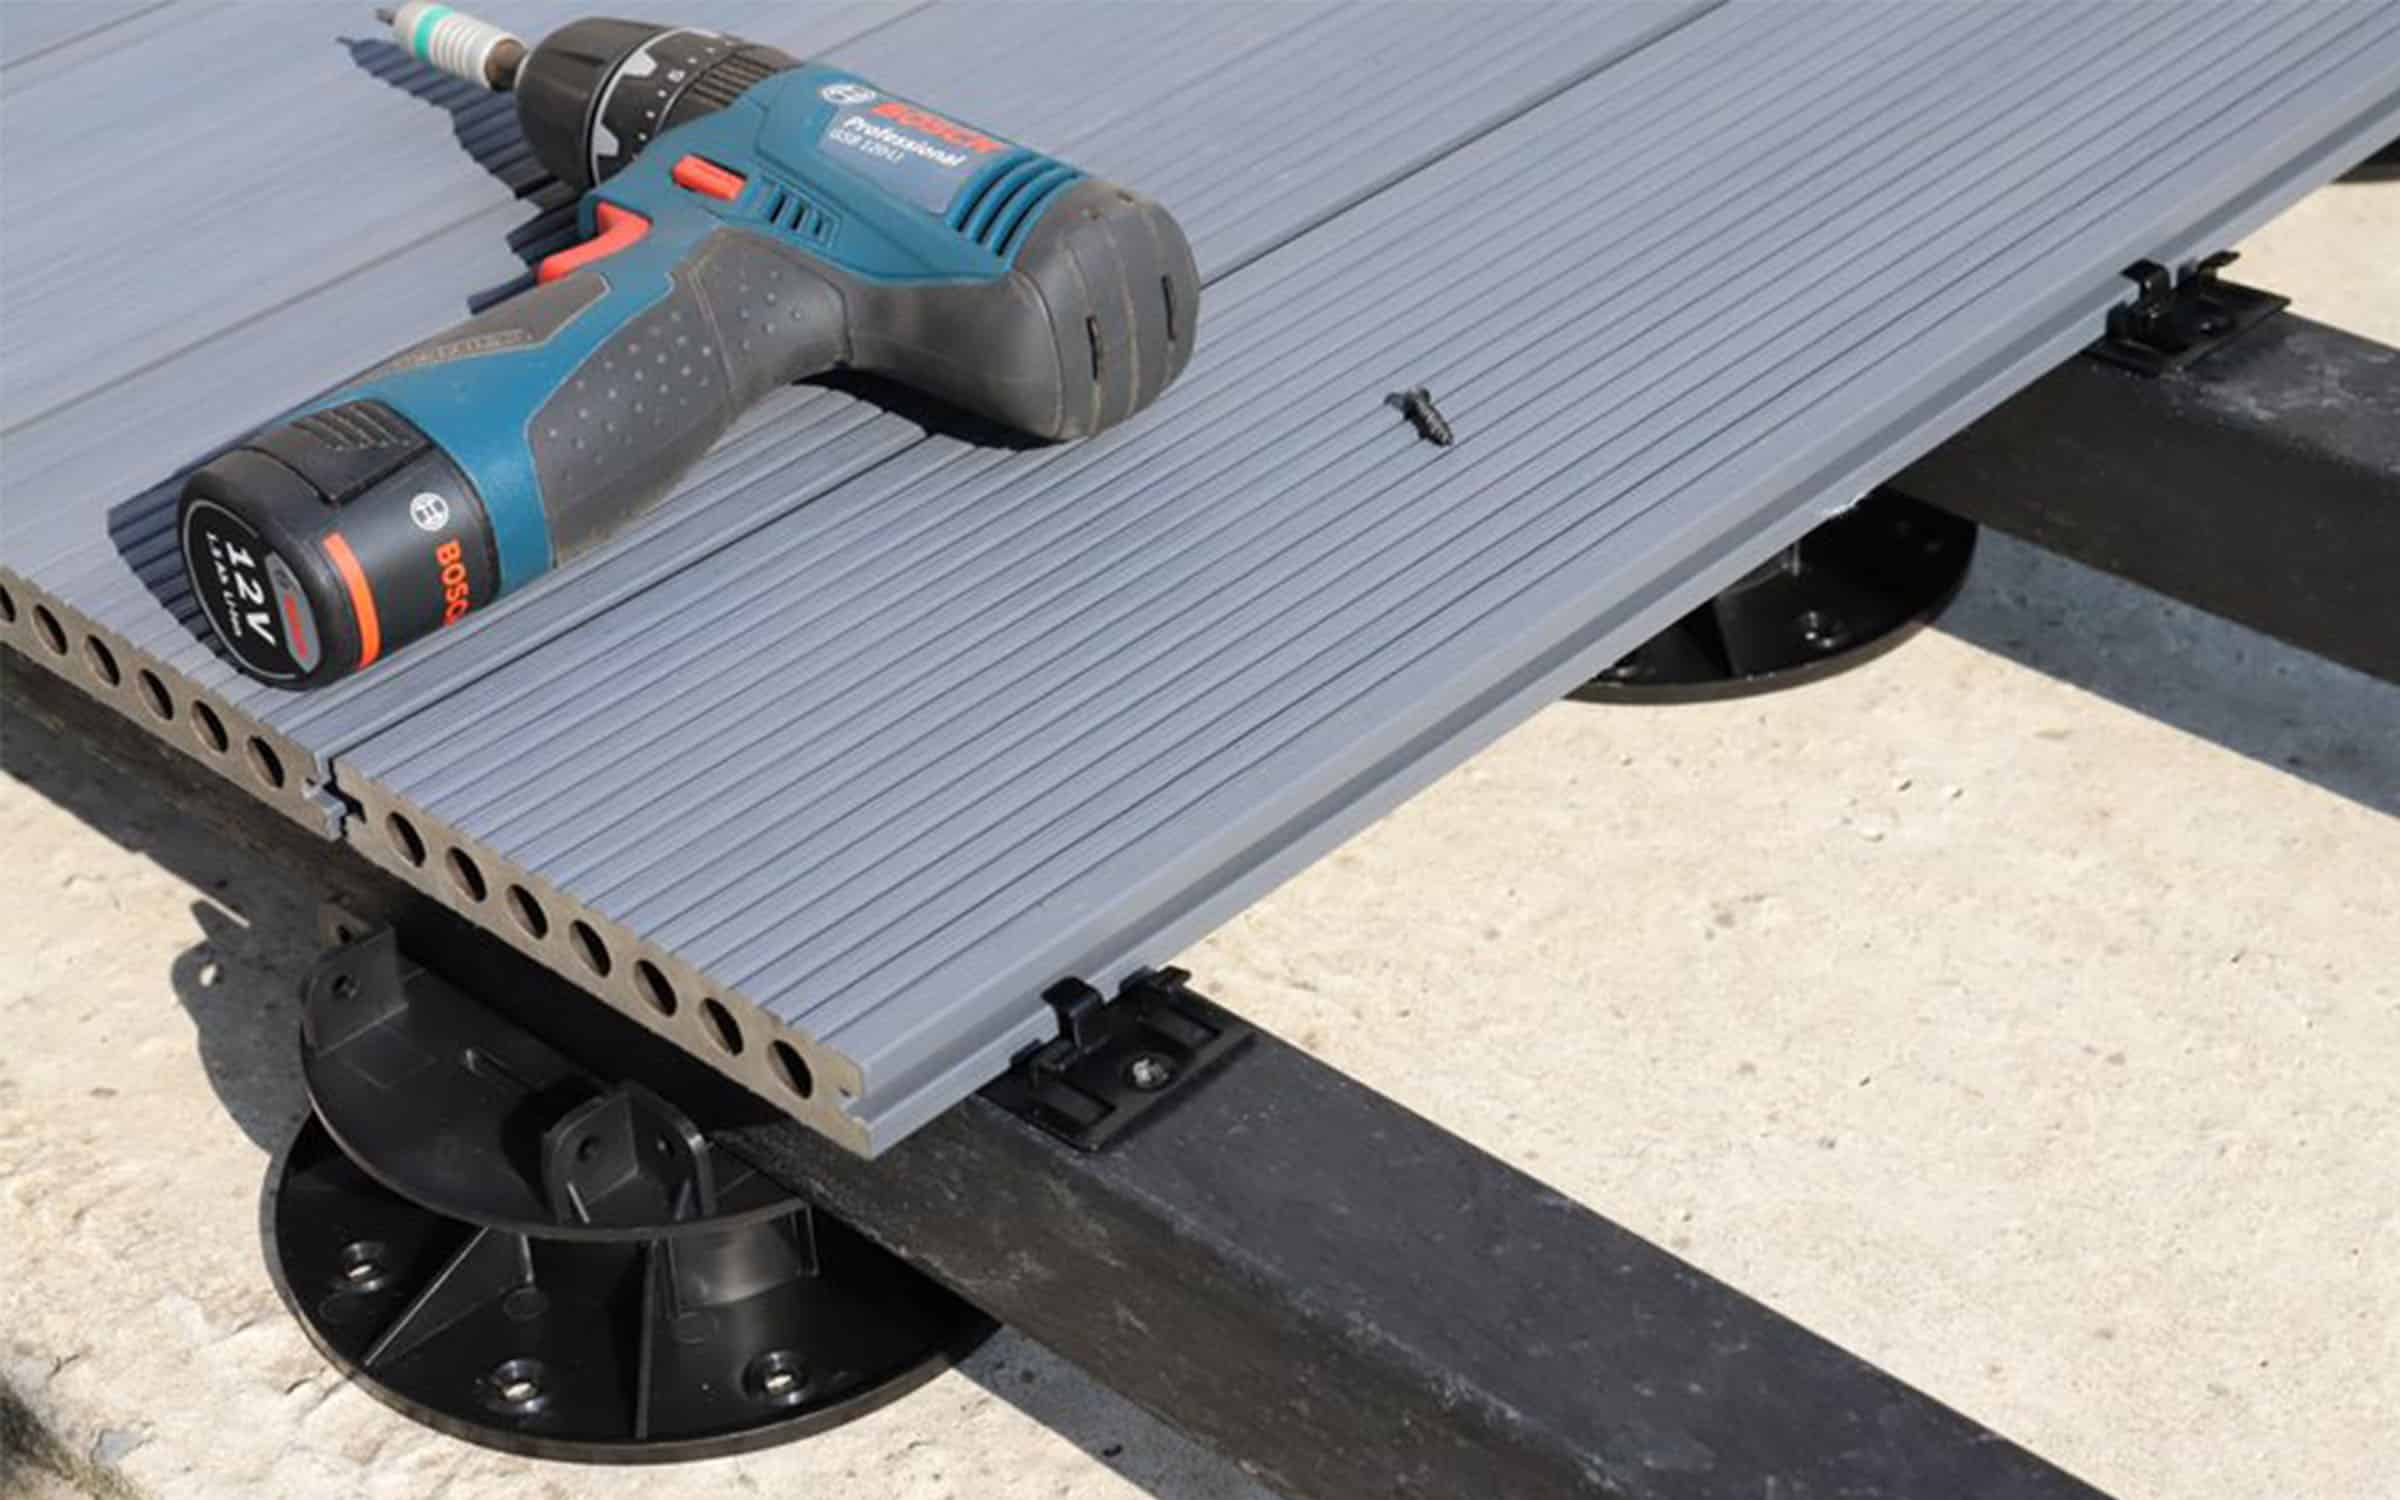
After all, if a job’s worth doing, it’s worth doing right, right?! So, can you screw composite decking down? Strictly speaking, yes you can, but you shouldn’t. As well as voiding your composite decking warranty, screwing boards in place will cause you all kinds of problems in the long run. The last thing you need is to constantly return to a finished project to repair and rectify any initial mistakes, so it’s best to get it right first time.
Why Shouldn’t You Screw Down Composite Decking?
Despite the many similarities between timber and composite decking, one major difference is the way in which you can fix it in place. Timber expands and contracts (breathes) very little in comparison to composite boards, so it can be easily attached using screws. Once fixed, screw holes will expand and contract by a negligible amount.
Composite decking, however, is a unique combination of wood fibres and recycled plastic – elements blended together to protect the boards against excessive moisture. The plastic component ‘breathes’ to a much greater degree than traditional timber, meaning each board must be fixed in a way that accommodates any change. You see, composite materials behave differently to wood in changing temperatures. By fixing the composite deck boards with screws, you’ll be inhibiting a natural level of expansion and contraction. Over time, this constant pressure around the screw holes will cause the composite decking to crack and potentially warp. Detrimental, and not covered by your warranty, this damage can be devastating.
Purpose-Built FastClips Allow For Expansion, Contraction & Drainage
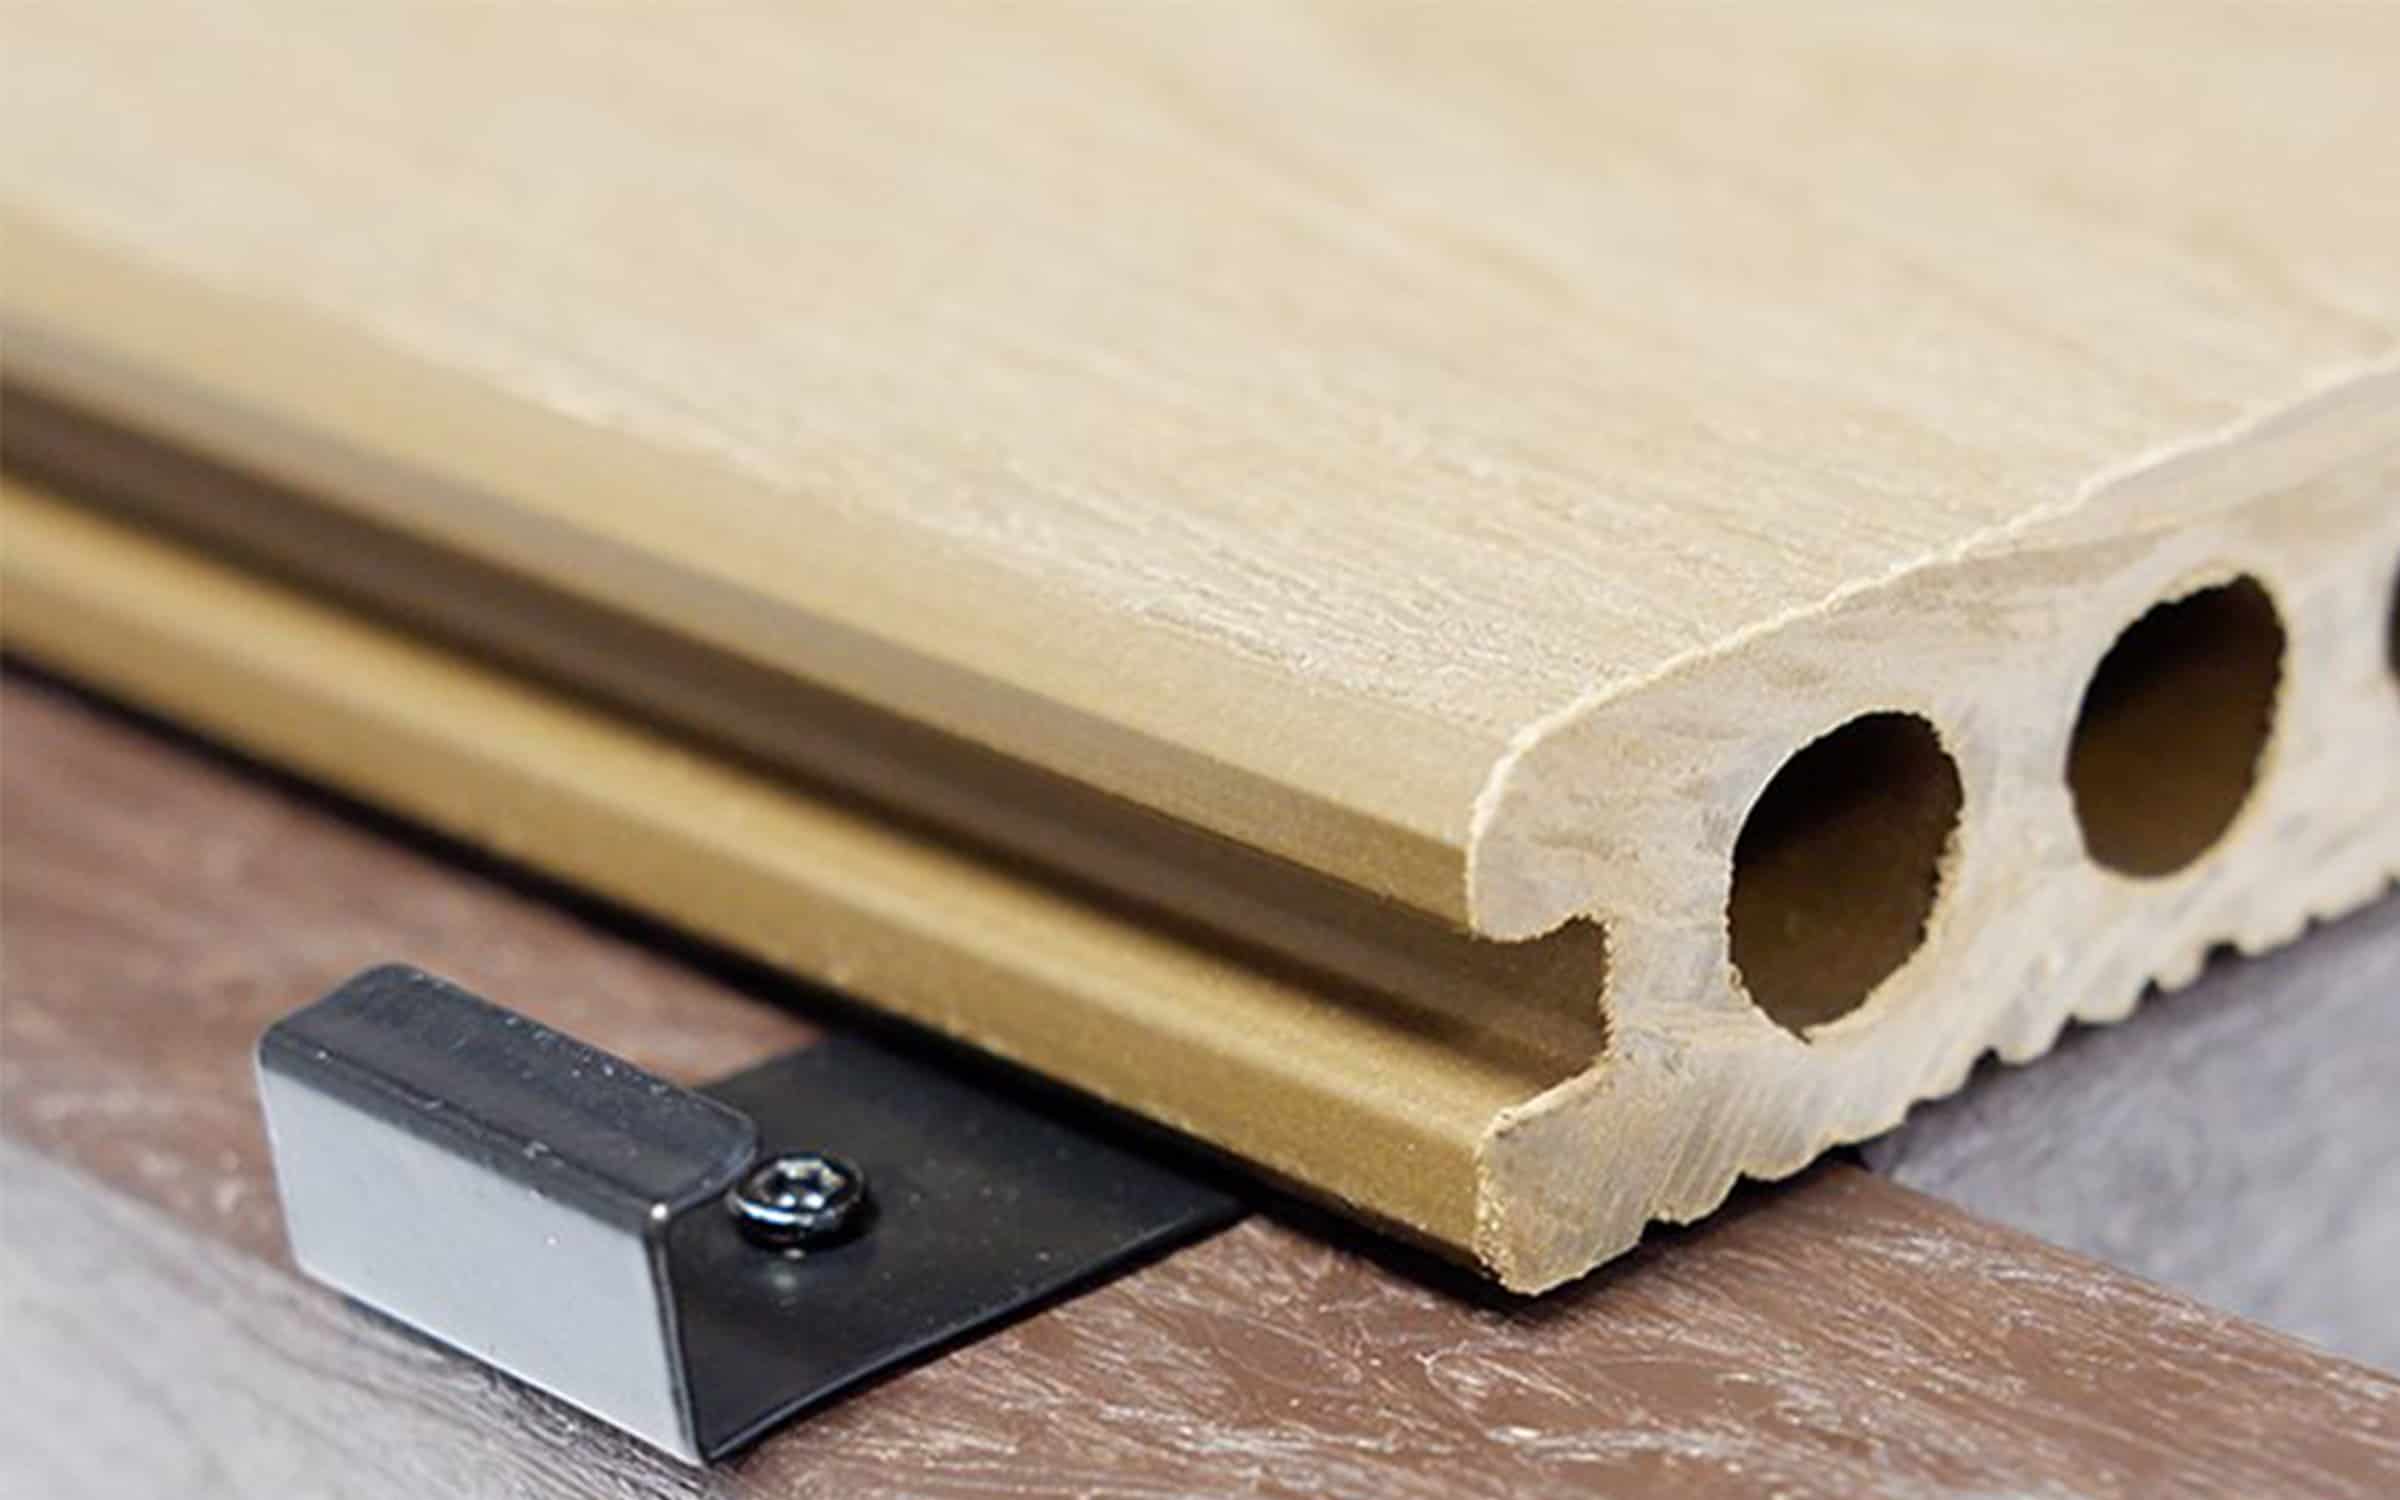
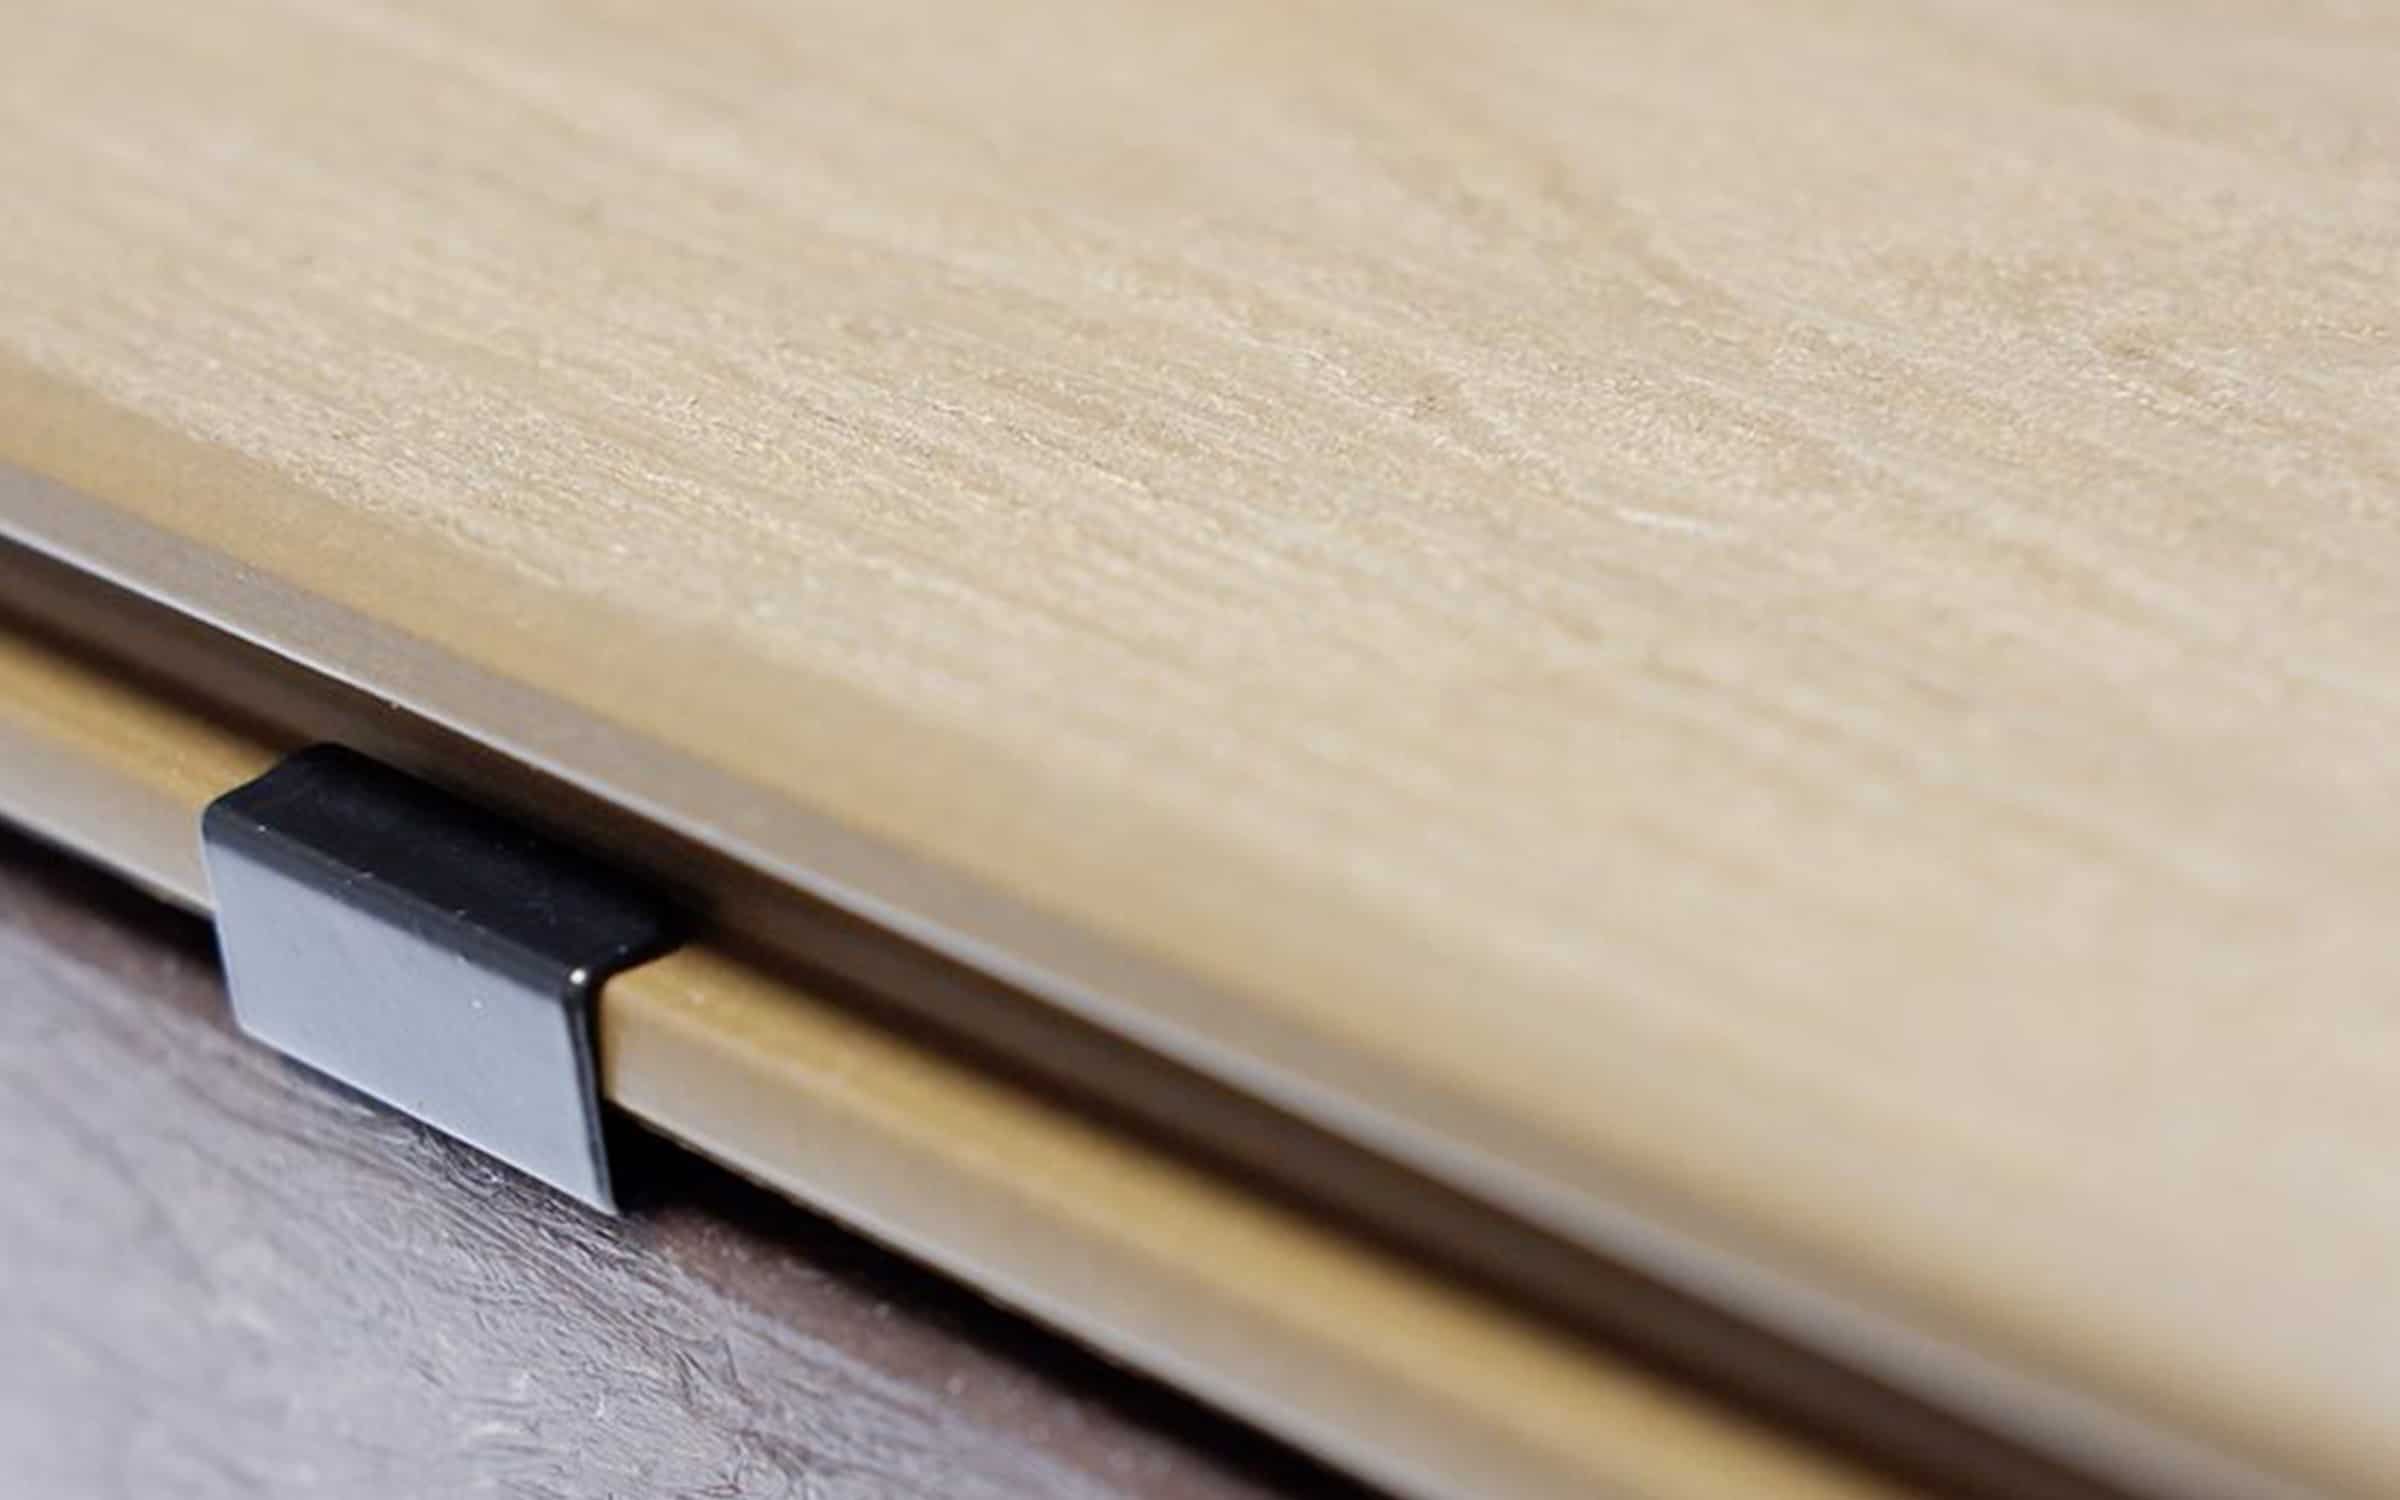
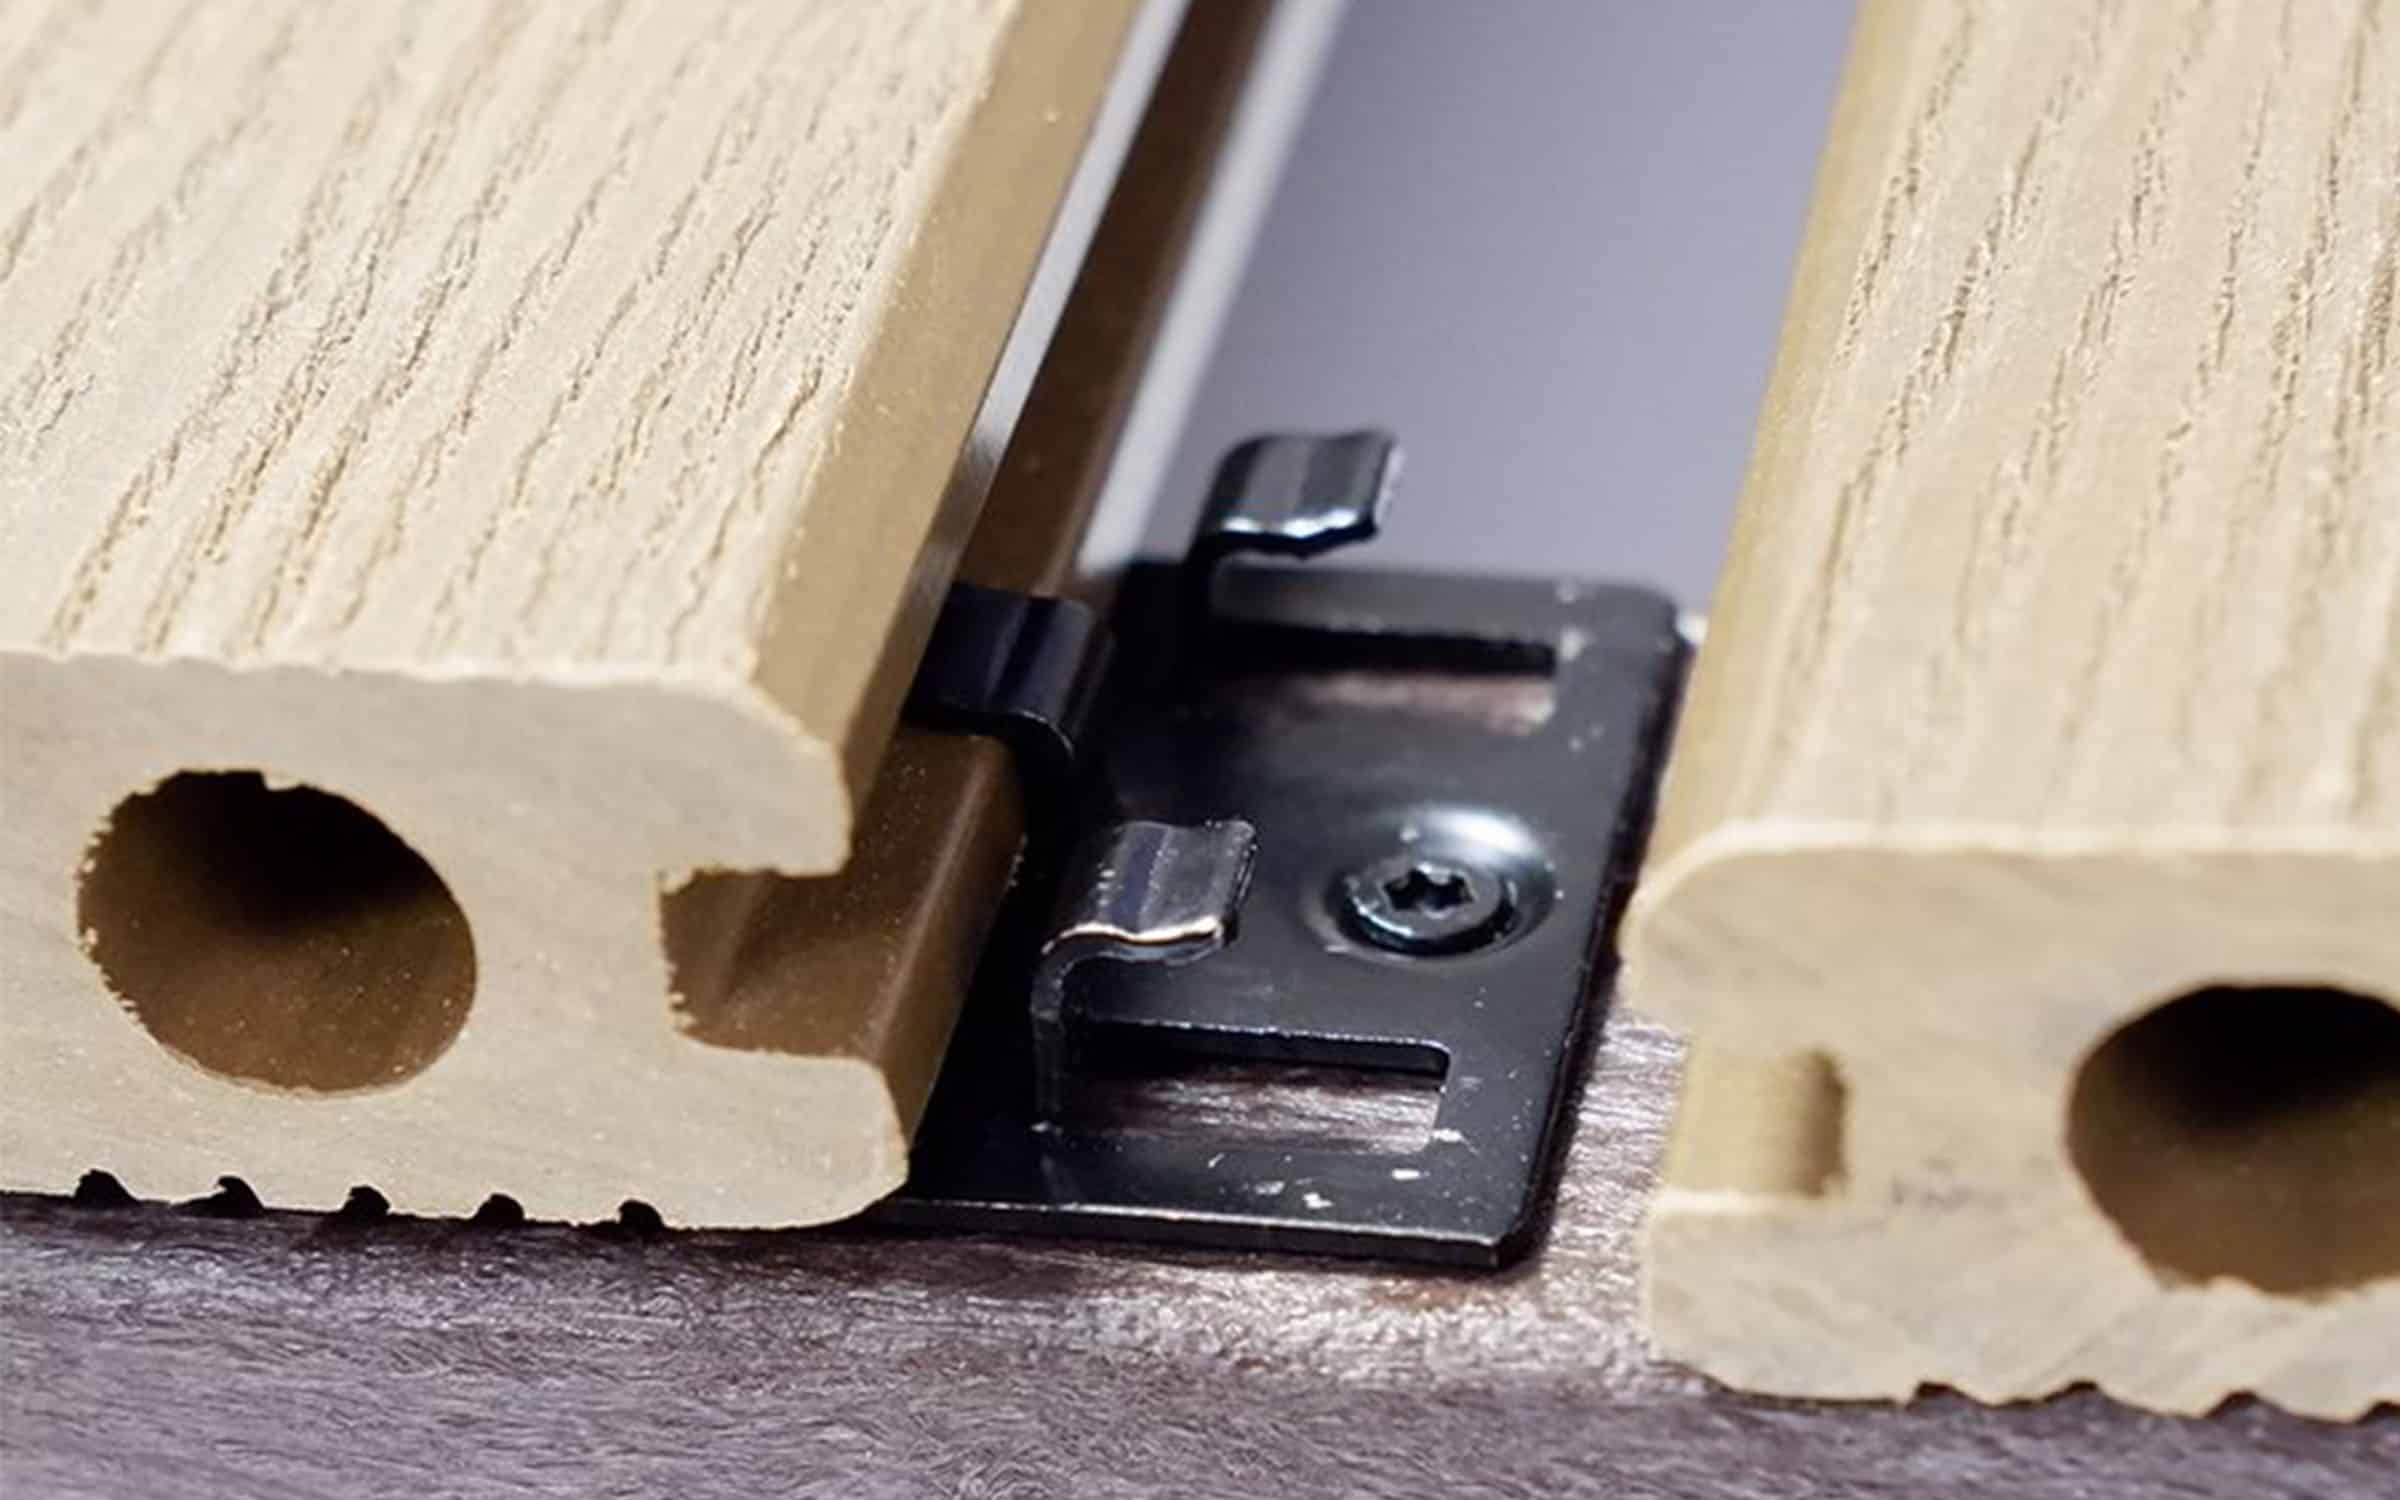
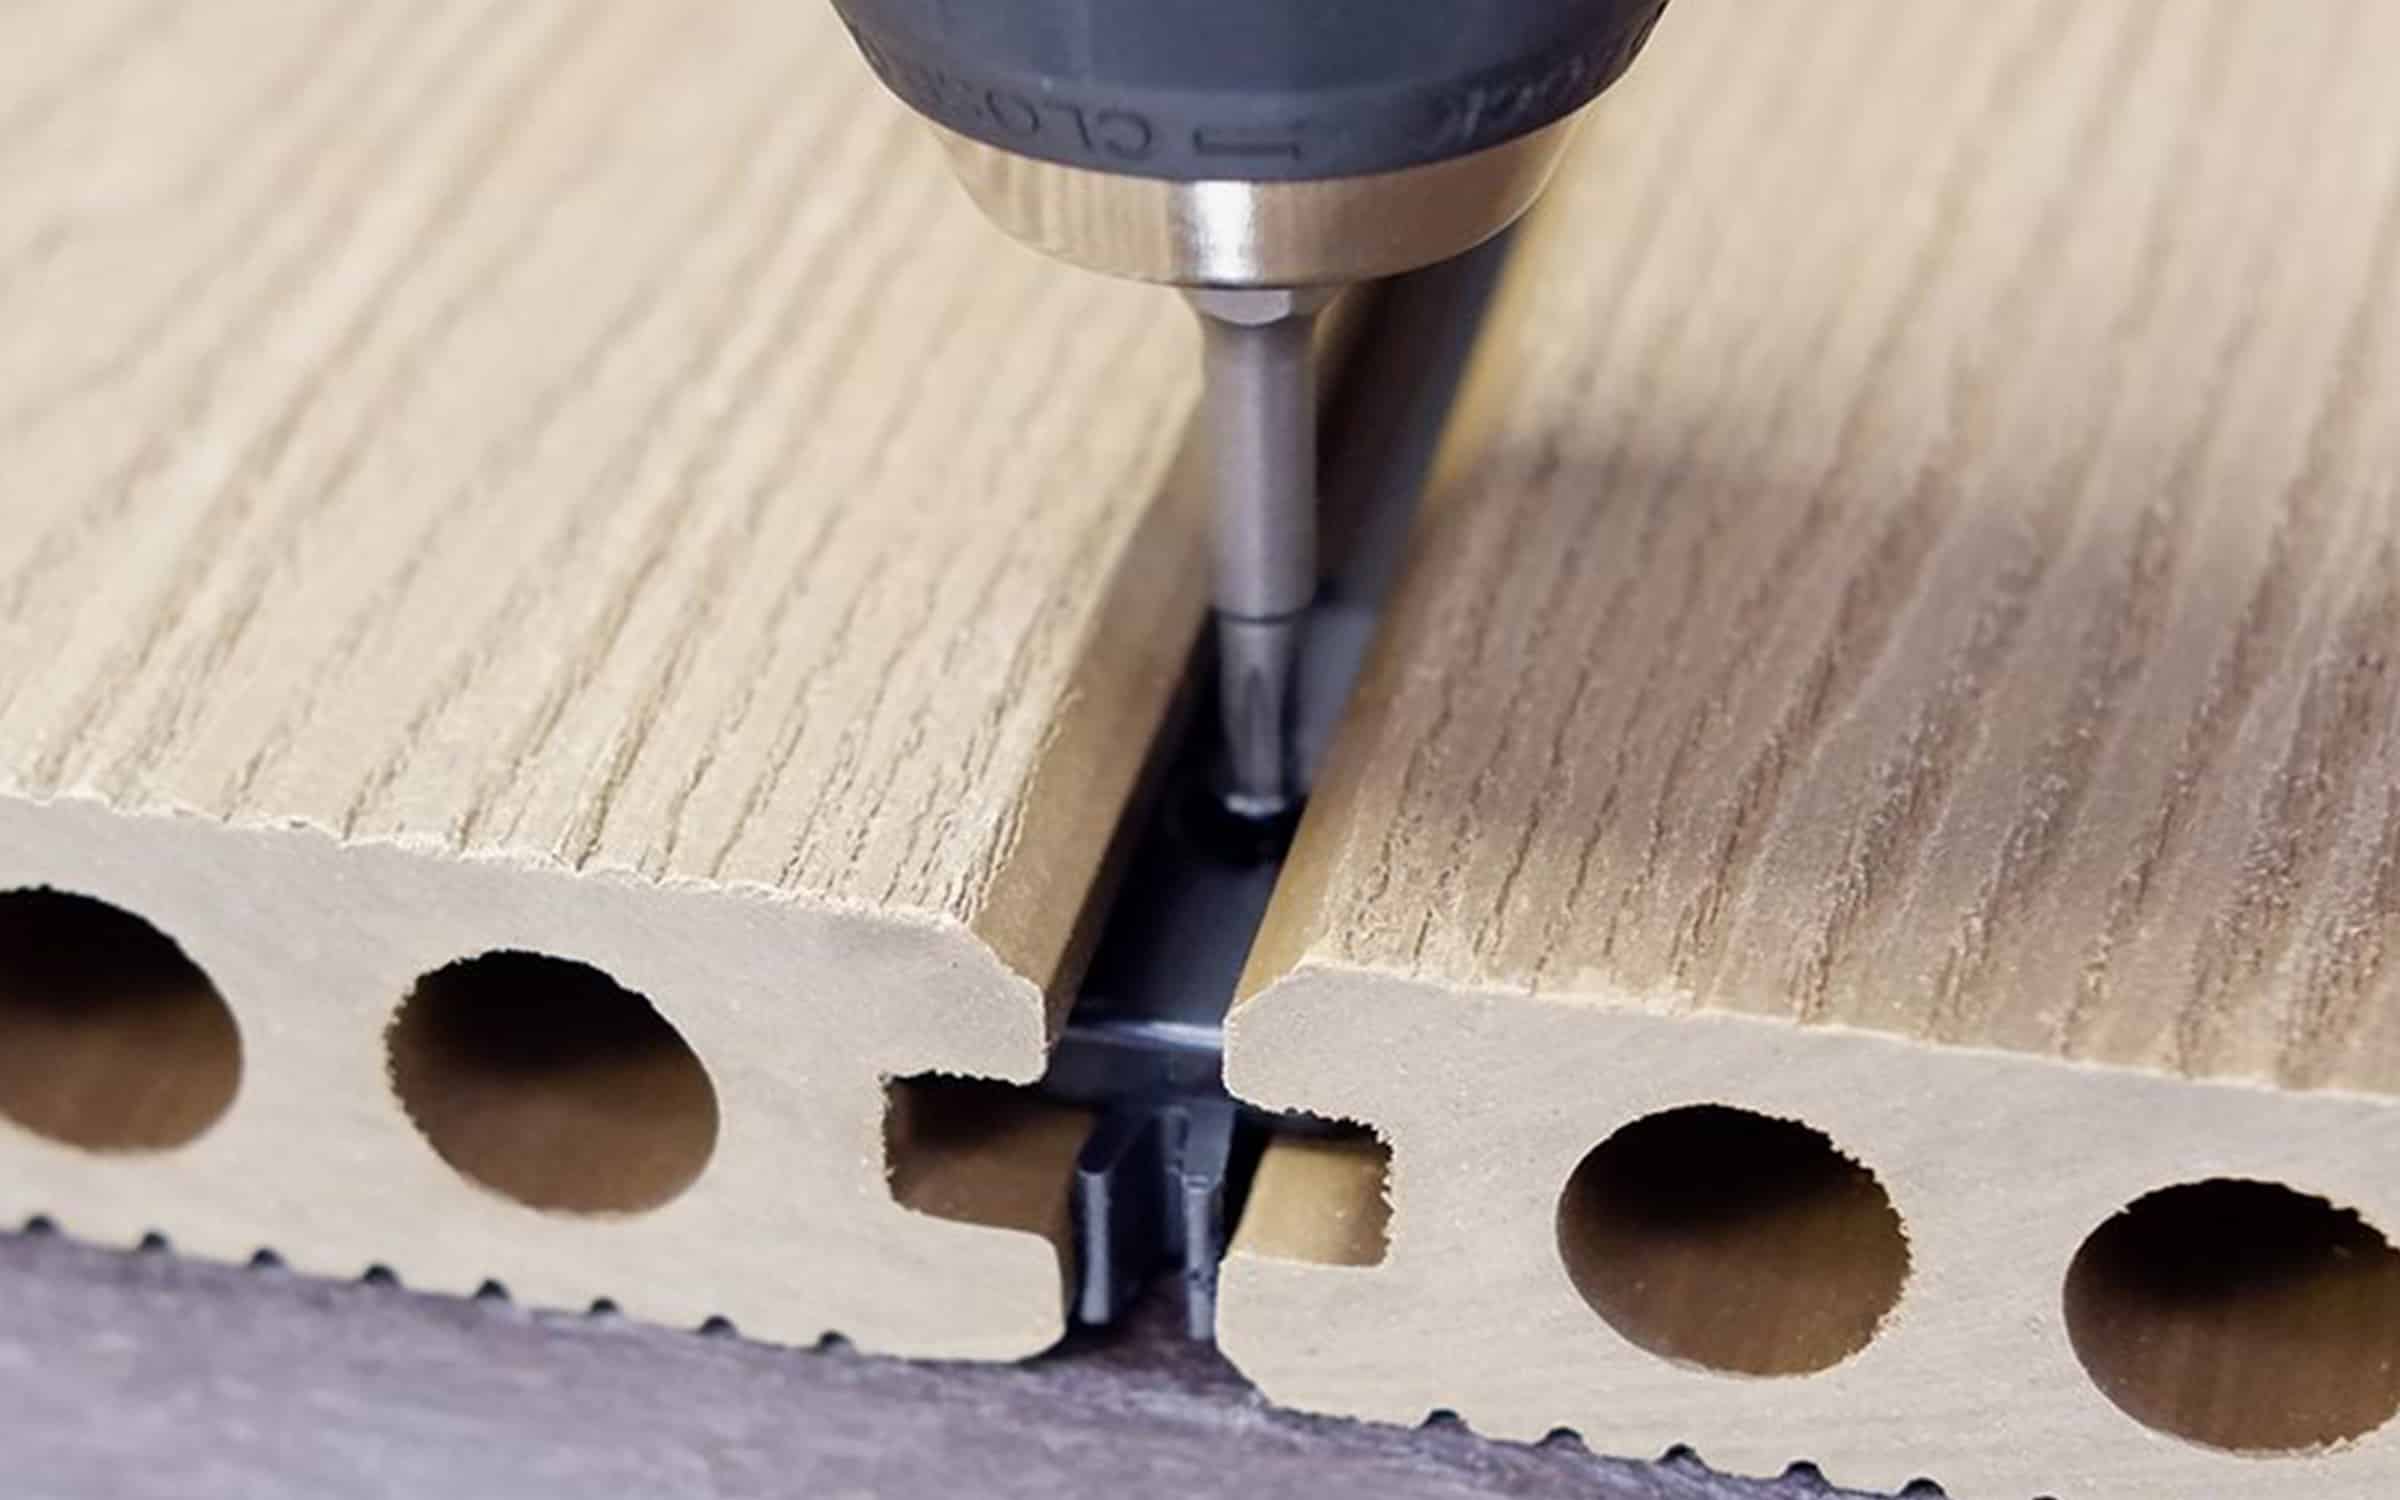
To allow the composite material in our decking boards to expand and contract naturally, we have engineered specially-designed FastClips to fix the boards down. Fixing directly to the joists, rather than through the boards, the FastClips have the profile of a ‘winged V’. The tips of the ‘V’ sit snugly within a deep groove which runs along the edges of the decking boards. Starter Clips can be used on the first run (which are on just half of the ‘V’) to give a clean edge.
Supplied in packs of 3mm stainless steel clips or 6mm plastic clips, these FastClips are designed to enable easy installation and create a ‘breathing gap’ between each board for ventilation and drainage. The 3mm clip gives a very neat finish with a minimal gap between each board. Meanwhile, the 6mm clip has a larger gap that’s ideal for easy maintenance.
If you were repairing decking or replacing a board in the centre of your deck, how you go about it would depend upon which clip was used for installing decking in your garden. A 6mm clip has a gap wide enough to position a drill for the easy removal of one or two boards. On the other hand, the 3mm clip has concealed screws that require you to remove multiple boards to begin repair. While both appeal to different types of handymen, one throughline remains the same – these clips are essential for safe and effective installation.
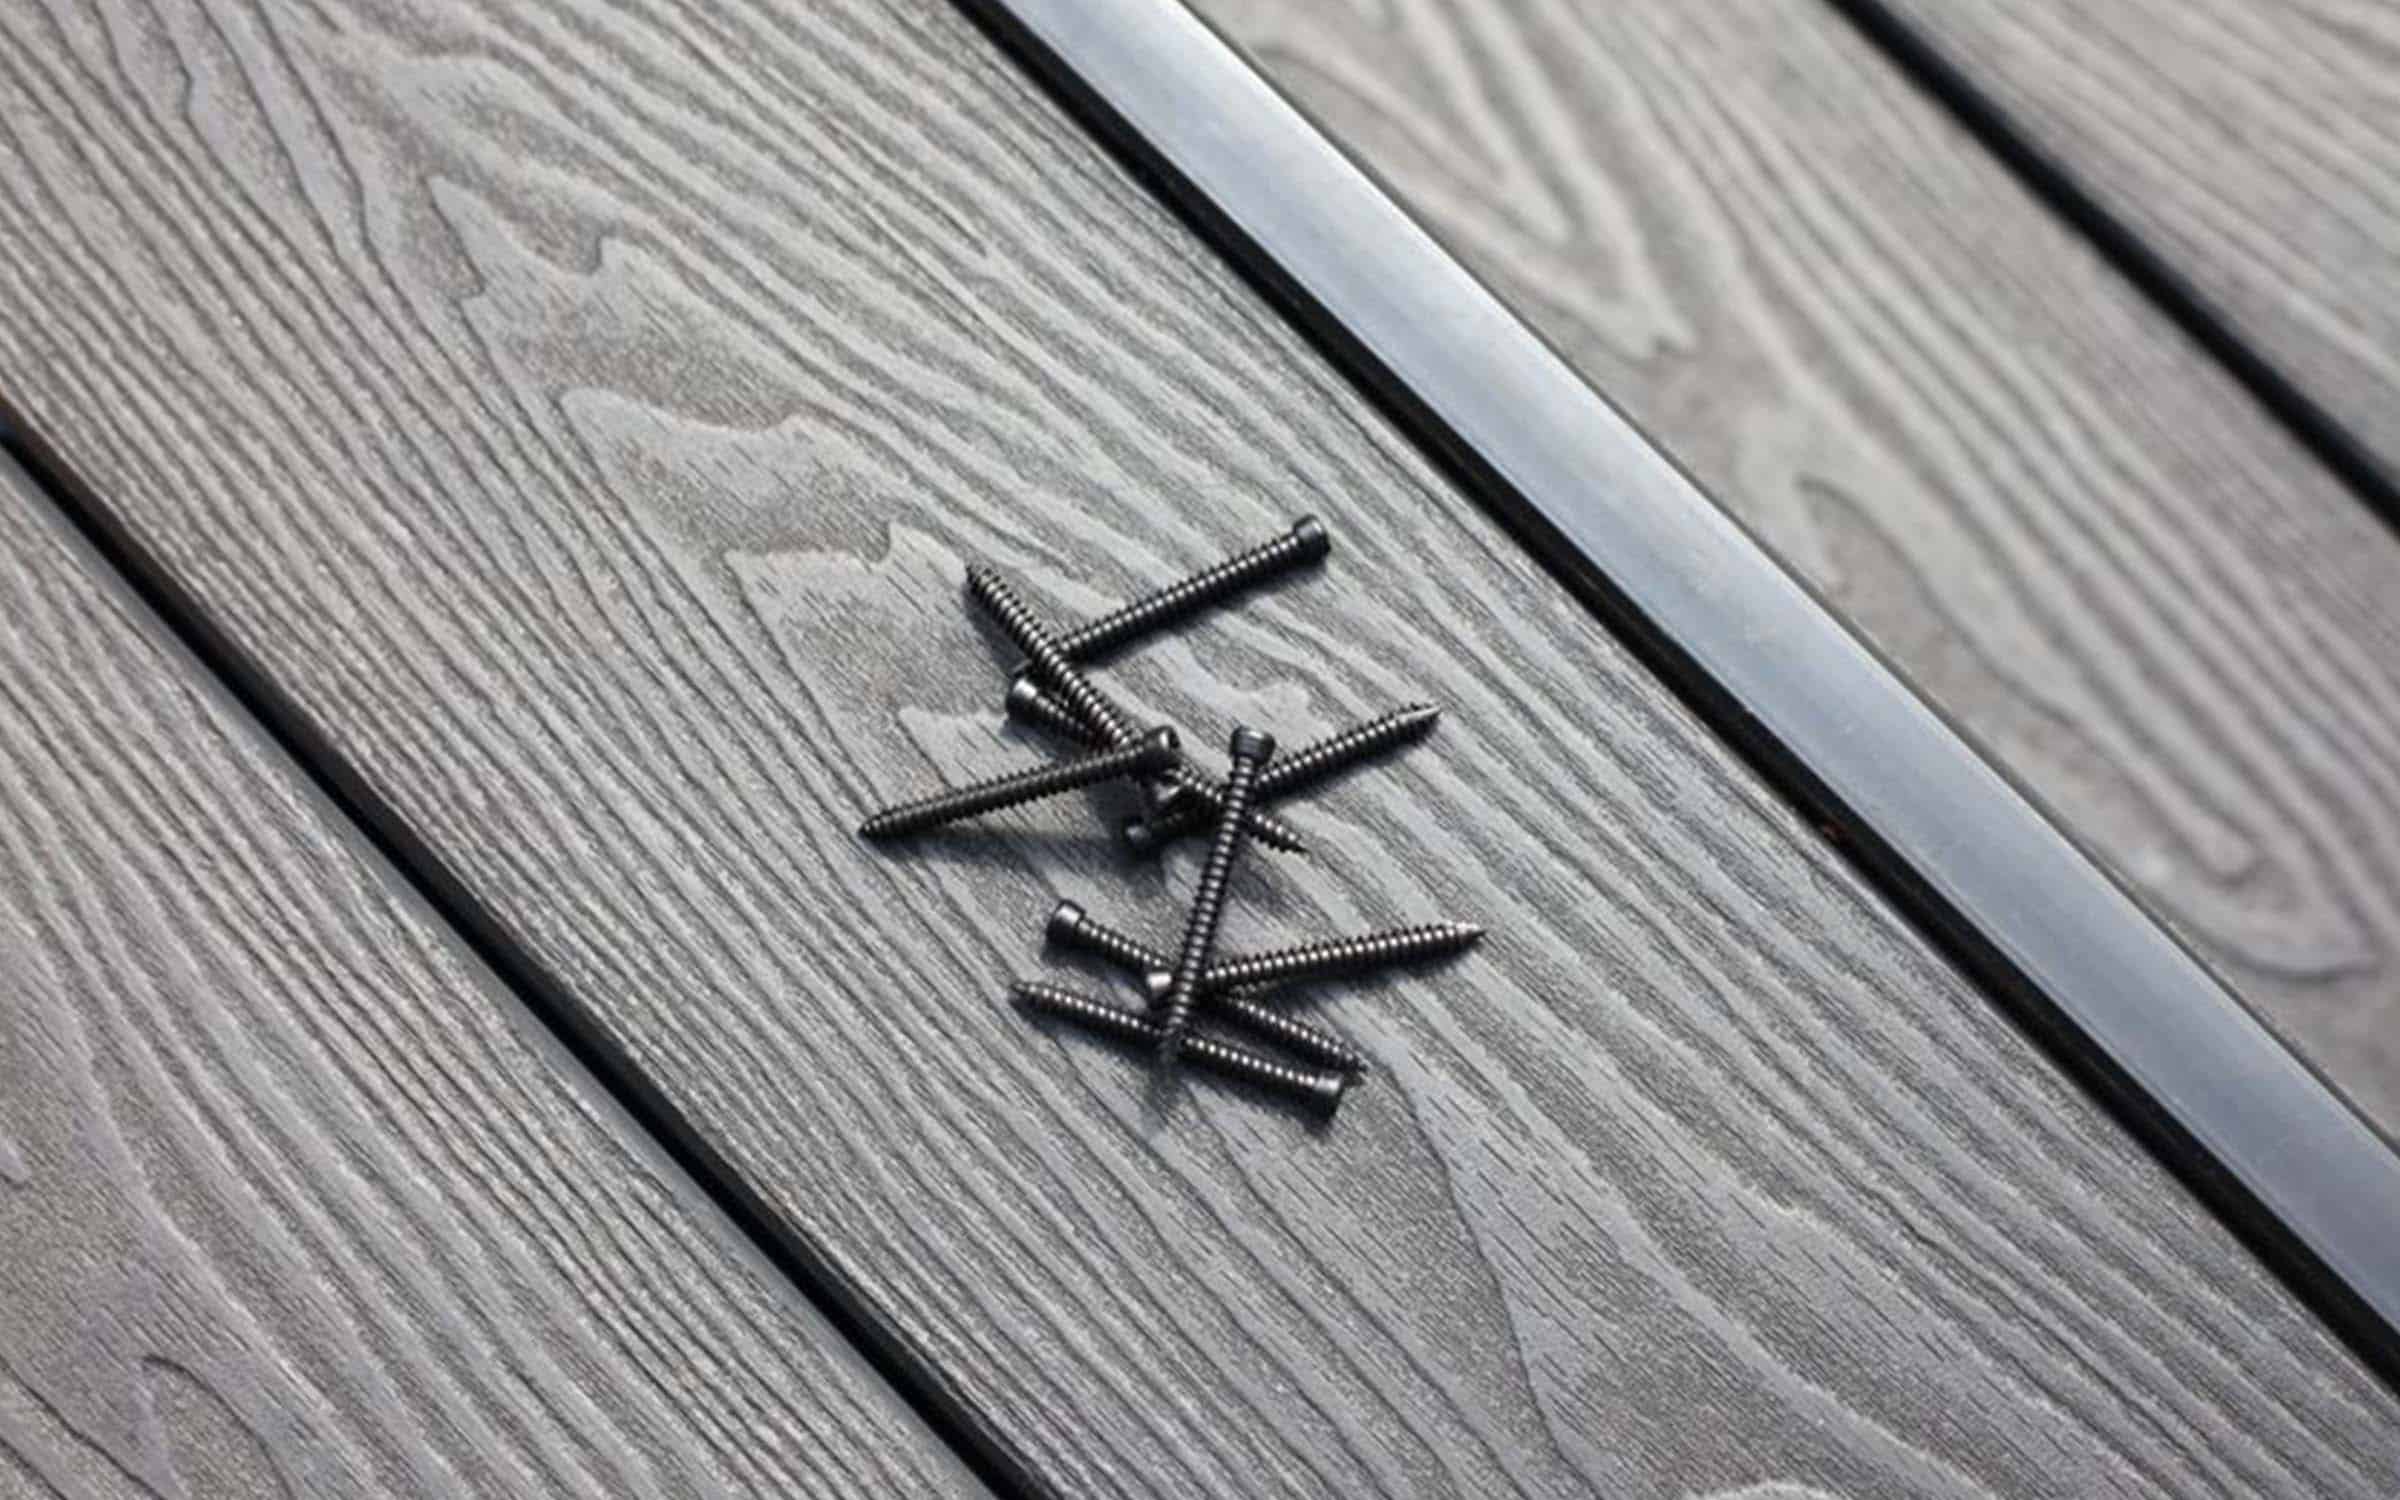
Of course, you may wonder if our interlocking sliding mechanism is sturdy enough to stay in place. Only in this instance do we recommend screwing our boards. For a secure fix, the final board will need to be screwed down on its outer edge – as the only way to attach the top edge, it simply can’t be avoided. However, a pilot hole will need to be drilled for this one-off screw fixing as this will allow the board to ‘breathe’ around the screw. And finally, the drilling of holes should be done using a specialised timber tungsten-carbide drill bit. At the end of the process, you want a hole that has plenty of leeway for board expansion, and we hope this quick guide has outlined why.
Need Further Support or Advice?
If you’ve still got questions that have not been answered here, or you would like additional advice,
support or assistance then please give one of our friendly experts a call and we’ll be happy to help.
Just give us a call on 01530 382 180.

