


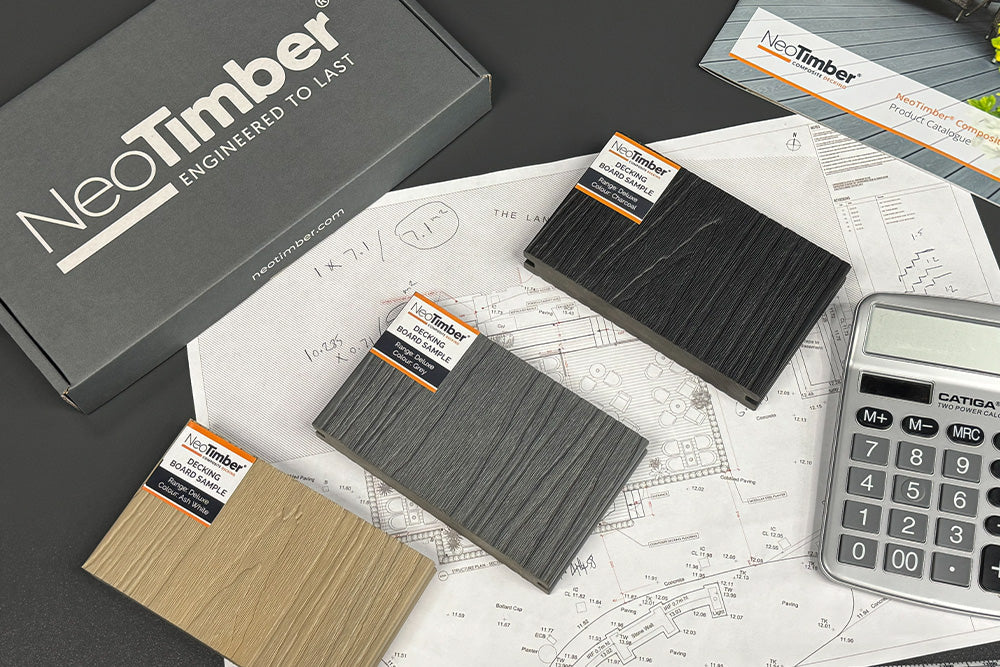
The key ingredient to a successful composite decking project is preparation.
We believe that certain elements of a composite decking install should be covered prior to embarking on the installation of your NeoTimber deck boards and ancillary products. This section shall cover each of those key elements from the planning phases, to tips on handling your deck boards, through to guidance on the recommended cutting equipment for our composite material.
We suggest that you take the time to consider the areas below, ensuring you are fully equipped to create your ideal decking project.
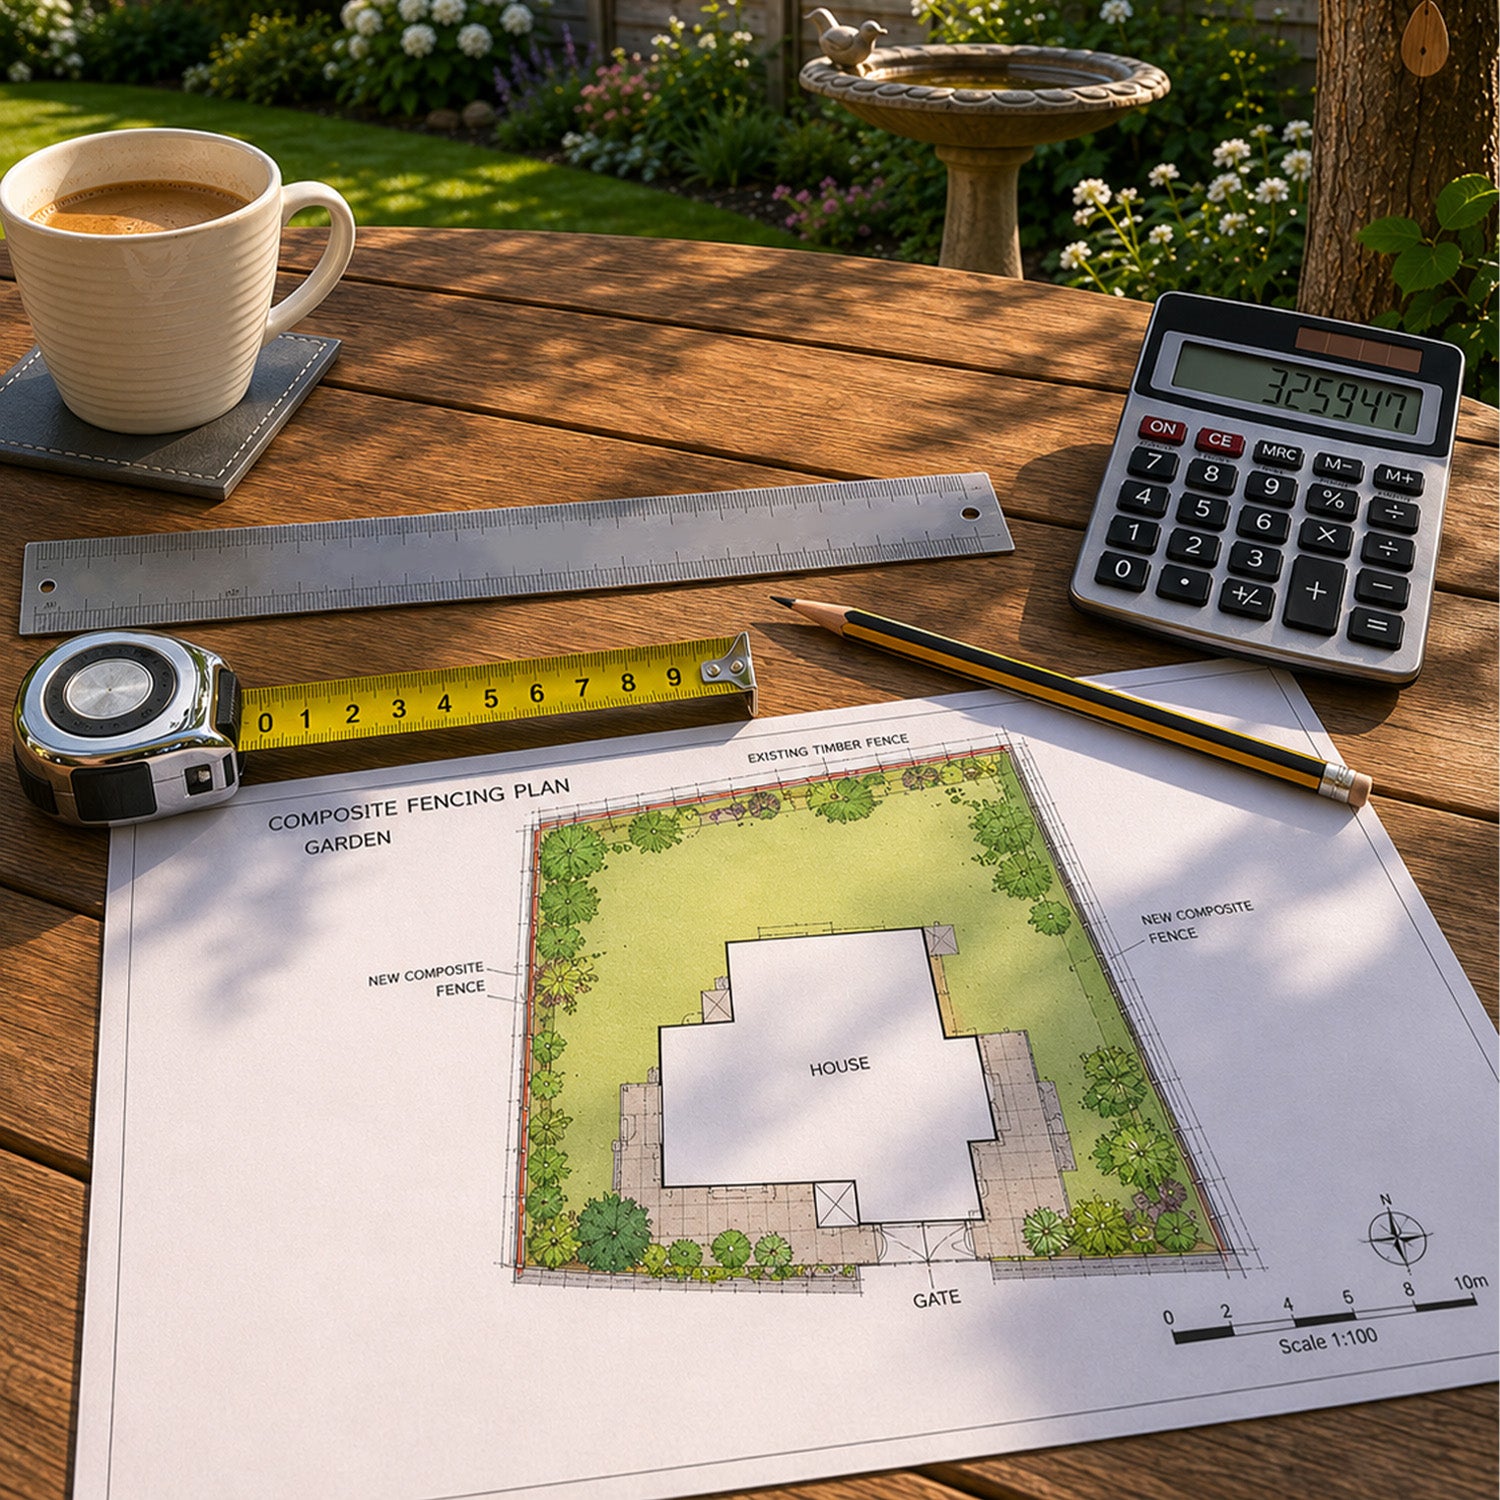
Pre-Planning
The size, shape and orientation of your decking area should be considered in the early phases of your project.
You will need to establish your chosen laying pattern as this will dictate the placement of your joists and the placement of joins if necessary.
Also factor in any fixed elements such as drains, walls, fences and door openings when planning the height, shape, location and orientation of your decking project.

Handling Your Decking
Ensure a suitable, flat area is cleared to lay your decking prior to installation. Laying your boards and any accompanying products on wooden battens at approximately 400-500mm centres will ensure that the boards avoid any sitting water, dirt or grit that may scratch or damage the boards ahead of installation.
When storing your boards outside for an extended period of time, be sure to cover them with a layer of sheeting.


Take extra care when lifting, moving or fitting boards to avoid accidental scratching. Do not drag, slide or drop boards when laying over one another.
Keeping your work area as tidy as possible will help to keep the surface of the boards free of any construction debris.
How Temperature Can Affect Your Decking
Composite materials are receptive to temperature. Allow a period of at least 24 hours prior to installation for your deck boards to climatise to the outside environment.
Tools Required
Standard woodworking tools can be used with NeoTimber decking. If you are unsure on how to use a specific tool, please consult the tool manufacturer’s user manual.
- Hammer Drill (Ideal for attaching a subframe to a hard surface, like brick or concrete)
- Hand Drill (Use a 3mm drill bit for pre-drilling holes)
- Jig Saw (We recommend carbide-tipped blades for the cleanest saw cuts)
- Circular / Mitre Saw (When using circular saws we recommend a 40-50 teeth carbide-tipped blade)
- Pencil Or Chalk (Useful for marking boards to guide cutting)
- Spirit Level (Assists you with ensuring your base, subframe and boards are level)
- Tape Measure (Take care with measuring your project and materials)
- Carpentry Square (Ensures straight markings where required)
Safety and Personal Protective Equipment (PPE)
Where possible, we recommend the use of safety glasses and relevant PPE when installing NeoTimber products.
Elements To Be Considered
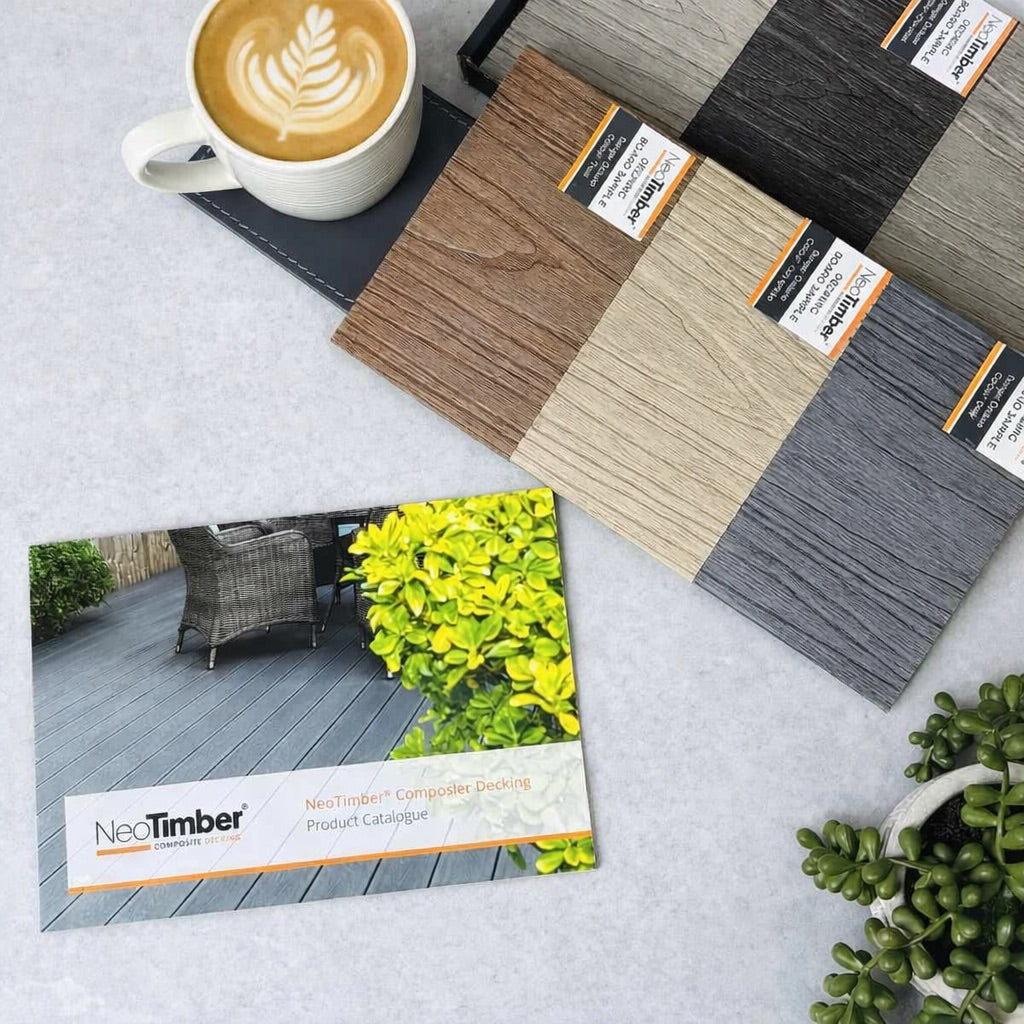
Colour Characteristics:
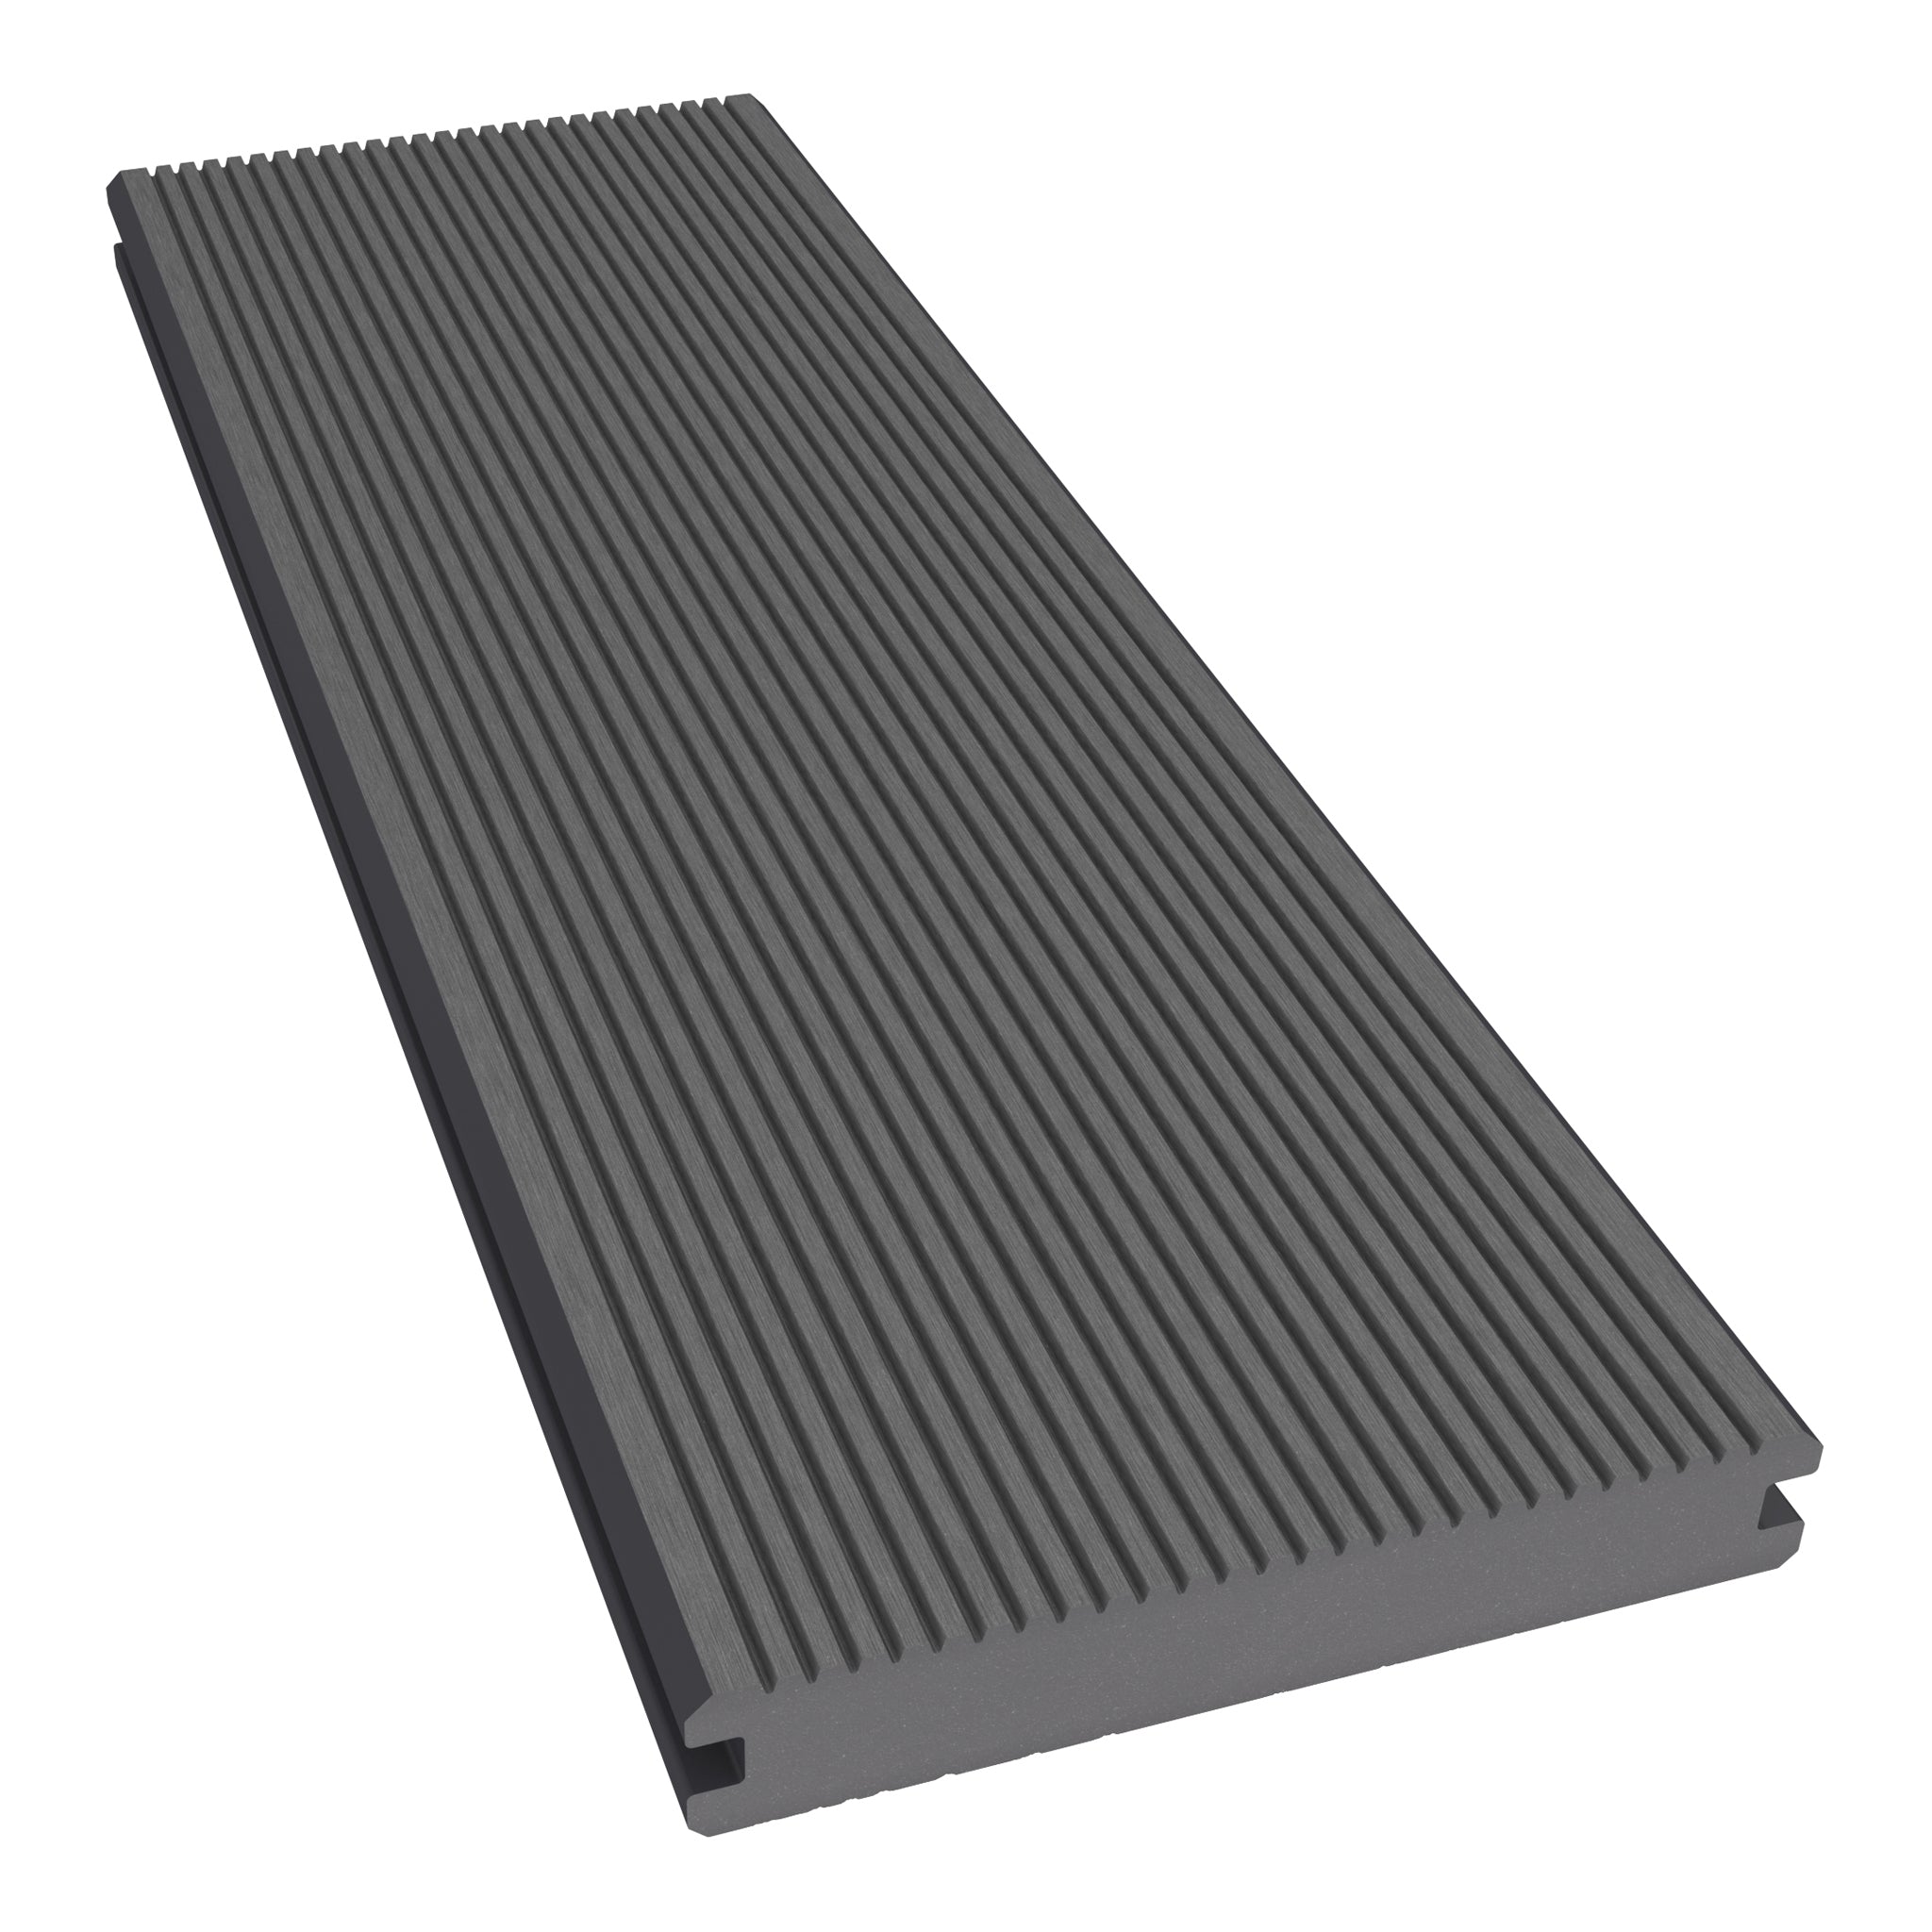
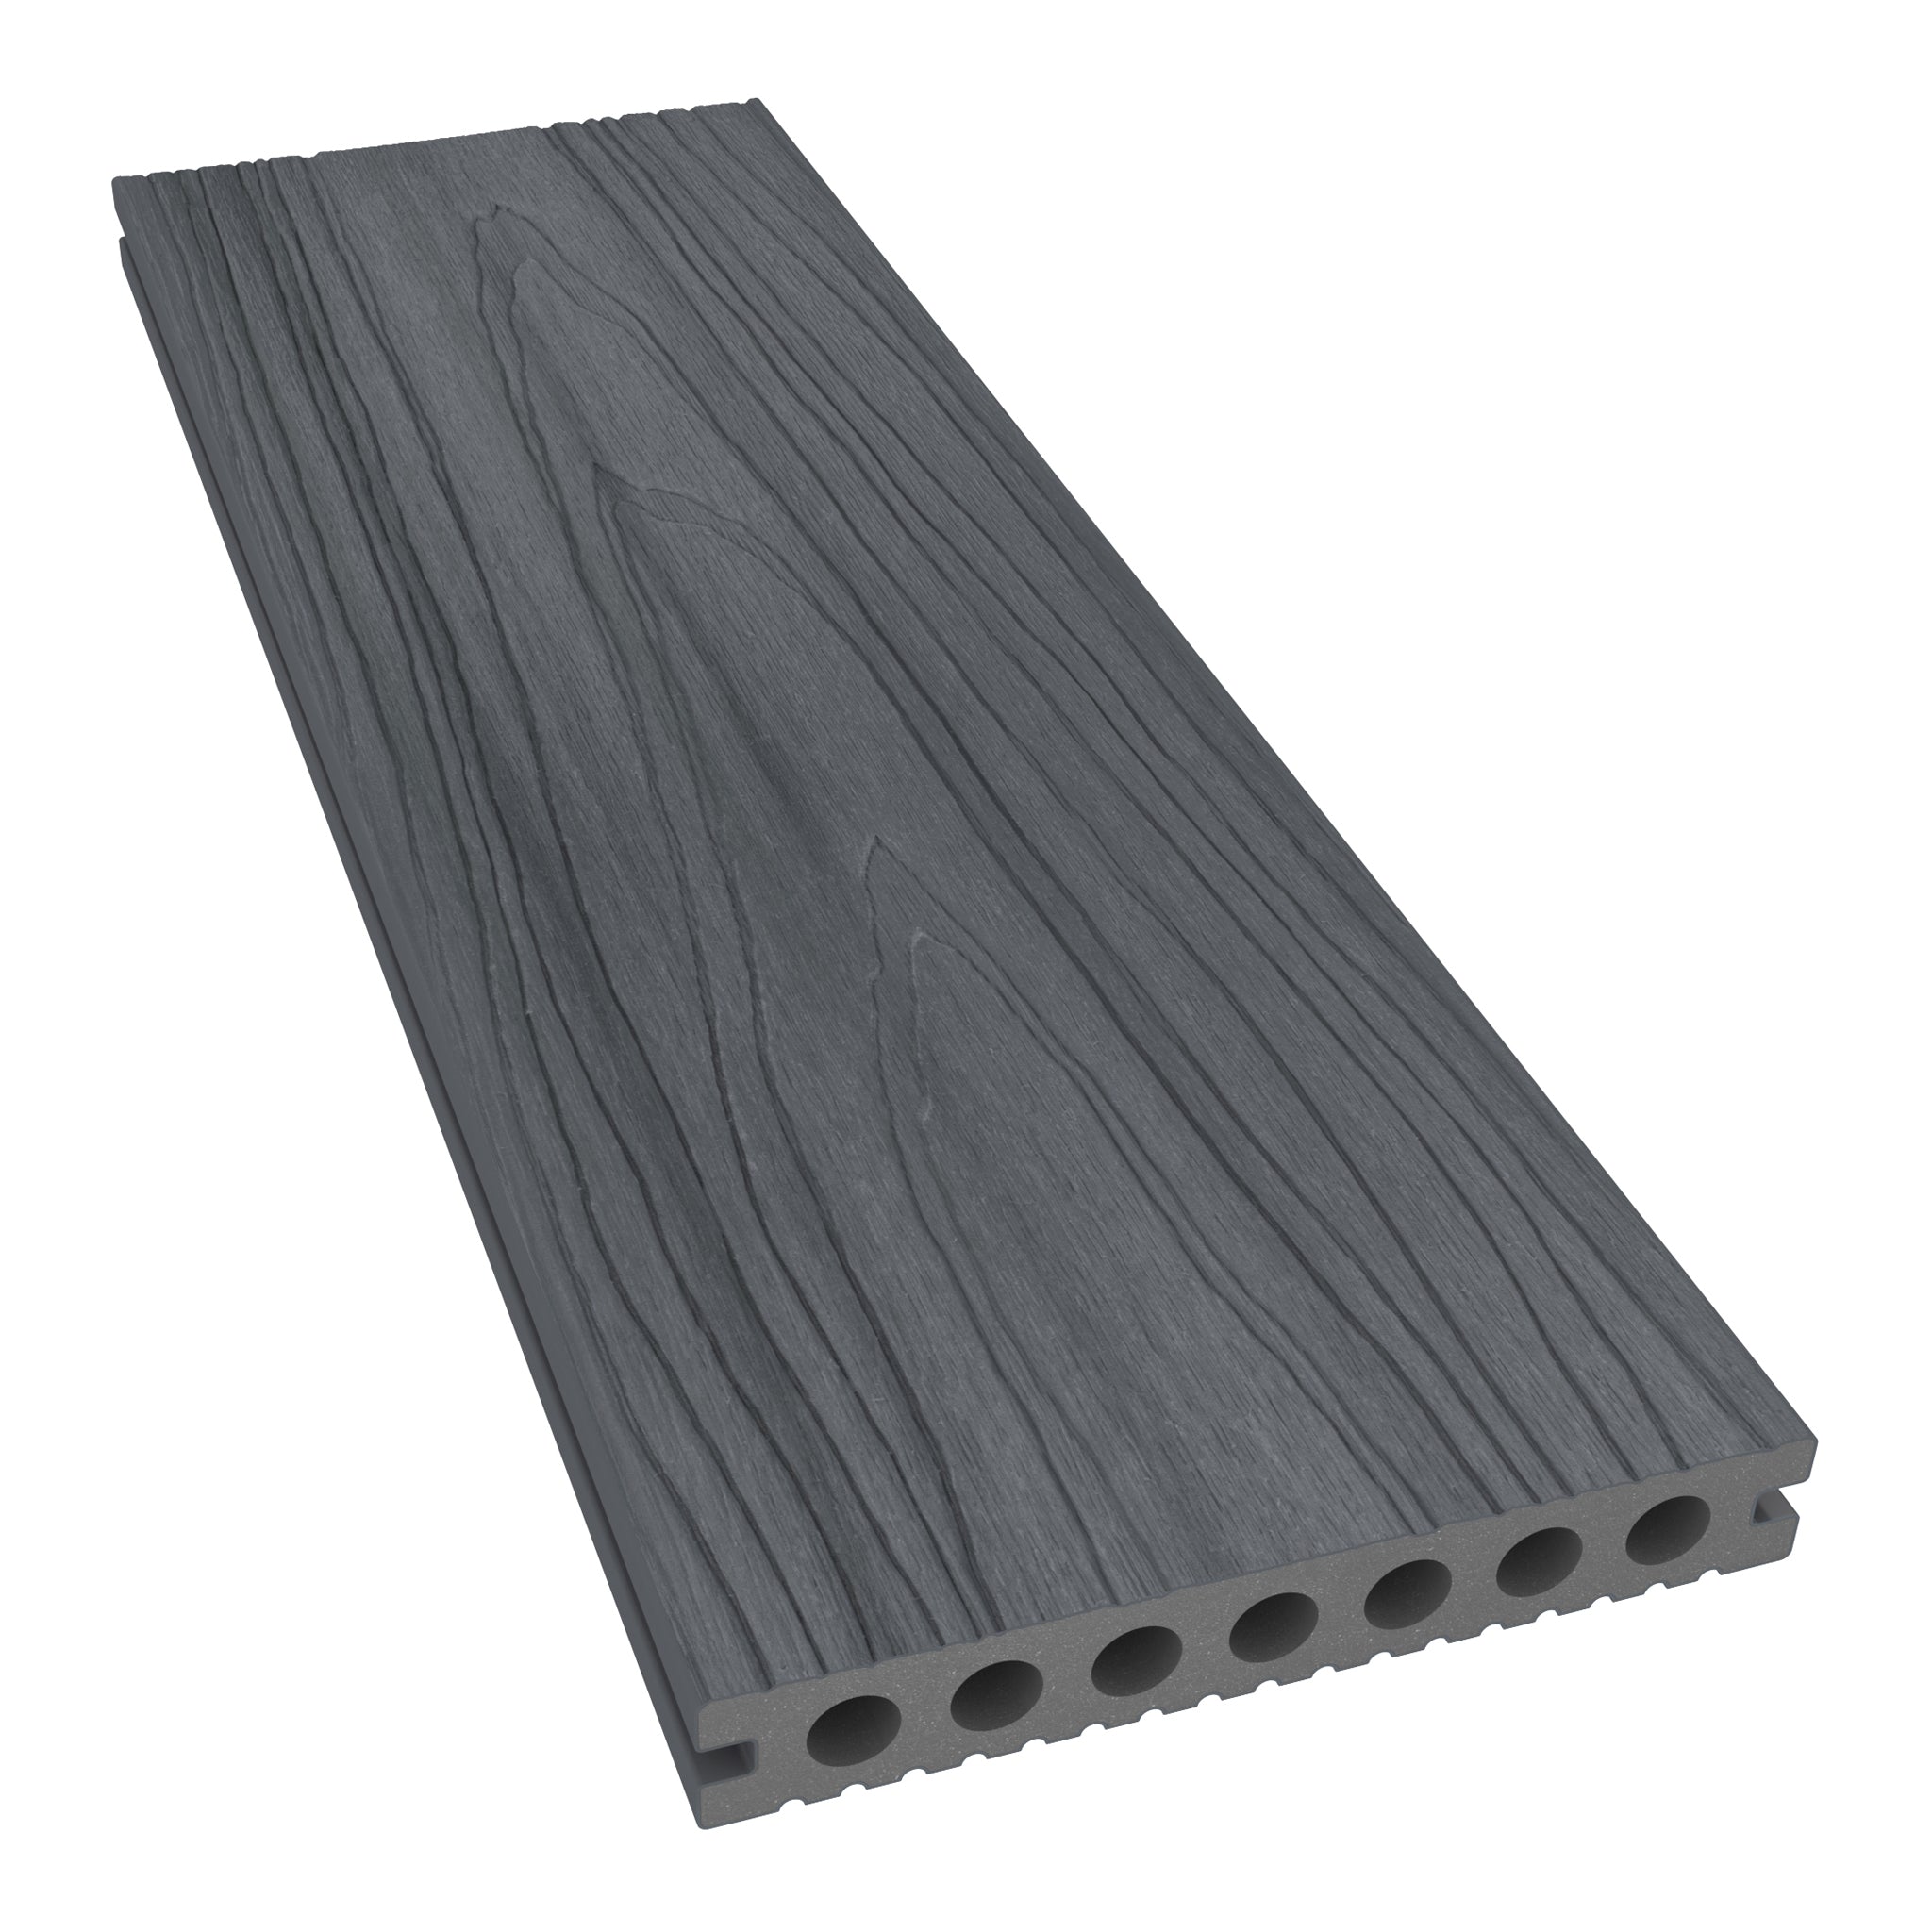
Traditional Composite Decking
Our traditional composite deck boards (NeoTimber Essential and Classic Ranges) shall undergo a level of weathering (lightening-up) within the opening 3-6 months of installation. This initial weathering process is a result of the boards reacting to UV rays. Once this process has taken place, the rate of change will be nominal.
You may also notice a colour contrast between the skirting/corner trims and your deck boards especially if you are installing the boards wood-grain side up. Once the boards find their weathered colour-tone, the contrast will be more subtle.

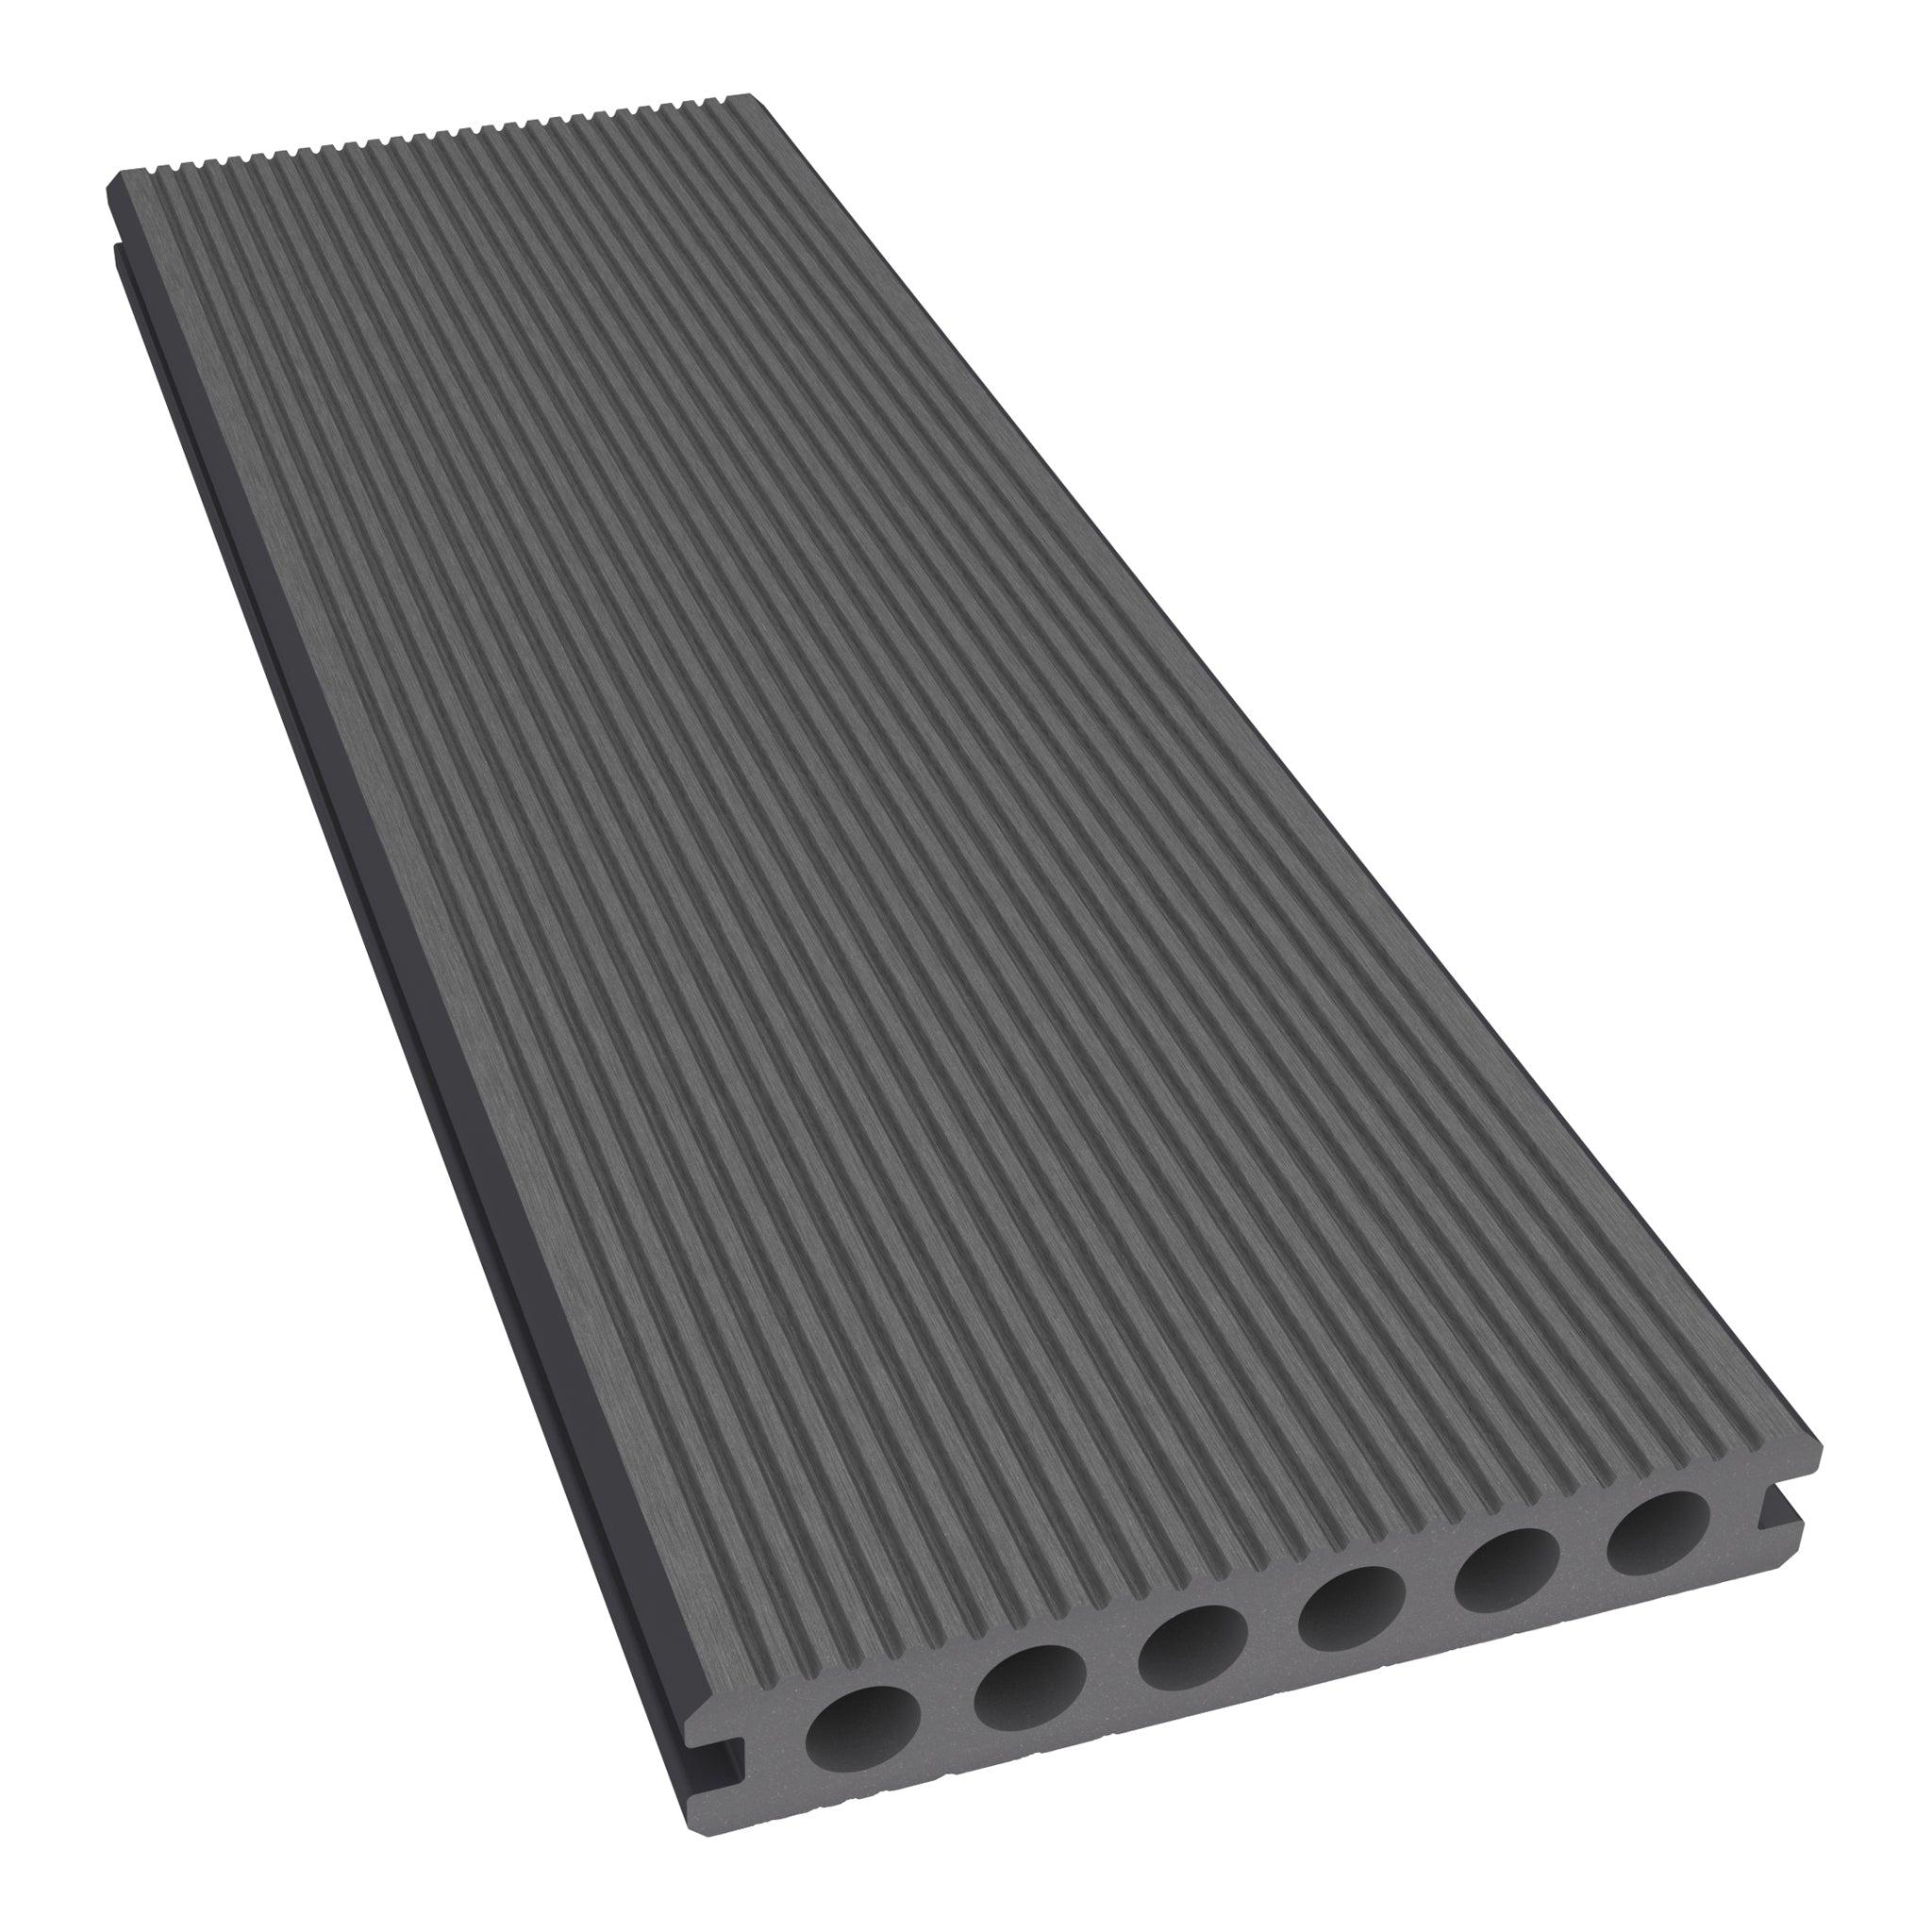
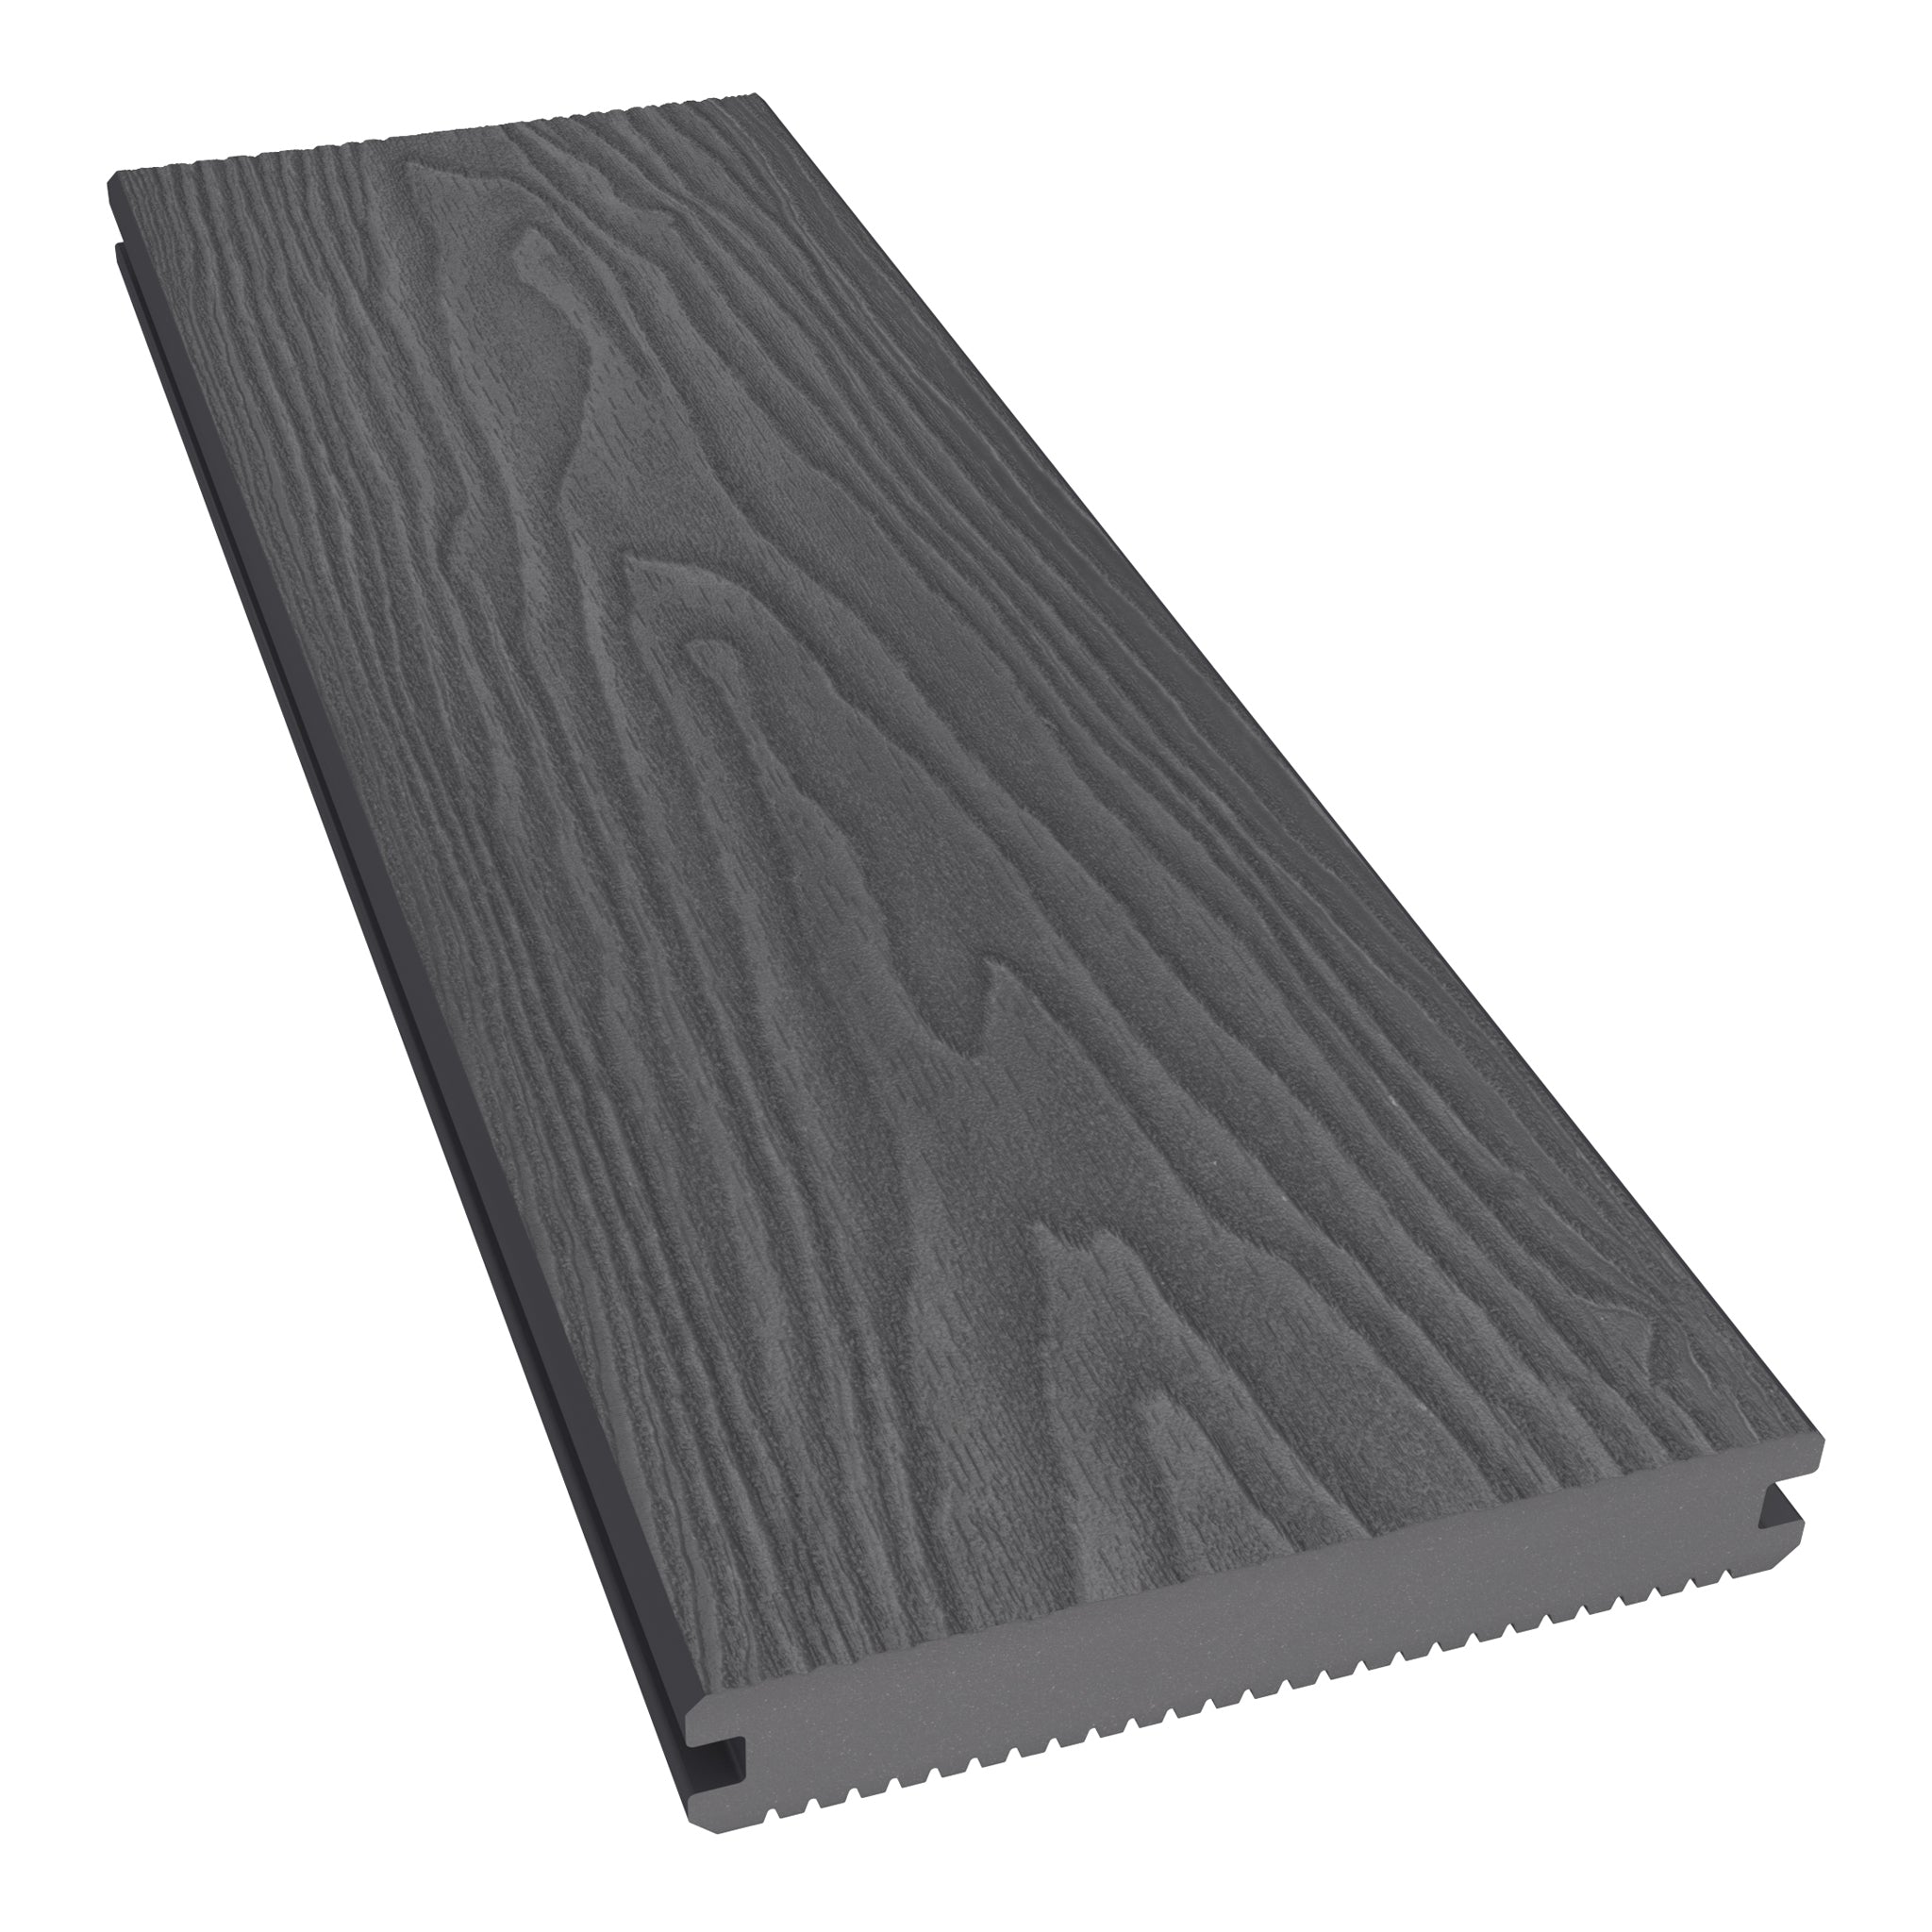
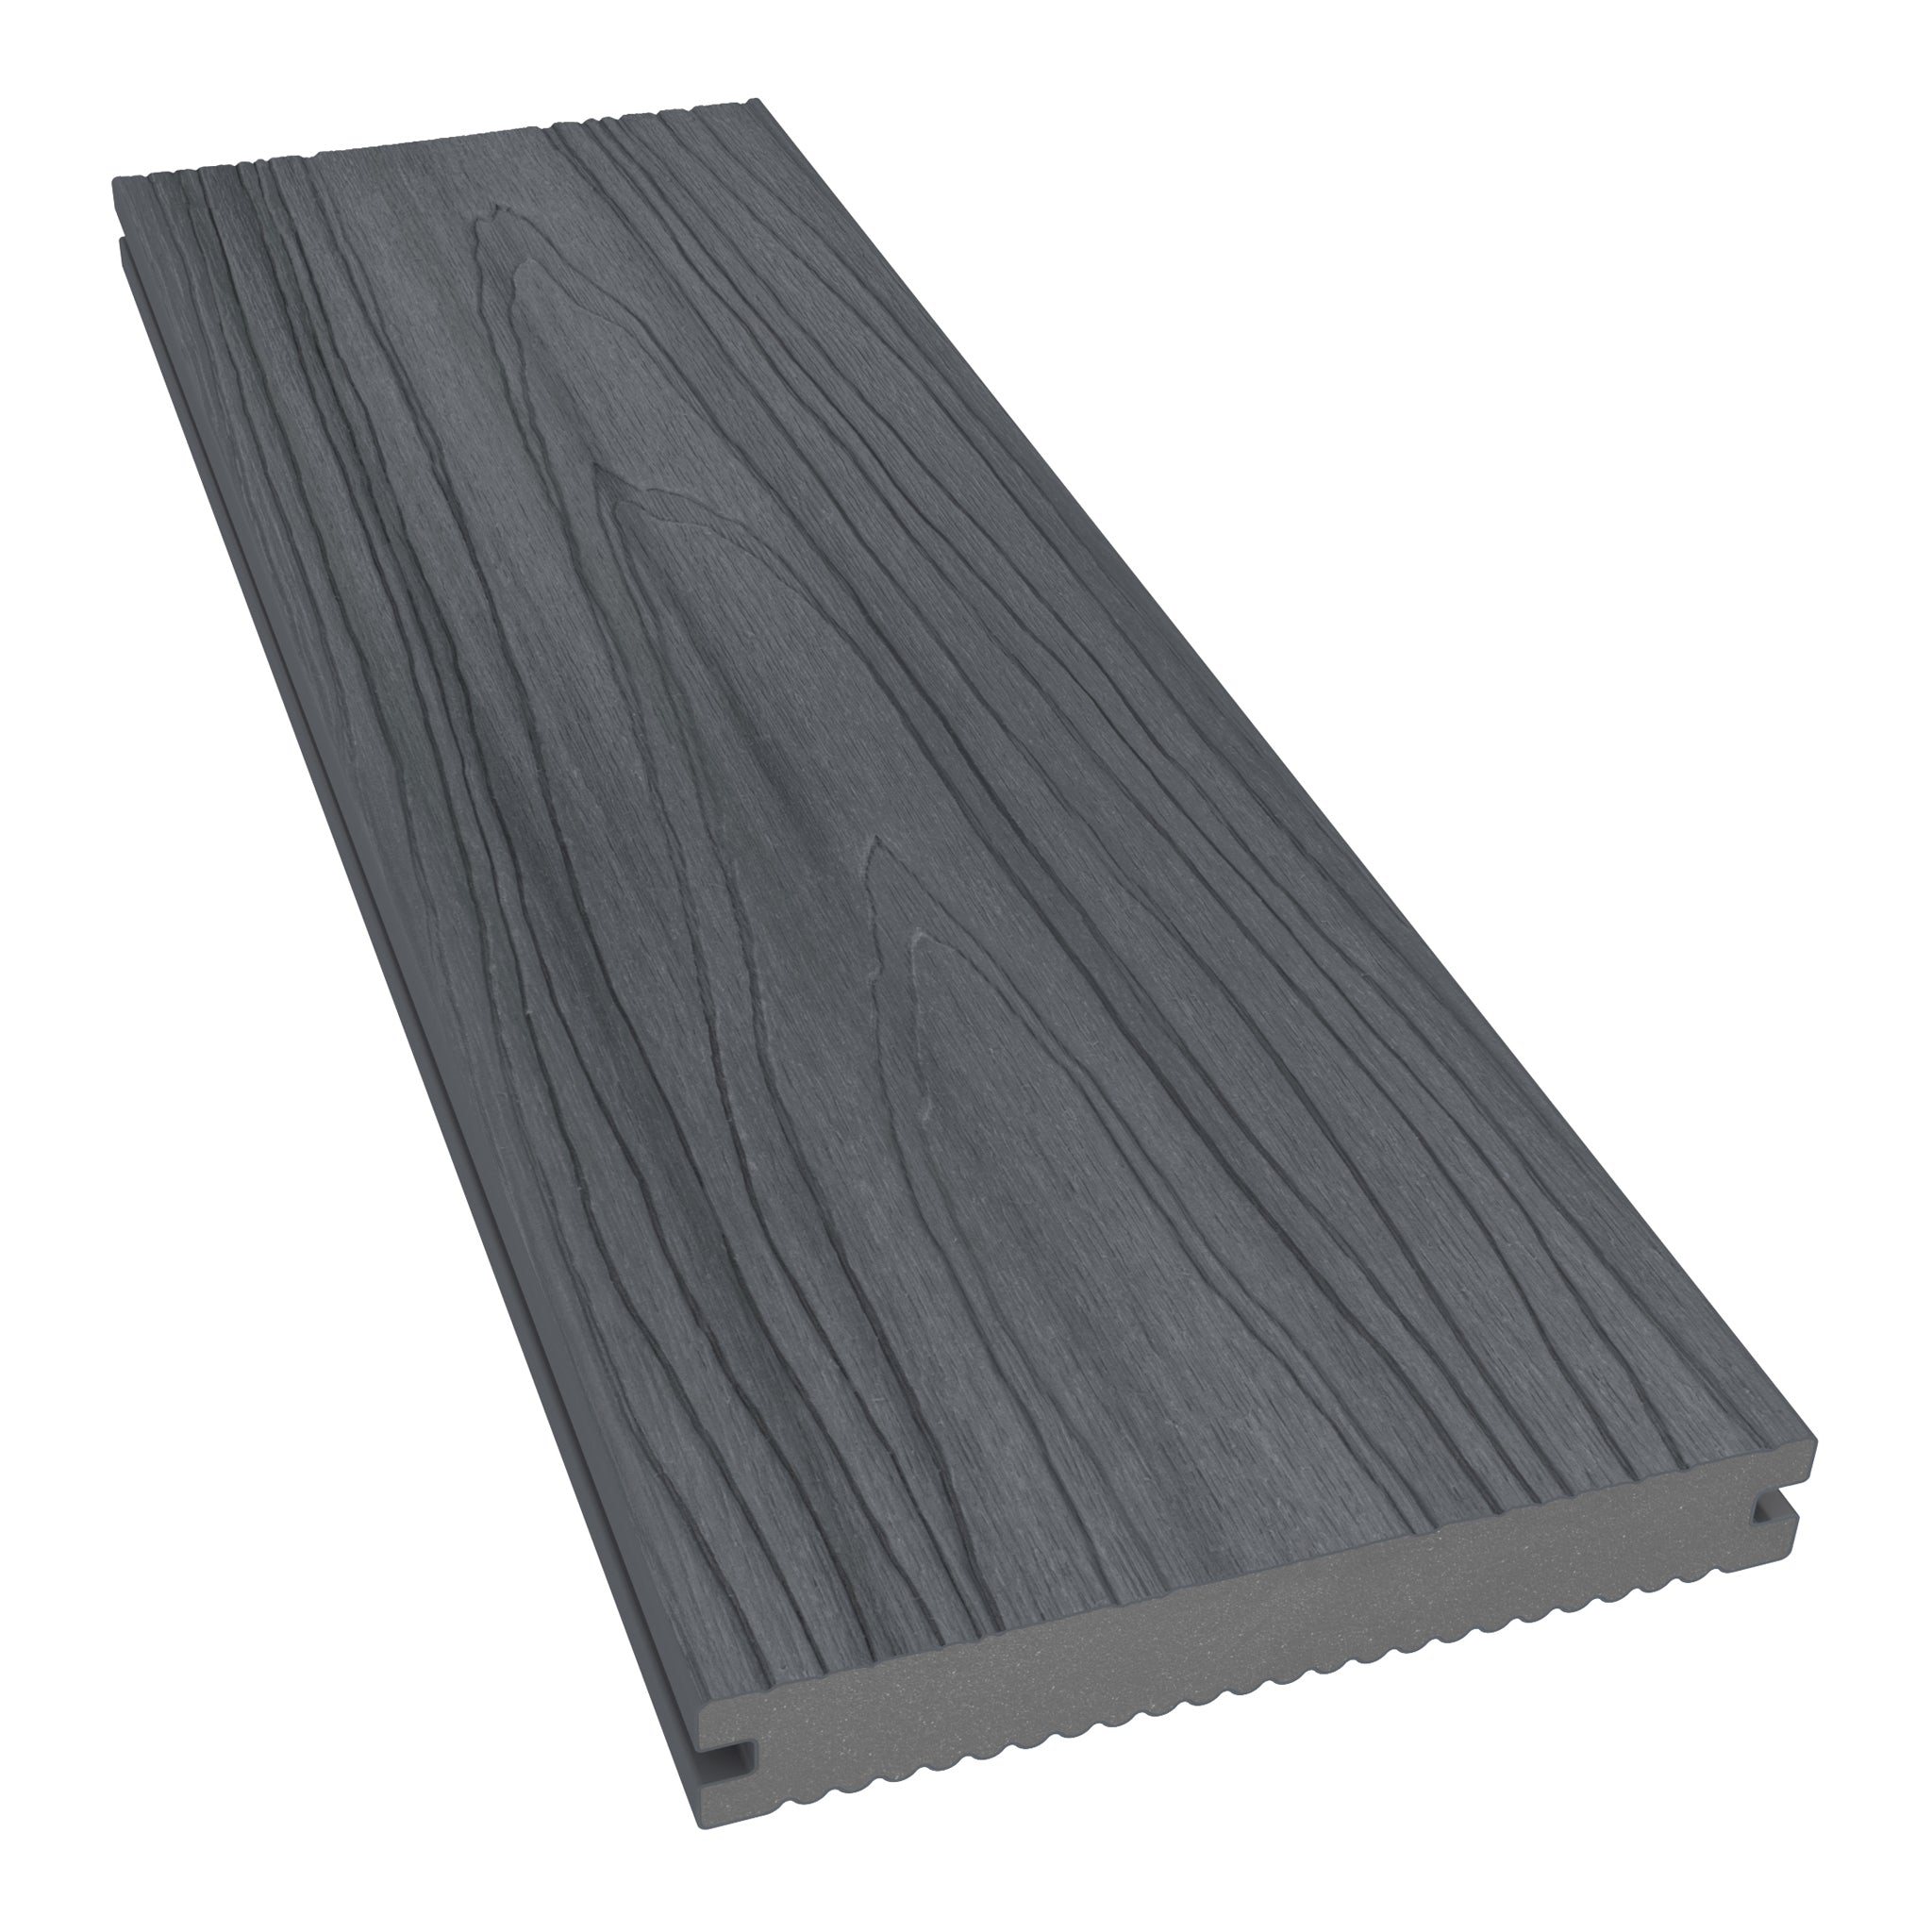
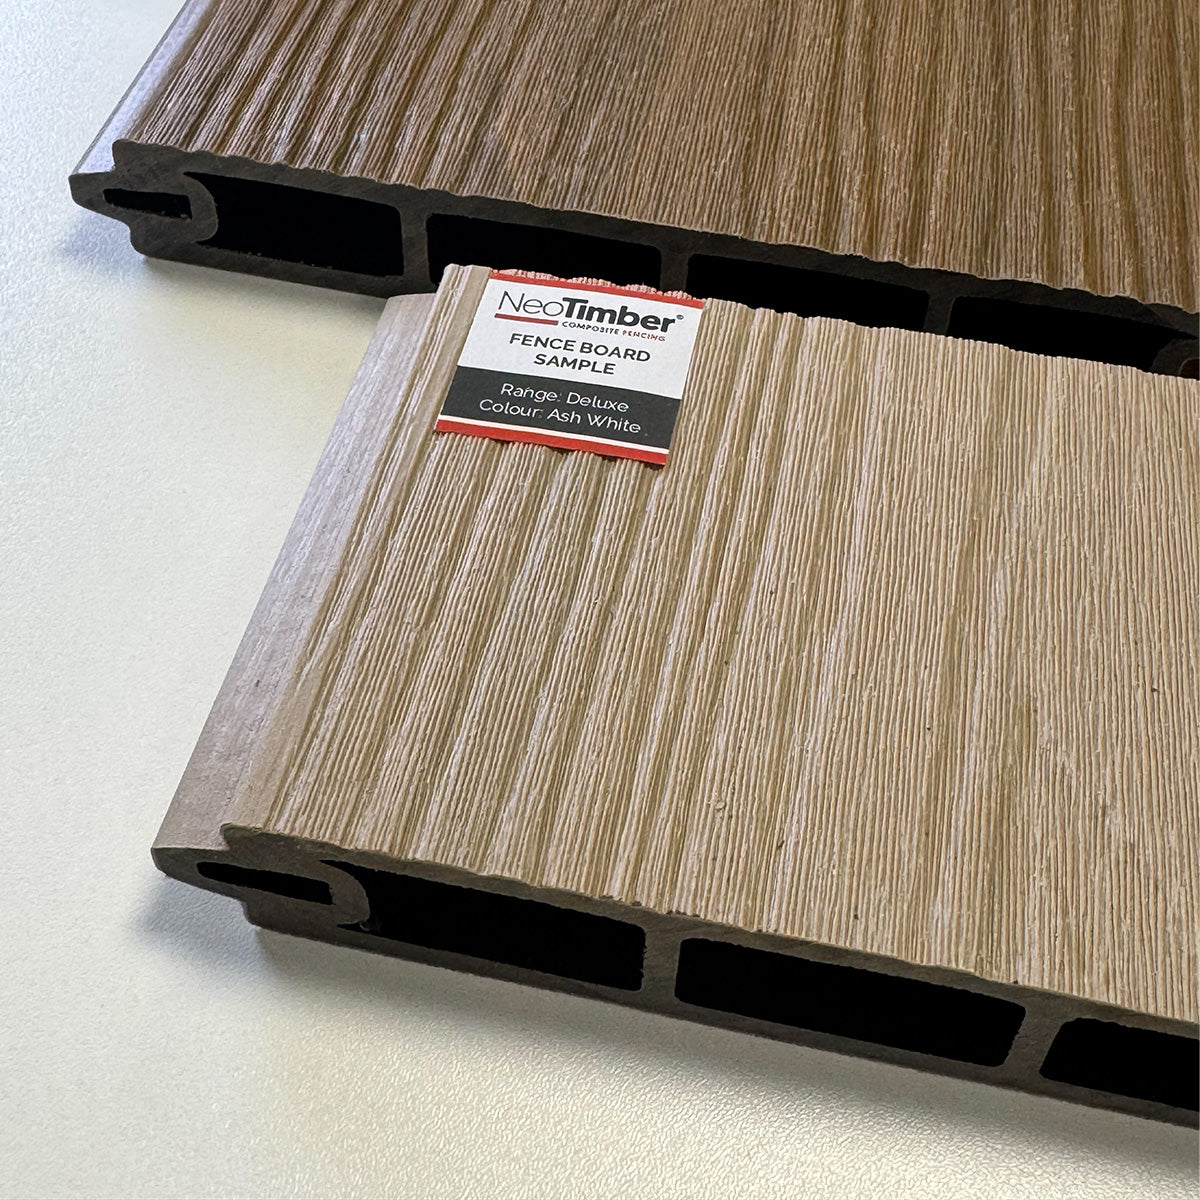
Capped Composite Decking
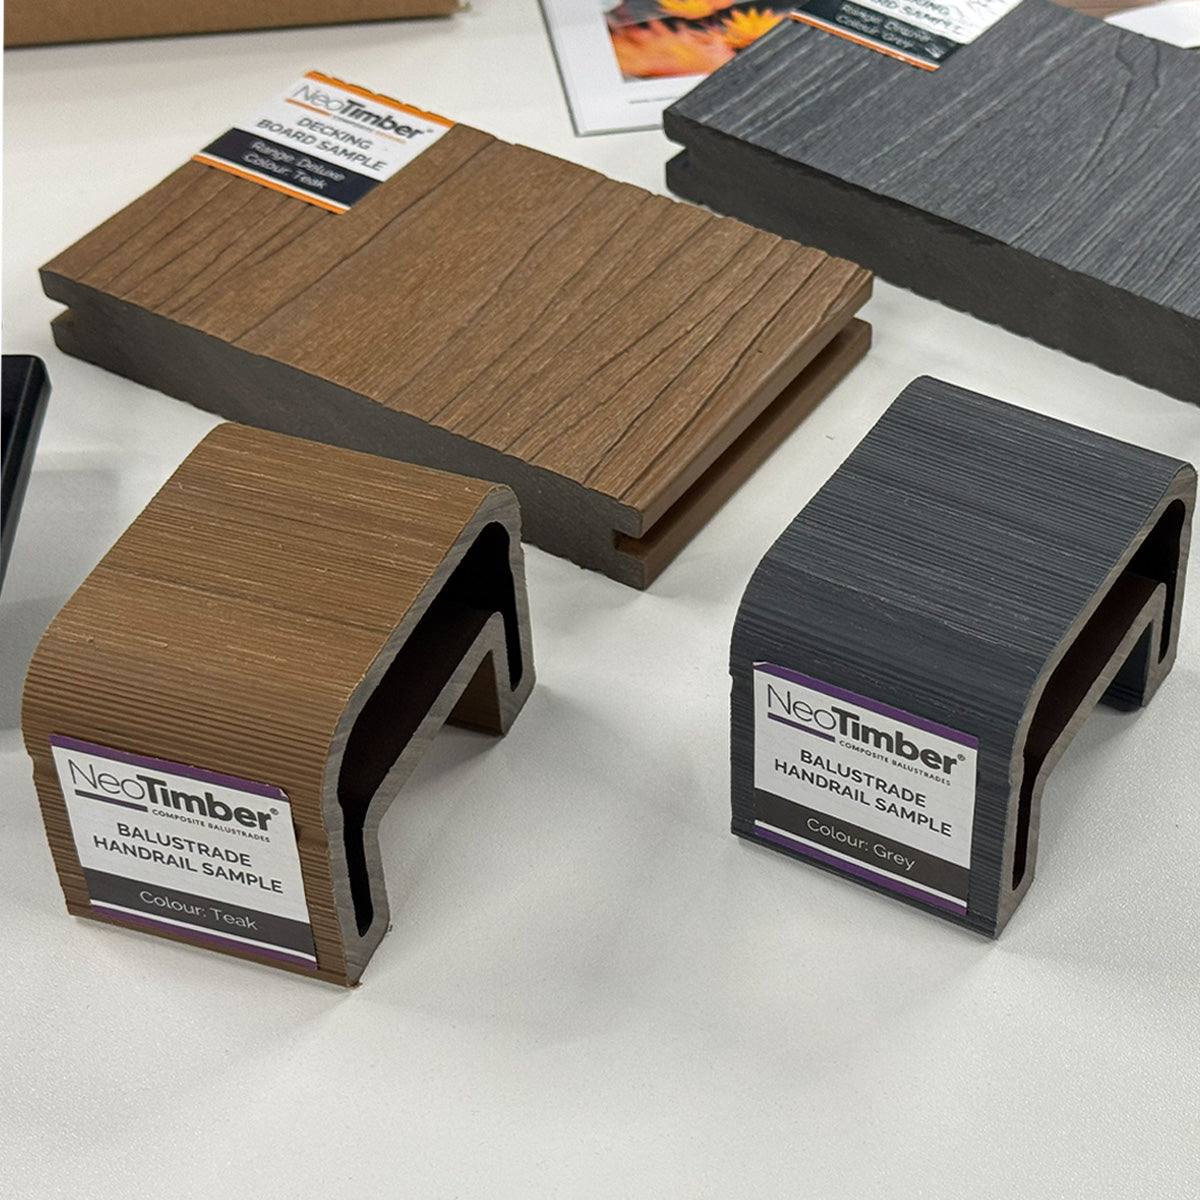
Our capped composite deck boards (NeoTimber Advanced and Deluxe Ranges) come equipped with a protective polymer shell, ensuring high UV and fade resistance. They have been designed to have a high quality dual-toned appearance. The colour tone of these boards shall slightly vary from board-to-board in order to mimic a more authentic, real woodgrain finish. Consideration of this should be taken upon installation.

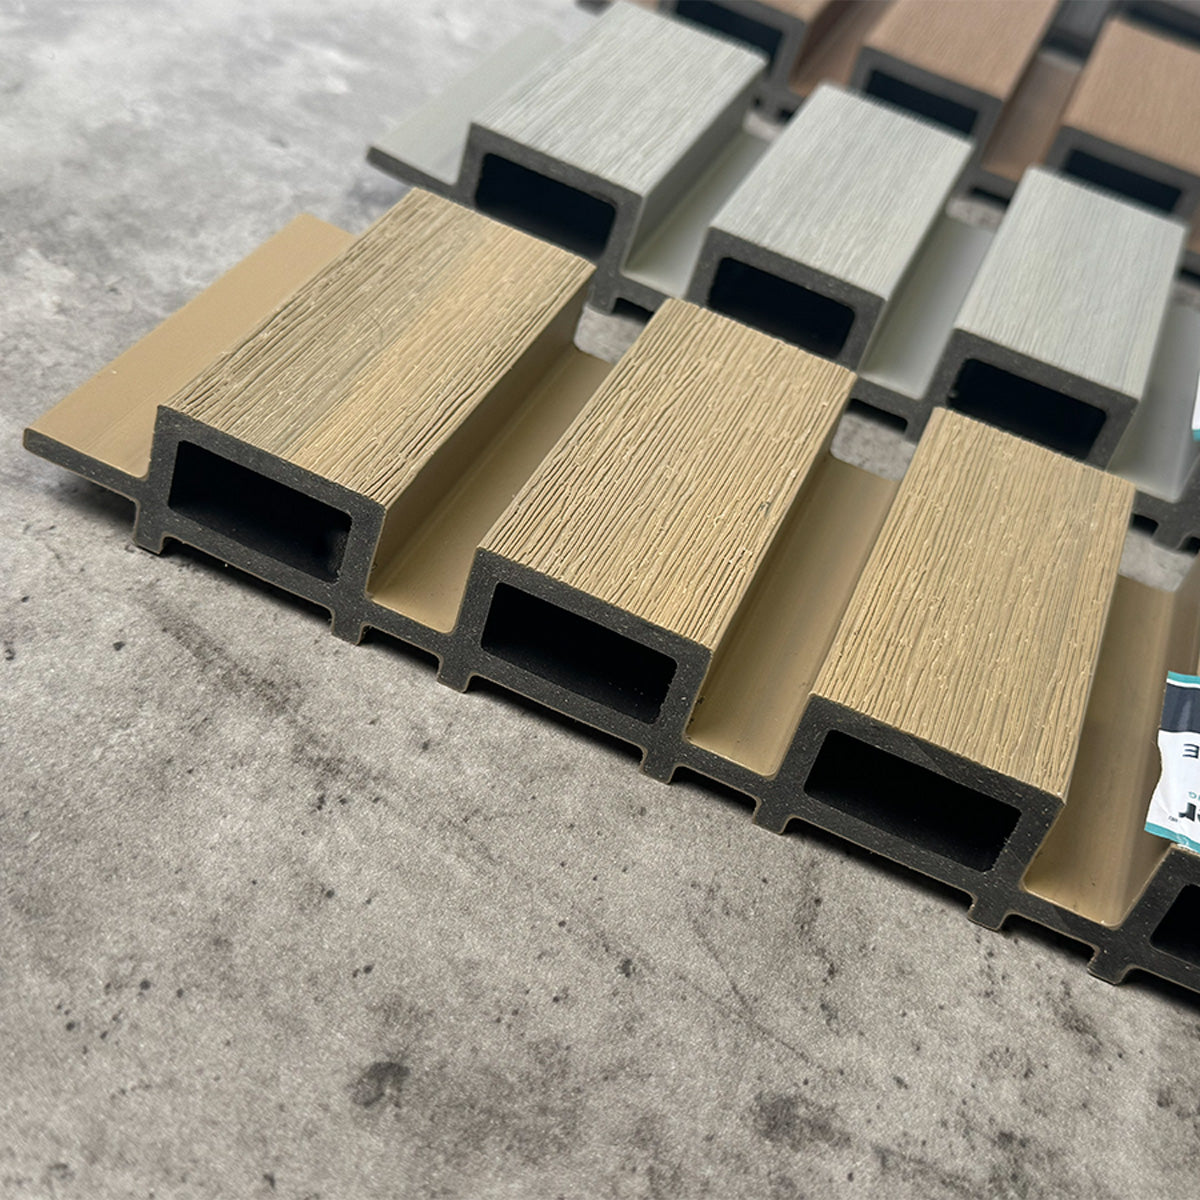
Subframe Options:
Our decking system should not be installed without a framework in place. All deck boards must be installed directly onto a subframe of composite, plastic, timber or metal joists. Allow a minimum of 35mm space beneath the decking subframe to ensure adequate airflow beneath the structure.

Temperature Considerations:
Composite decking naturally contracts and expands in varying temperatures. Our FastClip installation system allows for adequate side-to-side spacing to manage these effects. However, it is advised that suitable gaps should be maintained at end-to-end joins as outlined in illustration and table below.

Temperature Guidance Table
| Outside Temperature | End-To-End Gap |
| Below 4°C | 6 mm |
| Between 4°C – 25°C | 3 mm |
| 26°C or over | 1 mm |
Taking Wastage Allowance Into Account
We recommend that you allow for a 5-10% wastage allowance. A 15% allowance is advised when laying boards in a diagonal pattern or angled orientation.