Let’s talk about laying composite decking the right way, with NeoTimber’s installation user-guide.
Decking projects come in all shapes and sizes and there is very rarely a “one size fits all” solution to your decking requirements. Laying composite decking can therefore sometimes feel like an uphill battle, but we want to assure you that decking installation really doesn’t need to be so complicated.
In fact, there are only a few key principles you need to stick by in order to achieve a deck that is professionally installed and will ensure you get full use out of your NeoTimber® composite decking material.
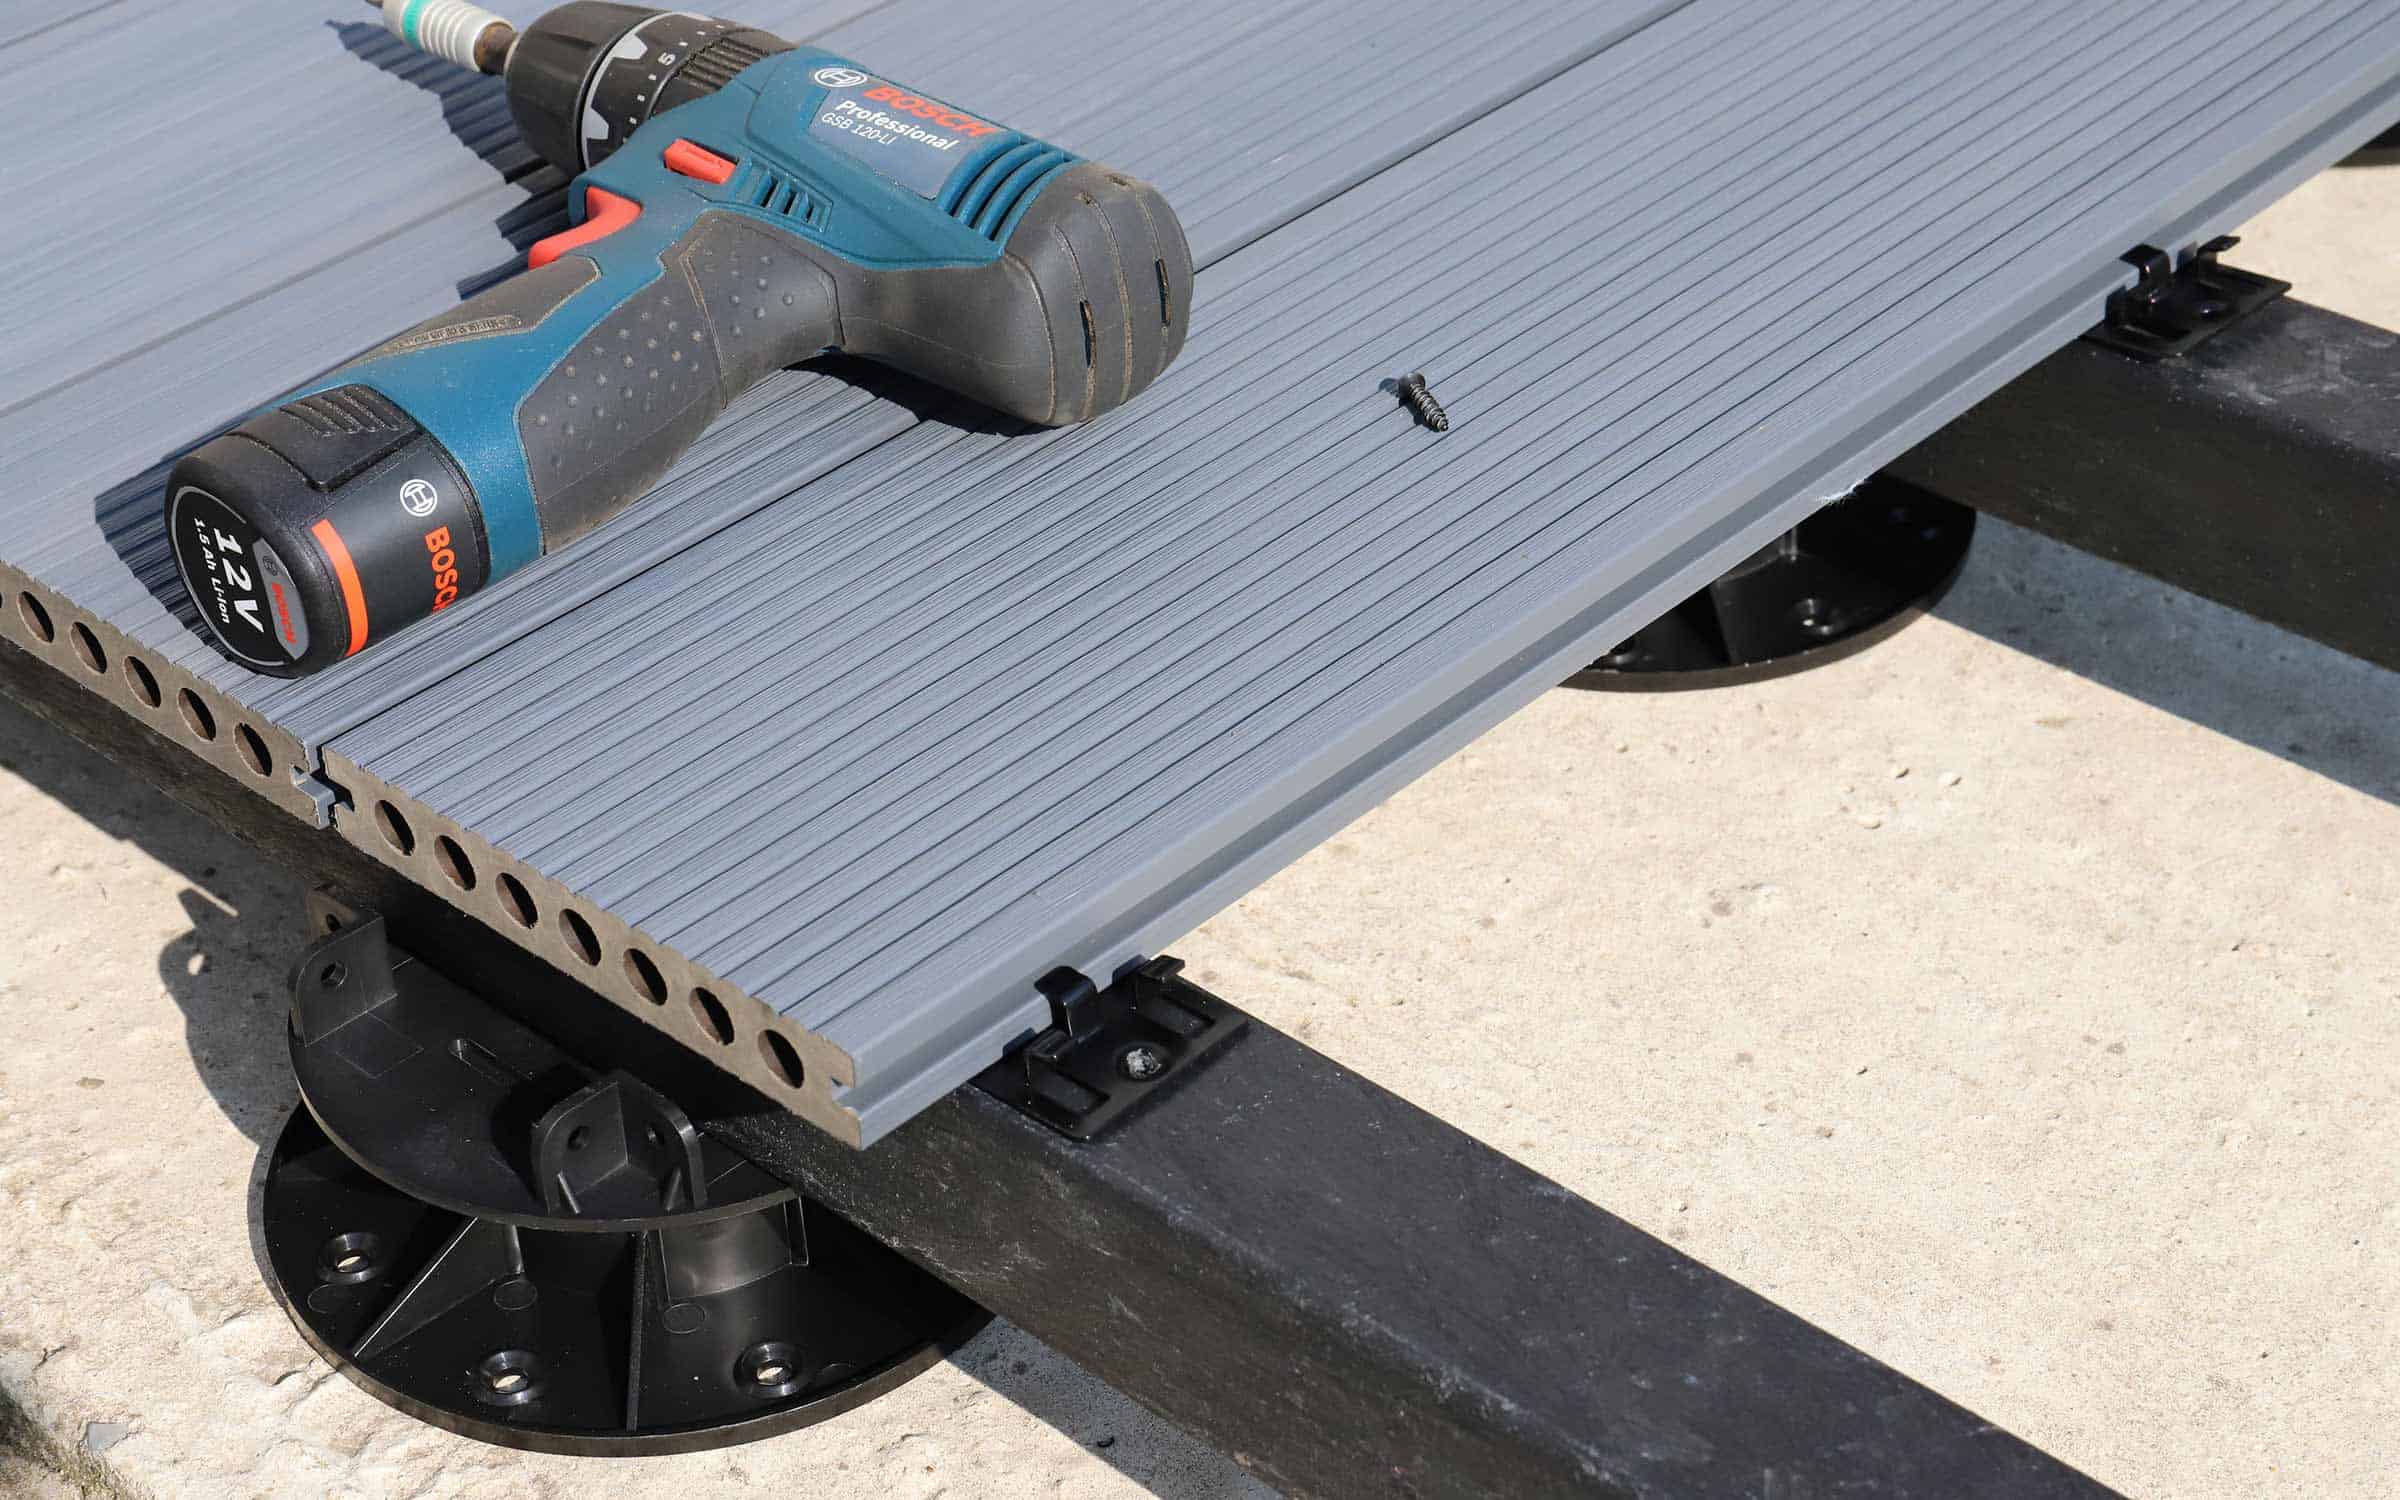
Our definitive guide to laying composite decking is a foolproof user-guide designed to provide you with all the tips, considerations and guidelines you will require to tackle your next composite decking install with ease.
The guide will cover all elements from your subframe, to fixing the boards, through to applying the finishing touches with edging options. We hope this guide will be your first port of call when you want an introduction on how to lay composite decking, the NeoTimber® way.
Composite Decking Subframe Considerations
The old saying goes that the foolish man builds his house on sand and this analogy rings true when approaching composite decking subframe builds. A strong, well-planned subframe is the cornerstone of any good decking project.
Trust us, we have seen our fair share of subframe horror shows in the past to know that certain elements must be considered when creating your decking subframe.
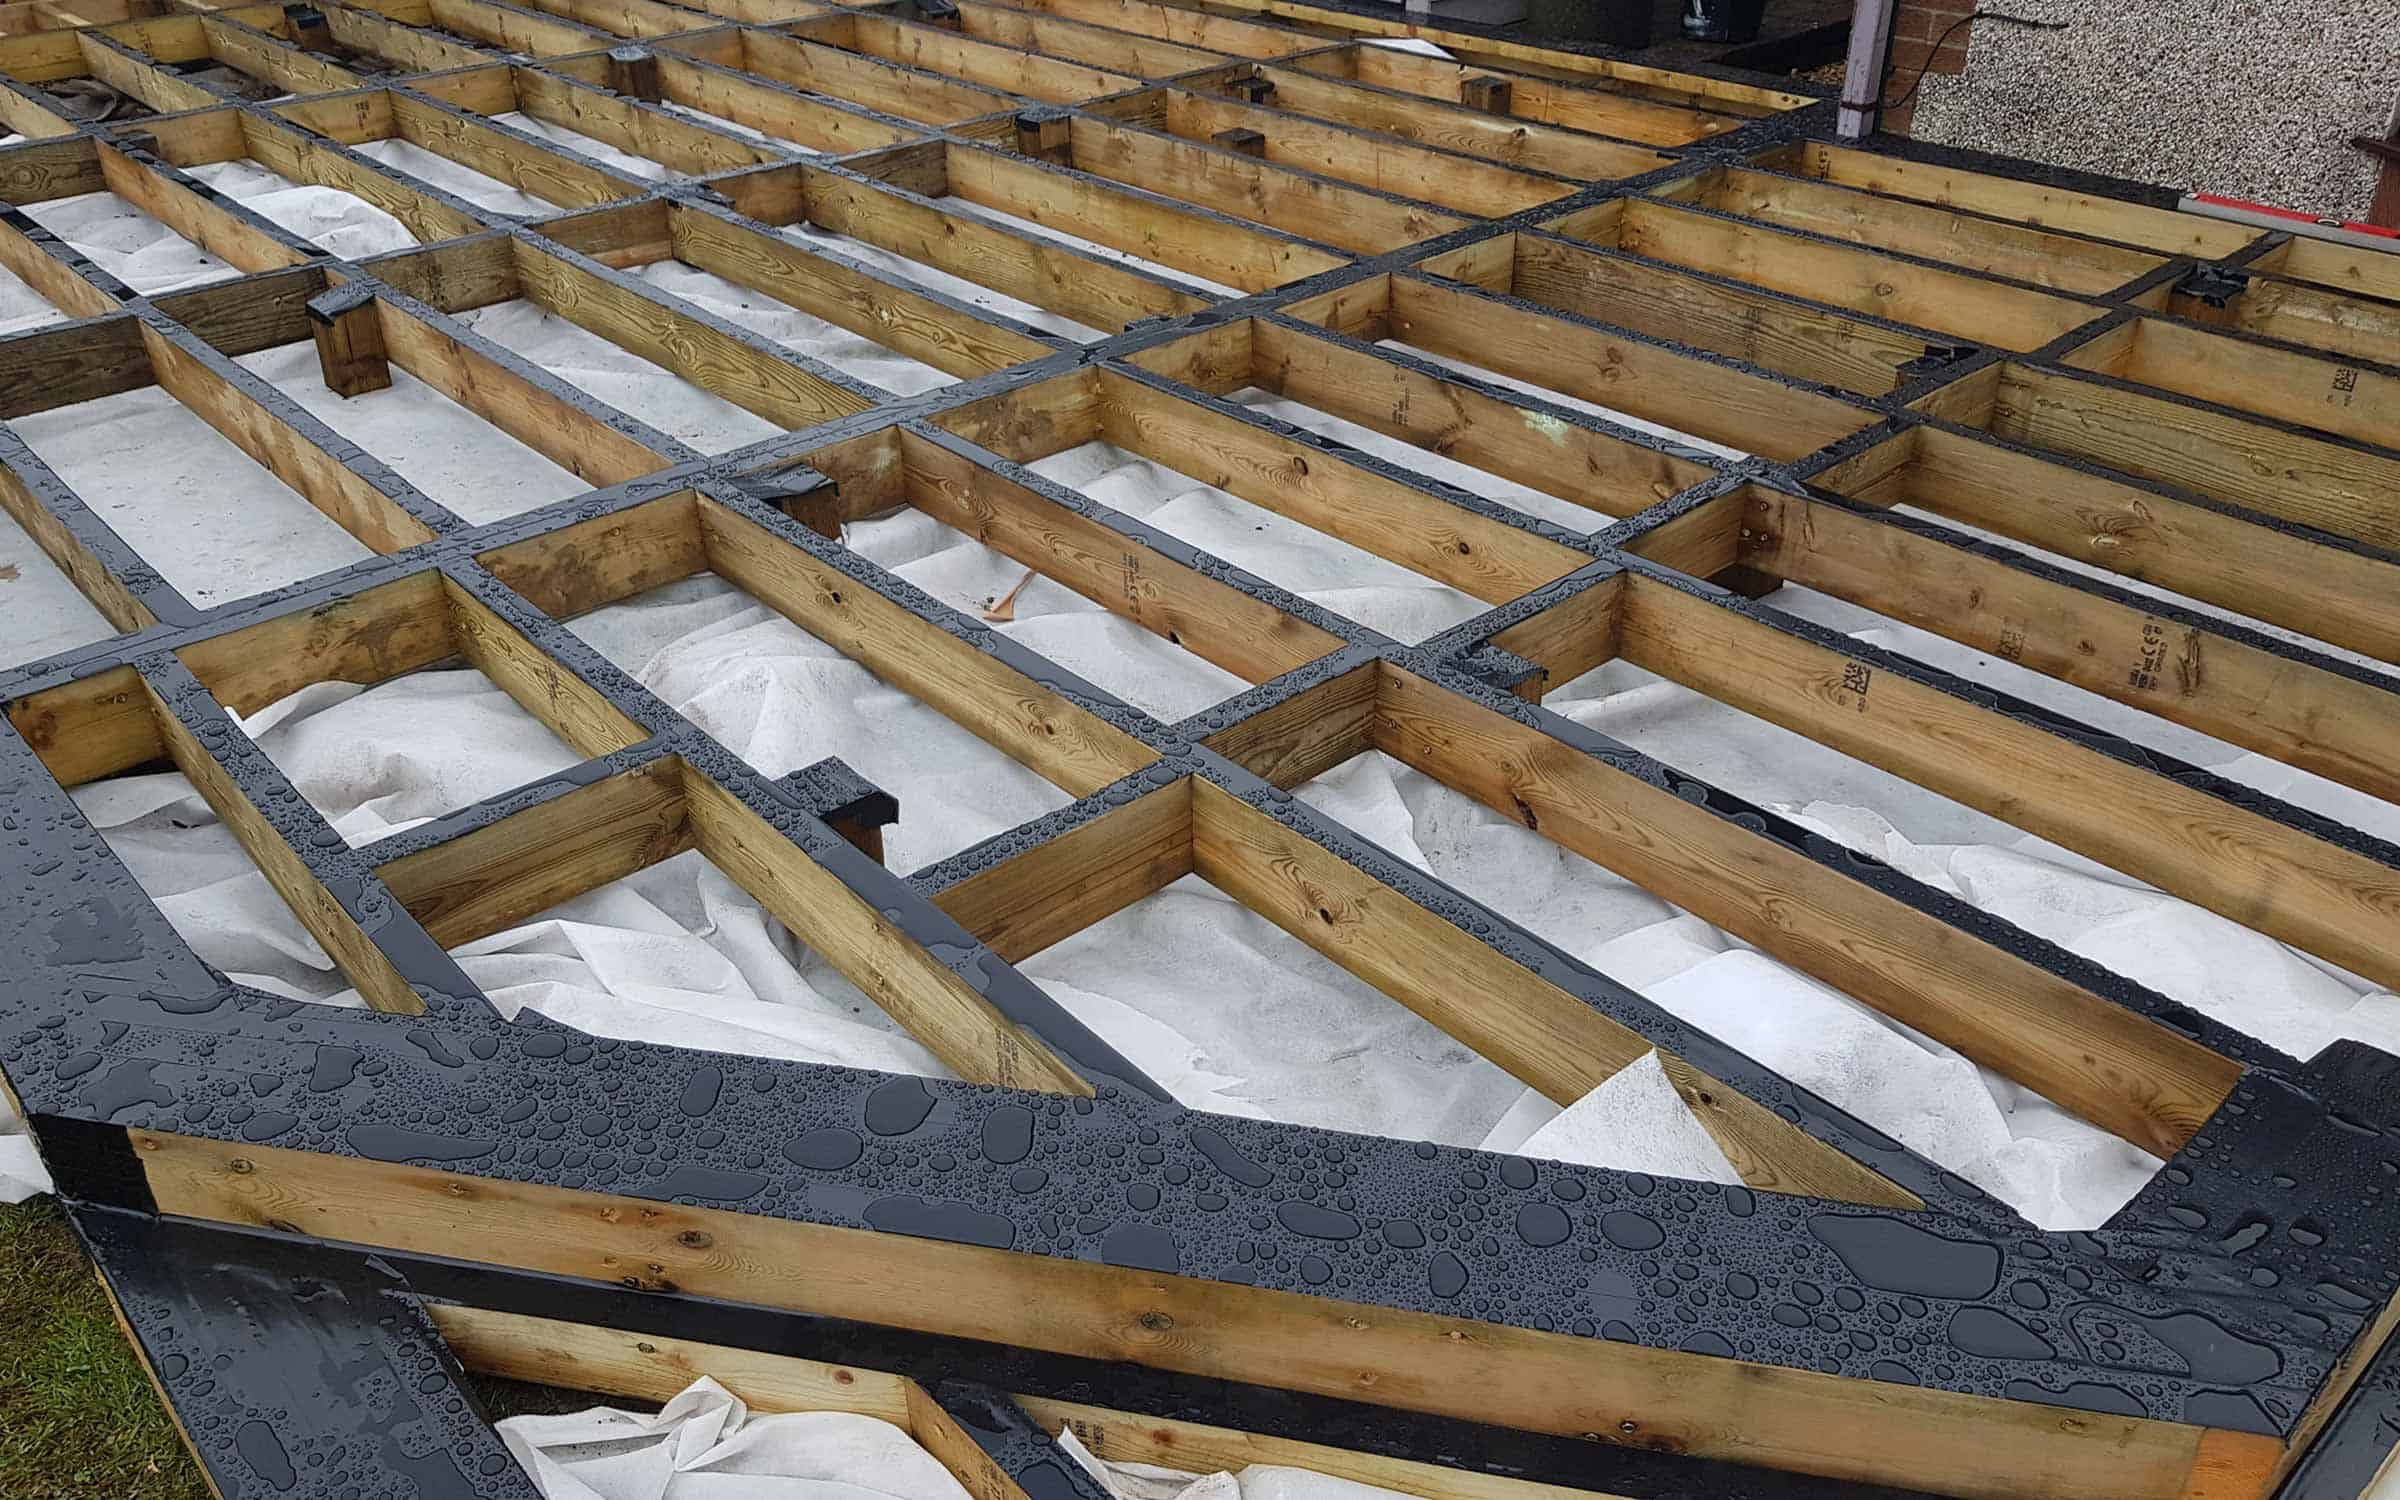
As we alluded to earlier in the article, there is no hard and fast way to lay the ideal composite decking subframe… they come in all shapes and sizes, environments, and designs.
Below, we have highlighted some of the key composite decking subframe considerations for you to take into your next build…
Opting For The Correct Subframe Material For Your Space
There are a series of different materials you can consider when choosing the subframe for your decking space and the material you choose won’t necessarily impact your warranty. While timber remains a widely used building material for subframes, alternative materials such as metal (both steel and aluminium), recycled plastic, and composite are being widely adopted as a result of their long-life properties.
While all of these materials outlined are suitable to be installed hand-in-hand with our NeoTimber® composite decking, it does very much depend on the space, your budget, and how long you wish the deck frame to last.
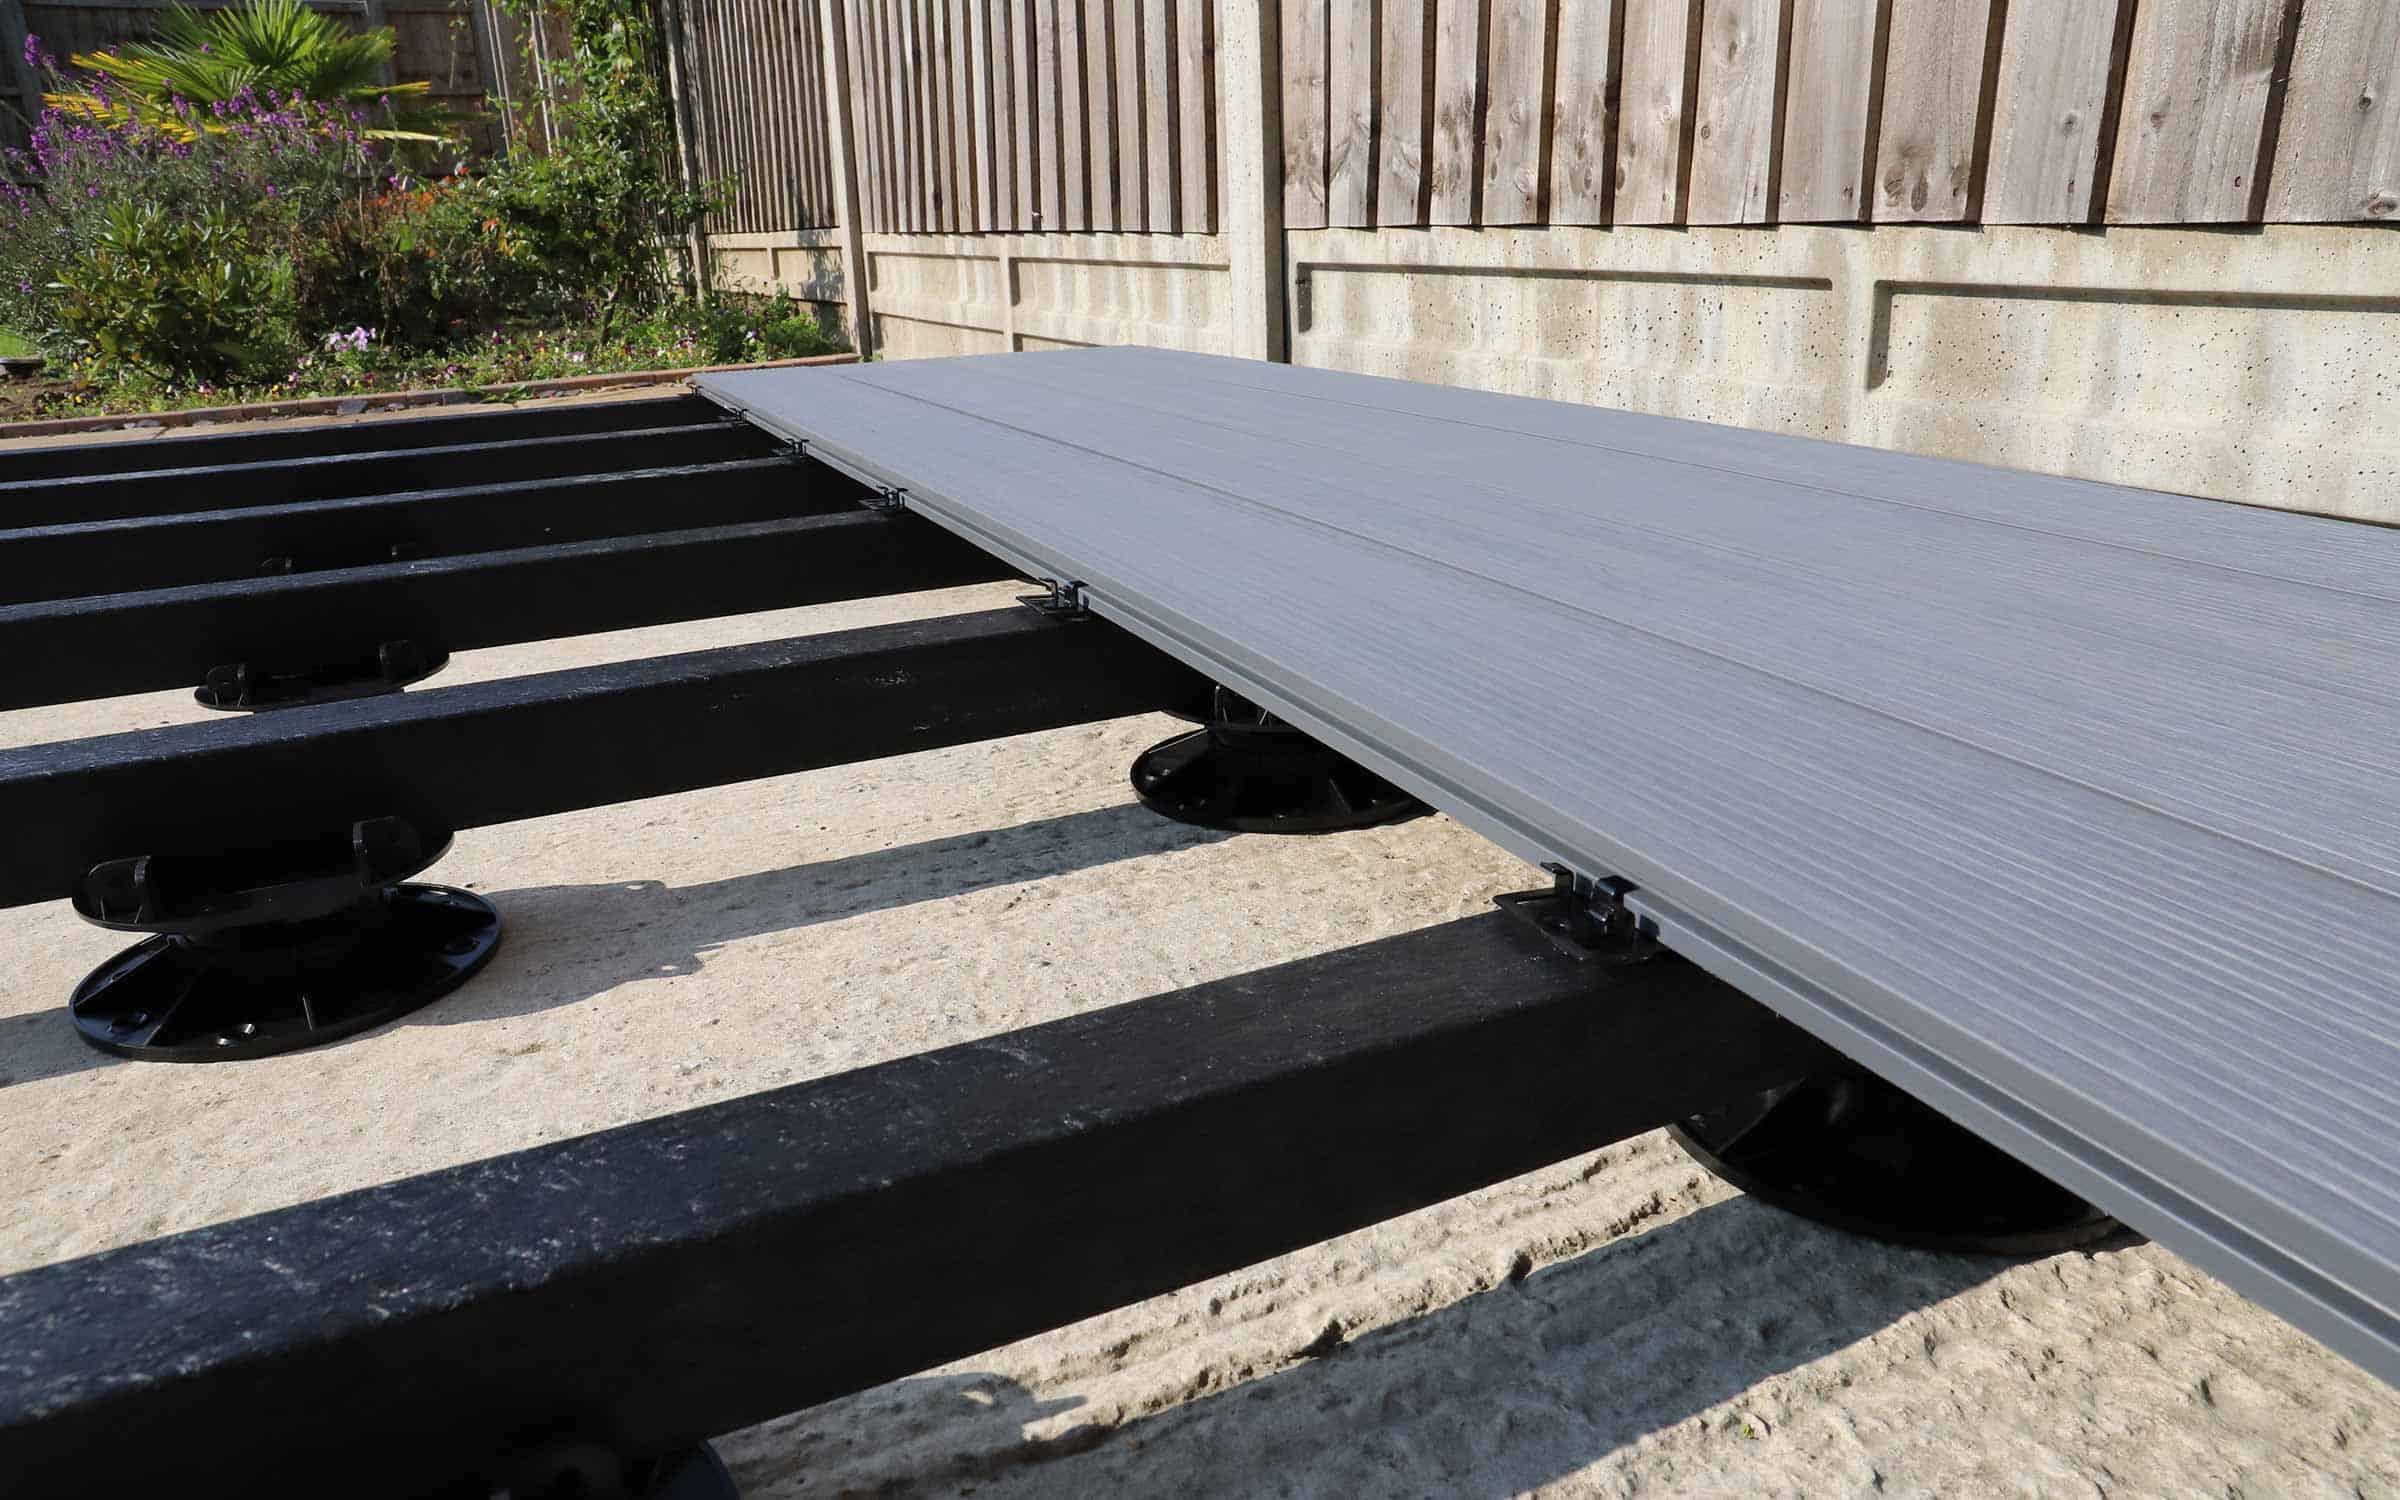
Most commonly used, pressure-treated timber tends to be the go-to material for most projects and we can understand why: it is a flexible material, affordable, and is widely available. It is, however, not without its pitfalls and we often argue that it is slightly counter-intuitive to lay a long-life composite decking board onto a subframe that, in almost all cases, will rot and its strength degrade over time.
NeoTimber® offers a range of recycled plastic & composite subframe options, such as our plastic lumber range and our adjustable pedestal system.
NeoTimber’s Core Subframe Installation Principles
No matter the subframe material you opt for, there are some key elements of installation that we recommend you consider when laying your subframe. We outline the key elements below:
1) – Allow For Adequate Ventilation
When designing and installing your decking subframe, allowing for adequate ventilation is a must. Unobstructed airflow underneath the deck will ensure the expansion and contraction rate of the composite deck boards remains even at all times.
This also impacts the amount of moisture that sits underneath the boards, too – which naturally you will want to minimise.
2) – Allow For The Correct Level Of Drainage
Incorporating a drainage slope with most outdoor flooring solutions is a must and composite decking is no exception. Allowing for a drainage slope of approximately 1% across your subframe allows for an ideal level of water run-off and will prevent pooling either on the surface of the deck or on the joist network below.
3) – Allow For Correct Joist Centres
Laying your joists at the correct centres is vital to ensure proper support for our NeoTimber® deck boards. Joist centres of anywhere between 250-350mm will guarantee support for the deck boards and will ensure you retain your all-important warranty.
4) – Accommodate For Any Additional Design Features
Designing your subframe to ensure you adequately support your decking design is vital. Below are some design elements to consider which will have an impact on how you lay and design your decking subframe:
Joining boards at butt joins: Where boards join at butt-ends, double joisting is required.
Incorporating a picture frame: Allowing for a double joist around the perimeter of the deck to support the picture-frame deck board is required.
Laying diagonal runs: Laying boards diagonally require narrow joist centres. Always stick to centres of 250mm when adopting this design.
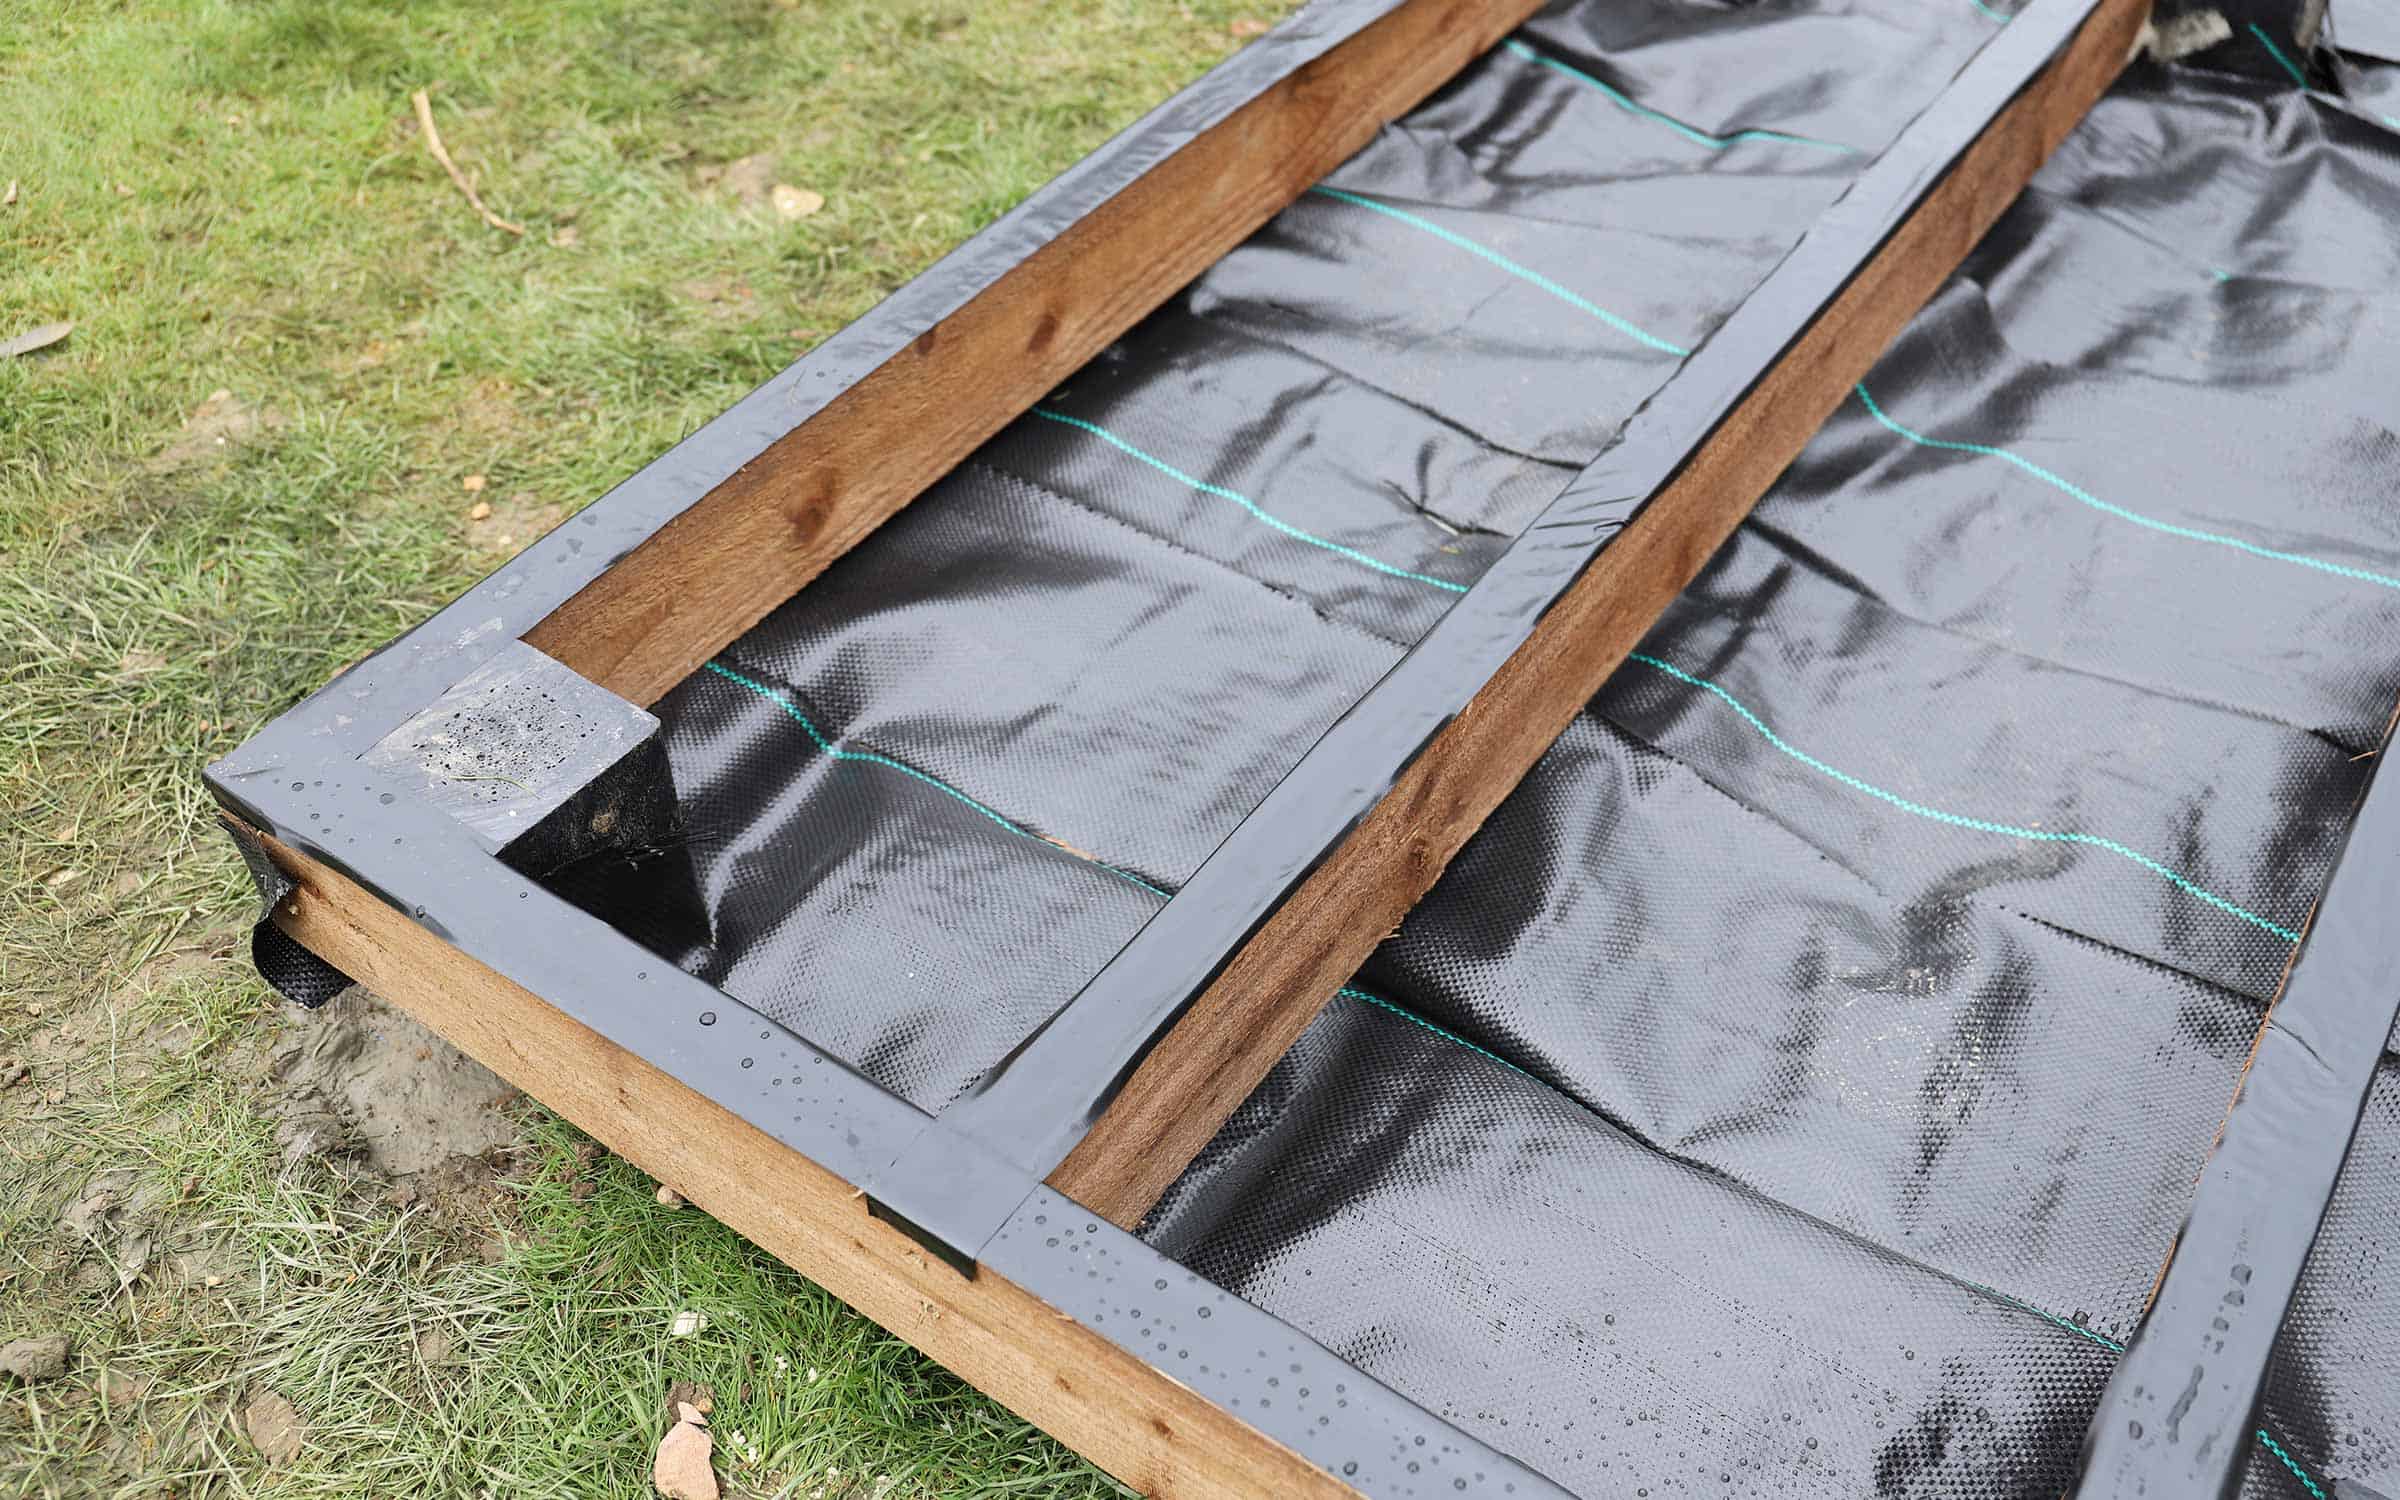
Laying Composite Decking
Once your subframe is in place, laying your composite boards is the next natural step. While some principles of installing composite decking and timber remain the same, there are some key elements that you need to follow when wanting to correctly lay composite decking.
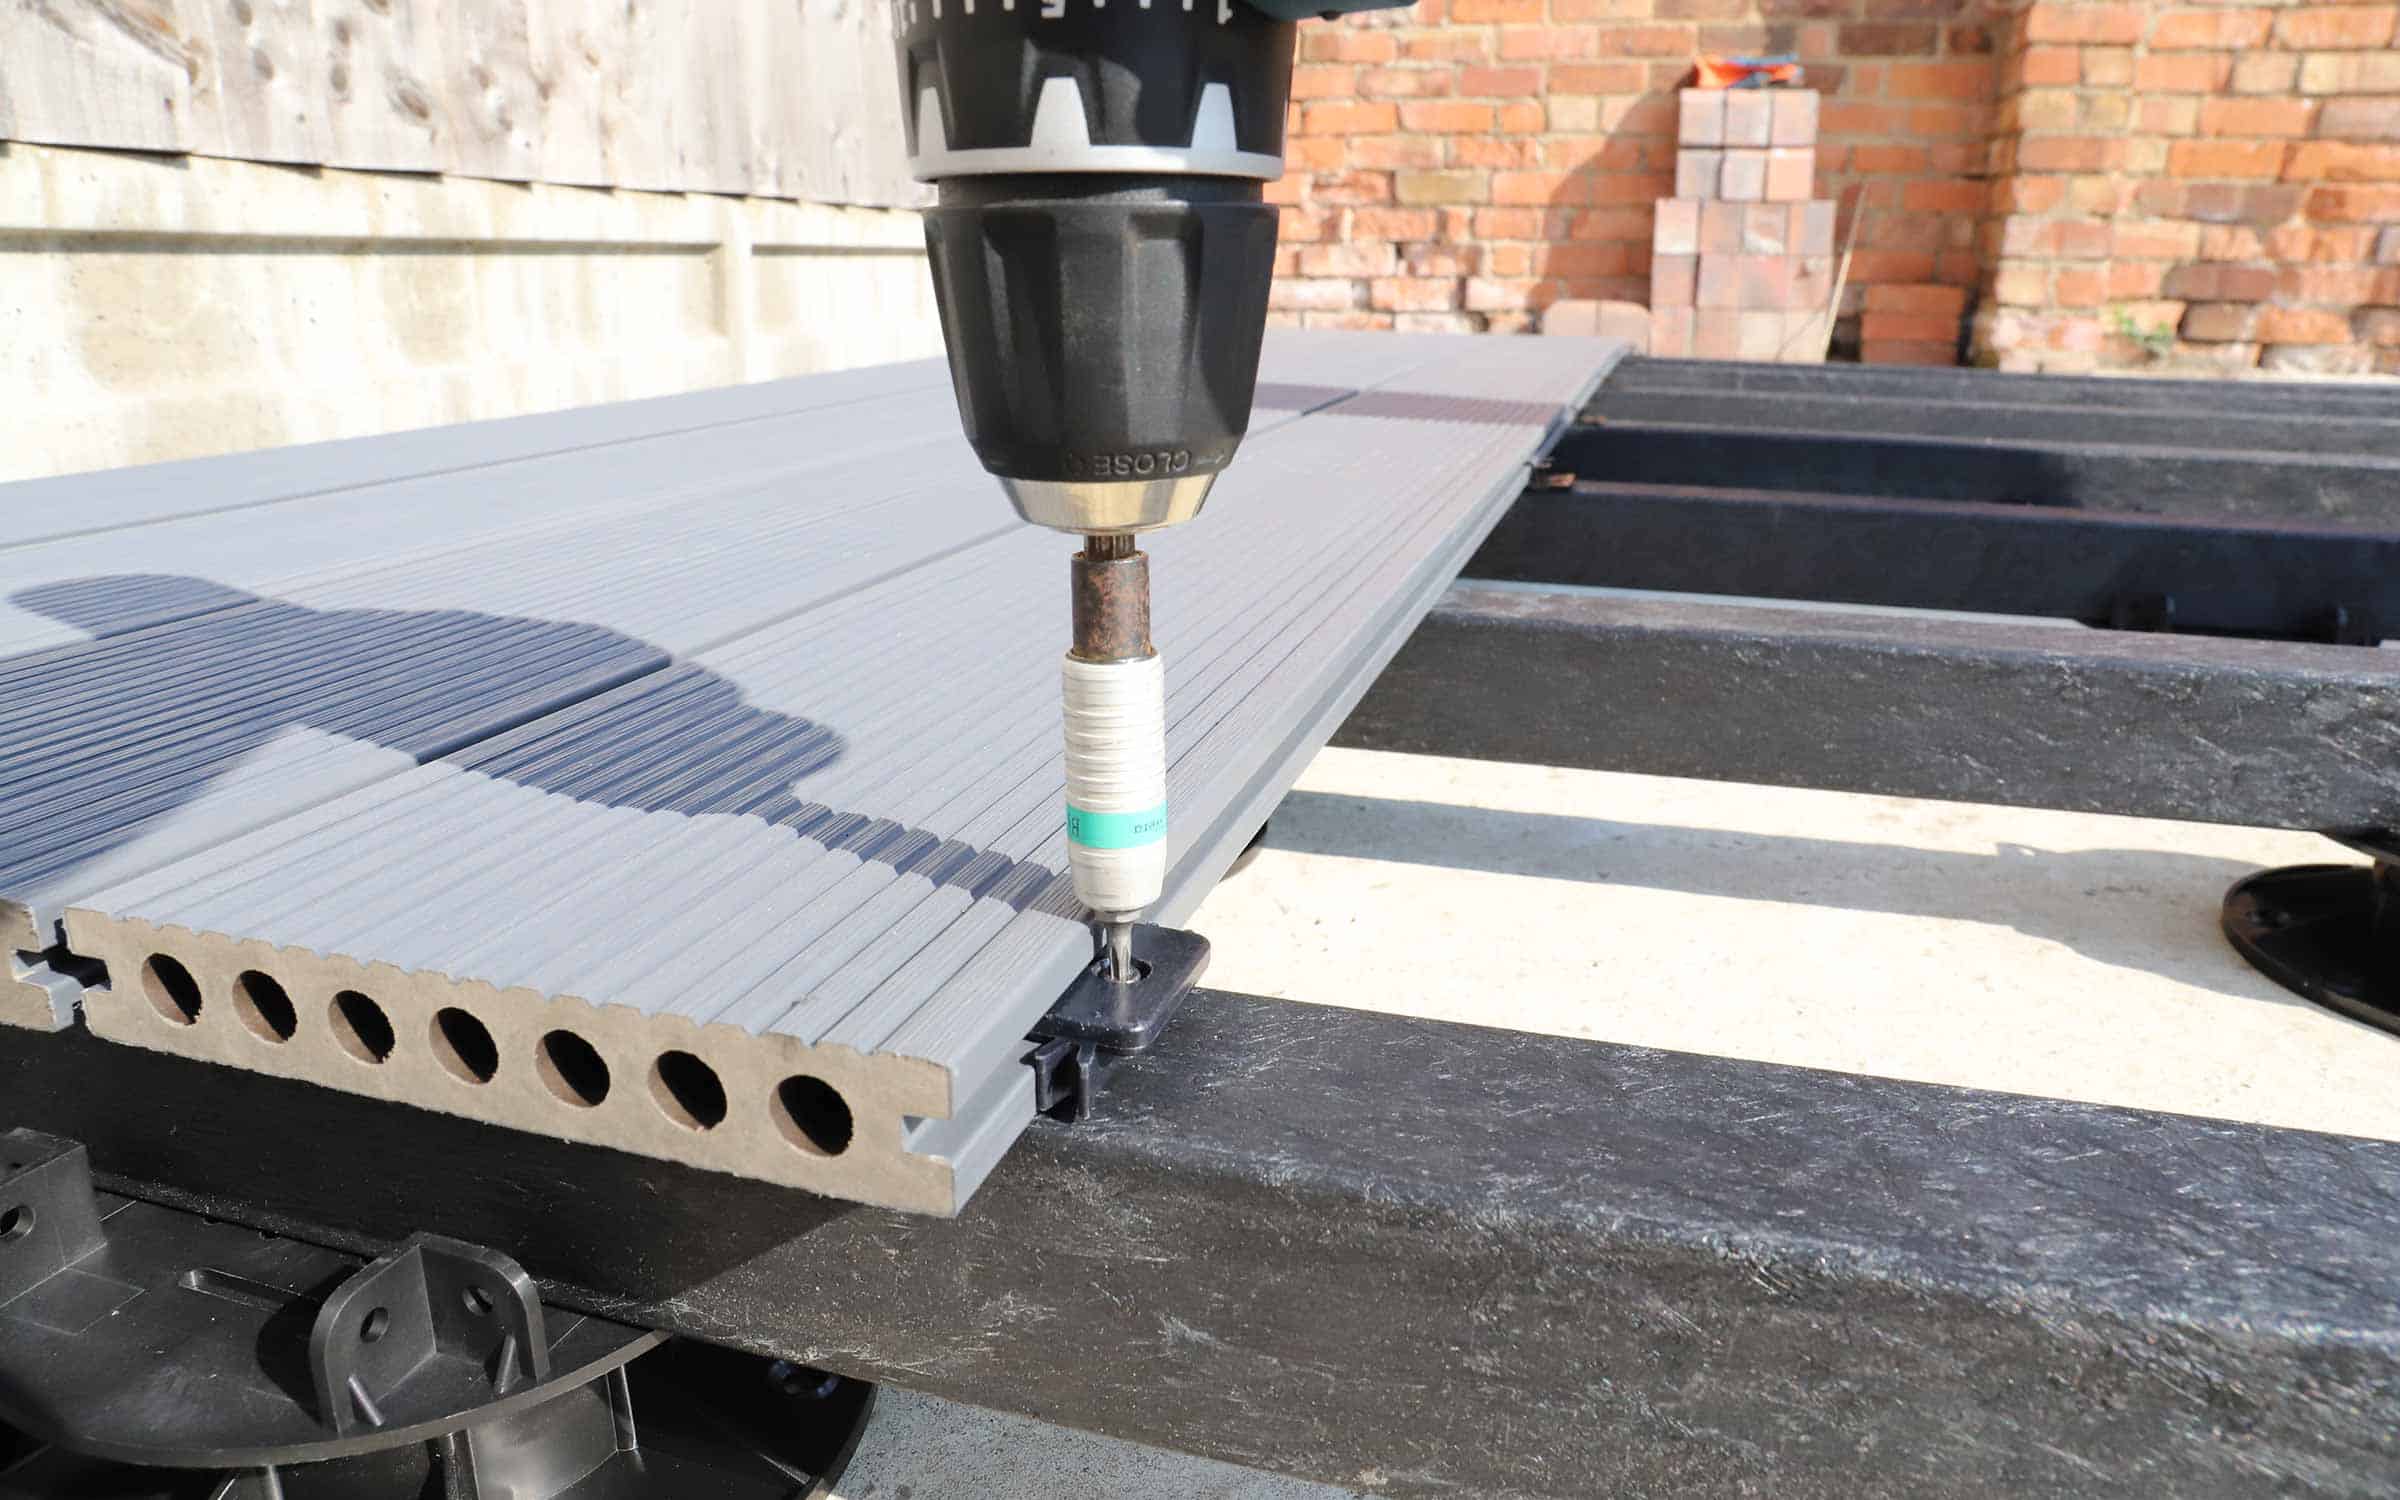
The key thing to note when installing composite boards is that the material will expand and contract. Unlike timber that expands and contracts with exposure to moisture, composite deck boards expand mainly as a result of temperature change.
Allowing for this expansion and contraction isn’t rocket-science though and we outline the two key elements you should stick to below:
Laying Composite Boards Using Purpose-Built Fixings
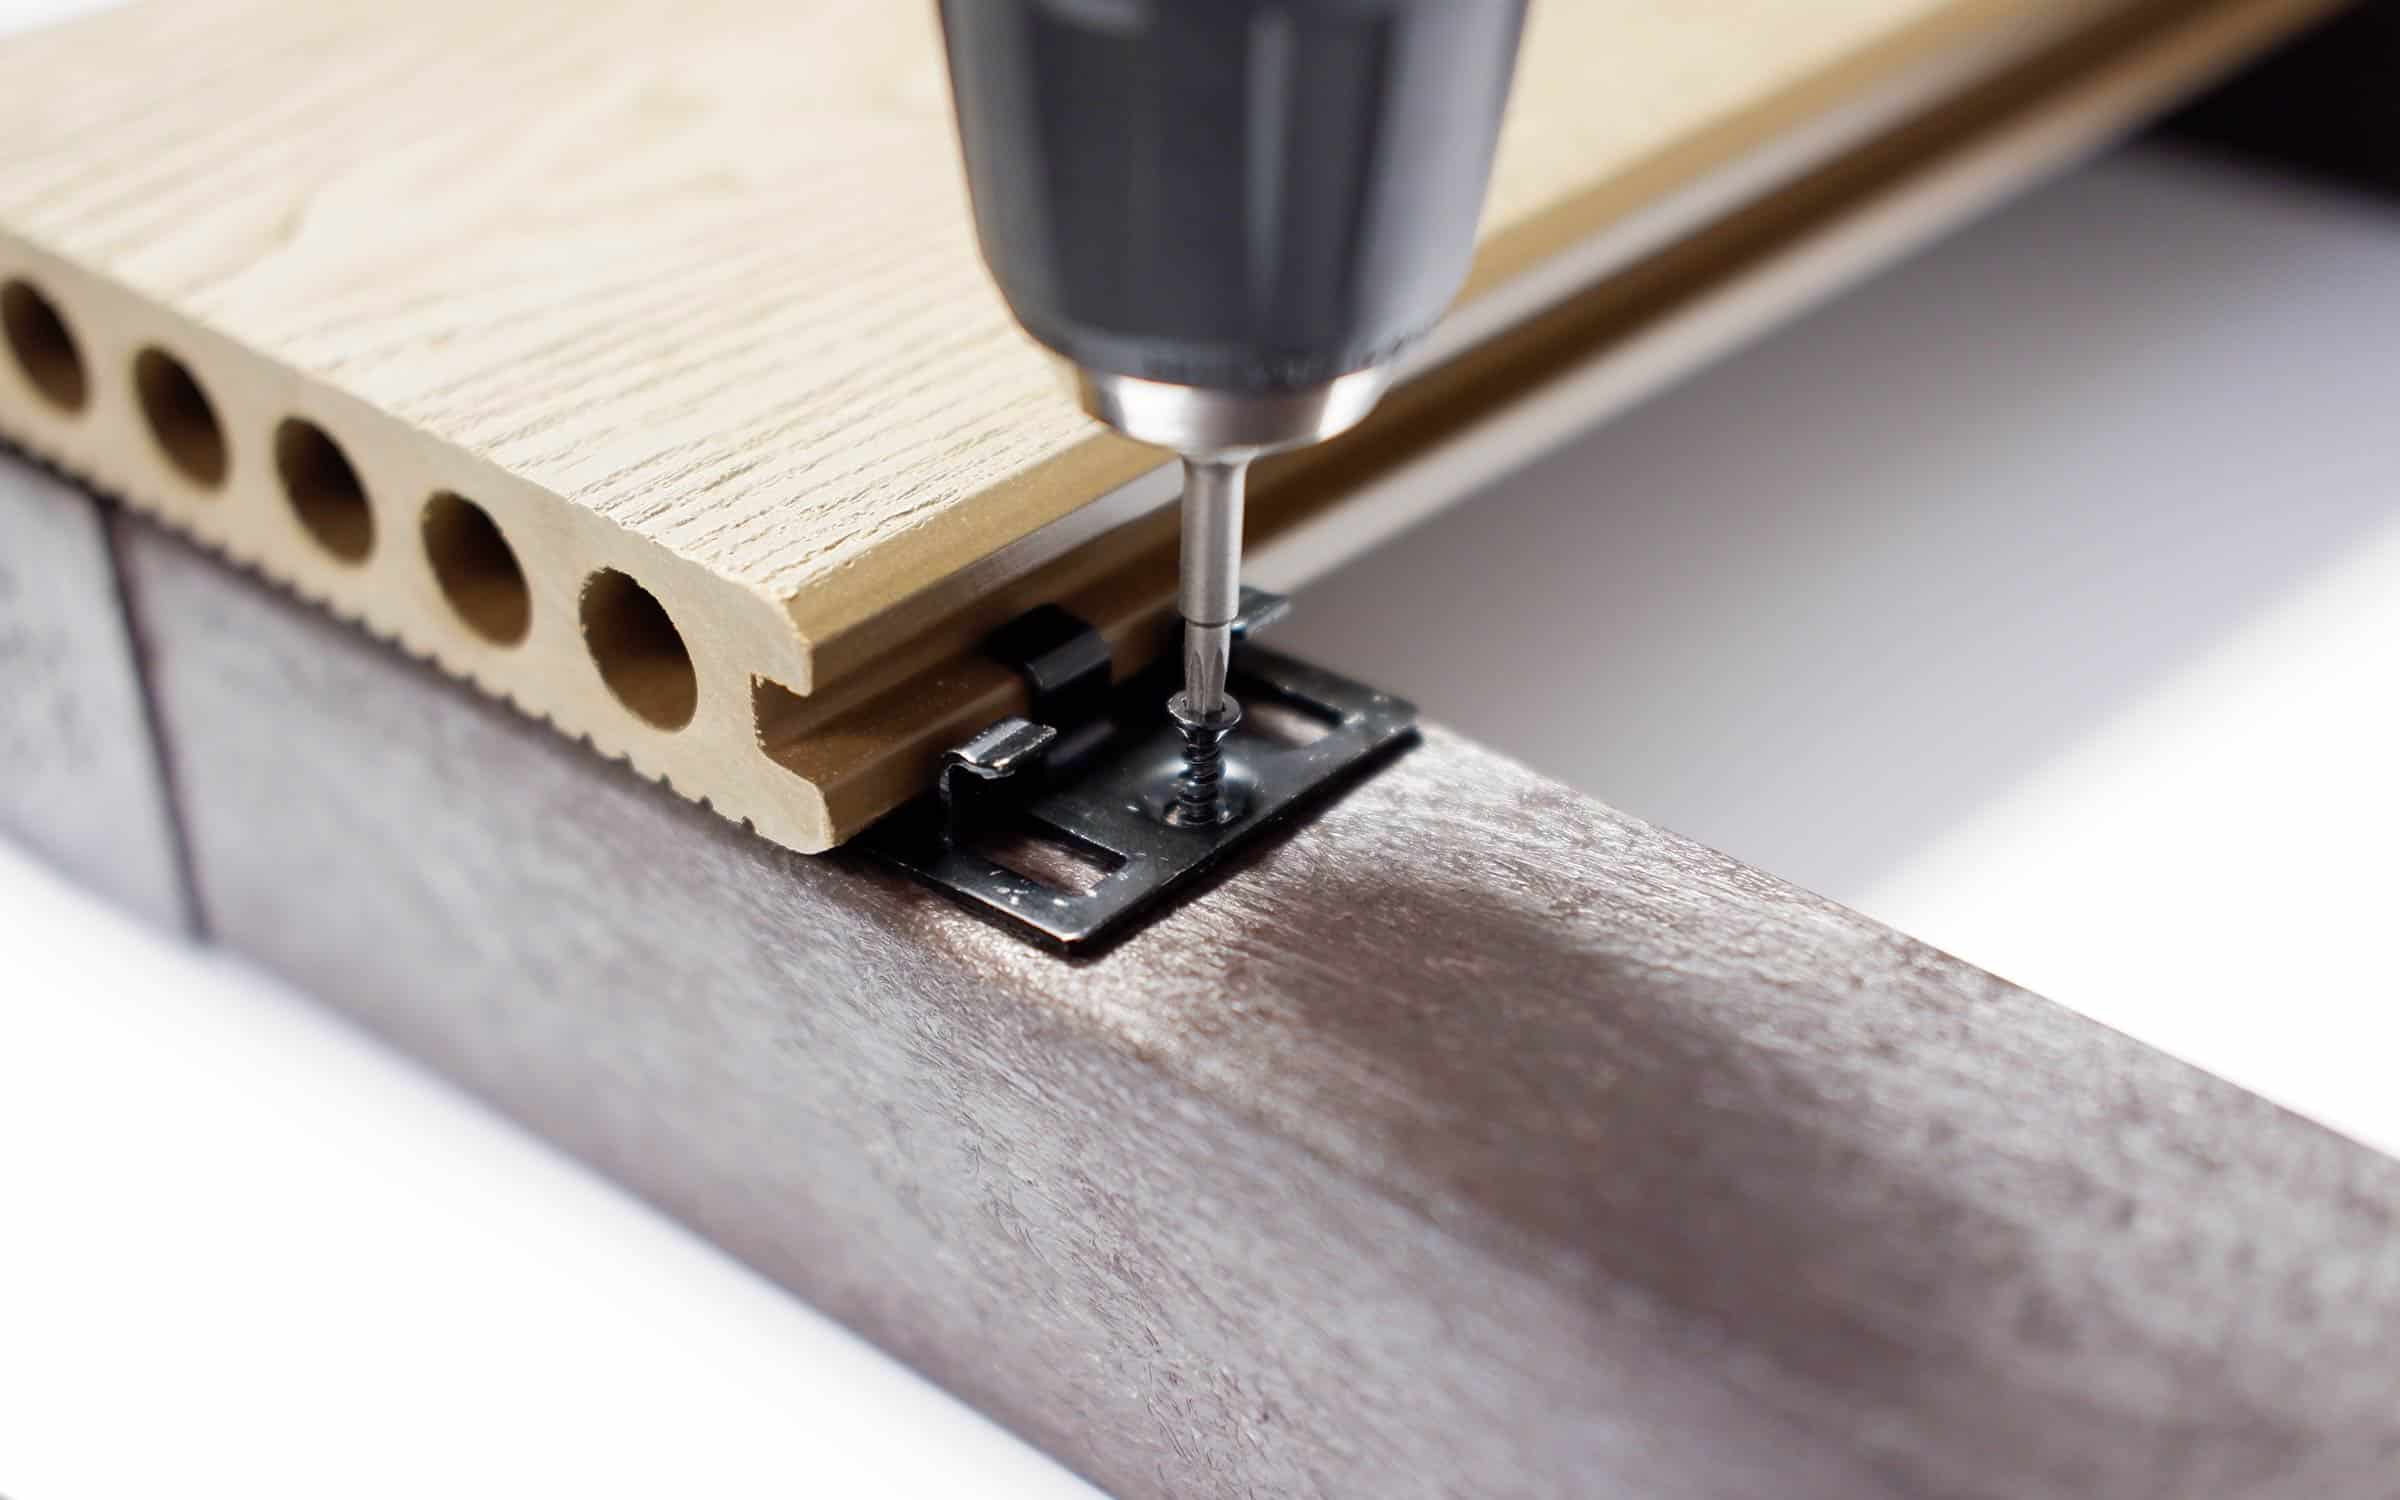
NeoTimber’s range of purpose-built fixings are designed to work in conjunction with our composite decking boards. Designed to allow a secure fixing, the clips create adequate expansion gaps from board-to-board, while providing a discreet finish.
Our purpose-built fixings are comprised of a Starter Clip, two types of FastClips, and a range of colour-coded decking and trim screws:
Starter Clip: Fixing your first run of boards securely and discreetly.
FastClips: Two differing clip types (3mm metal and 6mm plastic) that fix the majority of your decking boards to your frame and allow for adequate spacing between boards.
Decking Screws: Designed to fix your final run of boards. Fixed through either the face of the deck board or the grooved-channel.
Trim Screws: Designed to securely and discreetly fix our range of trim options.
Allowing For Expansion Gaps
Allowing for expansion gaps when laying composite decking is vital. While side-to-side expansion gaps are created with the purpose-built decking clips outlined above, it is important to allow correct expansion gaps at both the butt-ends of the boards and between perimeter boards and any surrounding fixtures – such as walls or fences.
Expansion gaps for boards at butt-joins: Allowing for an expansion gap of between 1-6mm is advised (this gap is dependent on the outside temperature).
Expansion gaps for perimeter boards: Allowing a gap of at least 8mm between the edge of your deck and a solid fixture is advised.
More guidance on expansion rates and the guidelines we recommend can be seen in the pre-installation guide here.
Installing NeoTimber’s Edging Options
Once you have laid your composite deck boards, the following step tends to involve fixing your edging solutions. Covering up the exposed edges of your deck can be achieved in numerous ways and we offer three different edging solutions to help you achieve a finished look to your deck.
An overview on how to fix these solutions is outlined below, but more step-by-step guides in fixings these solutions can be found in our installation resources section.
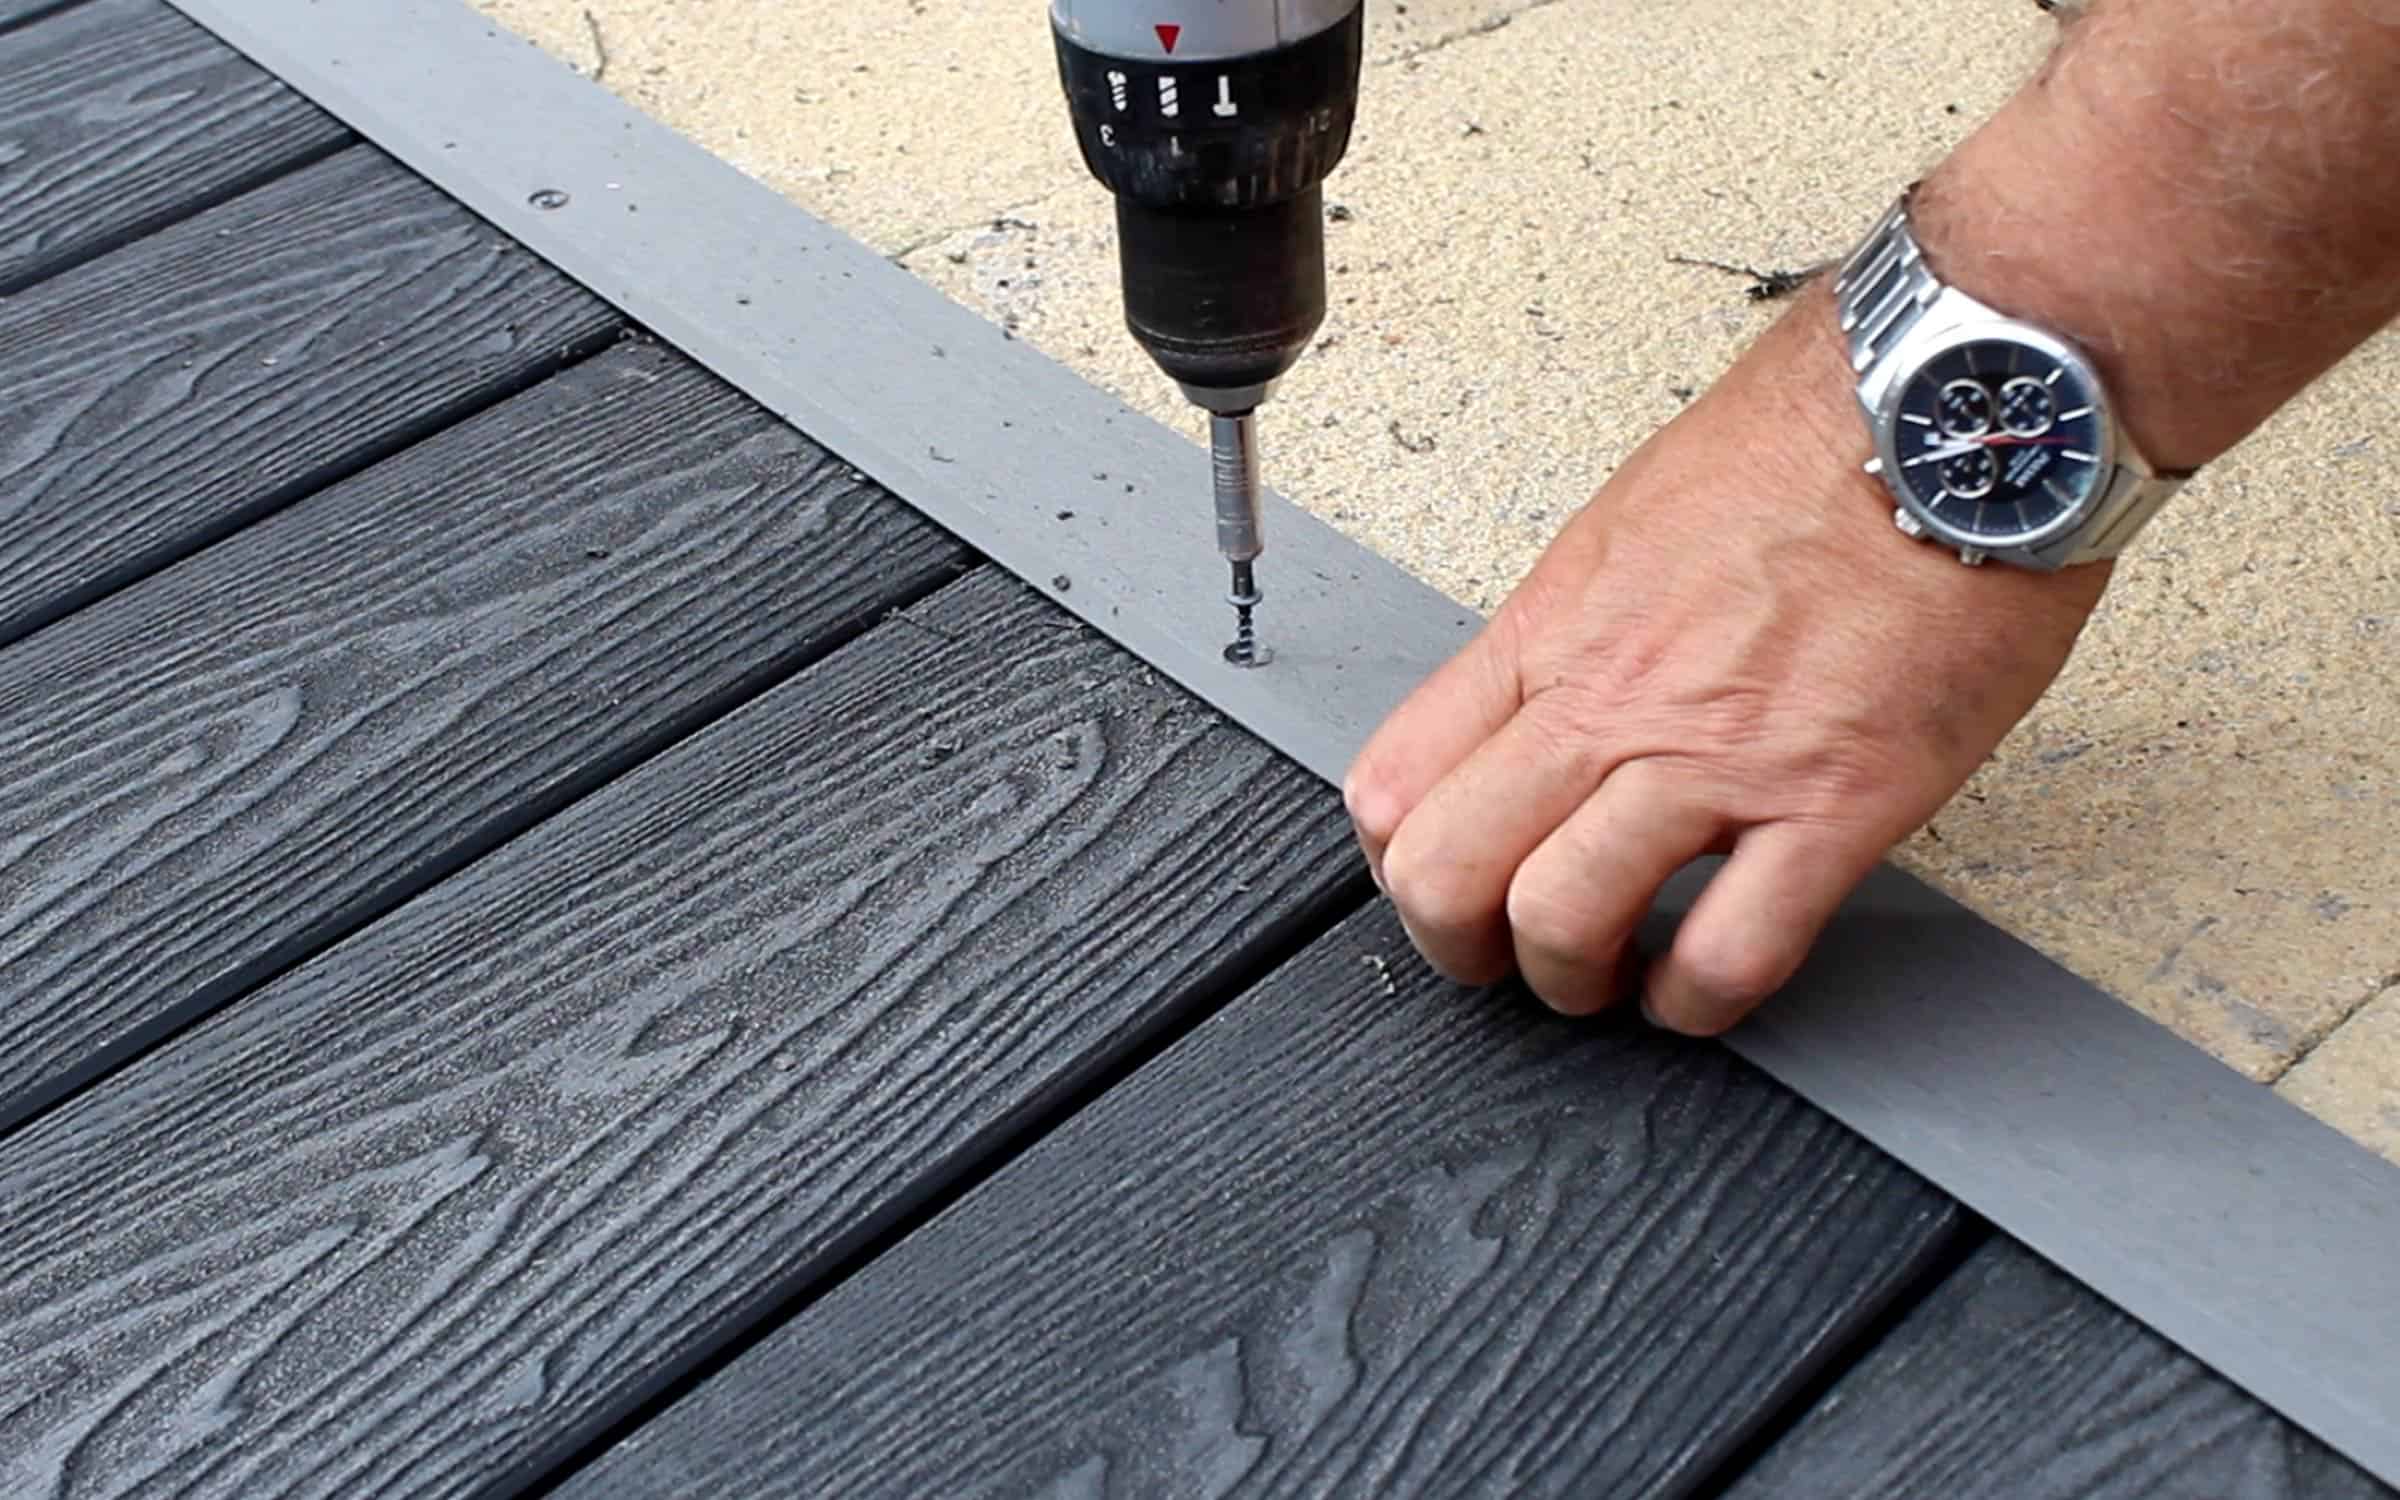
Skirting Trims: Using our coloured trim screws, this trim option can be fixed to either the edge of the deck board or the supporting subframe. Ensure the material is pre-drilled and counter-sunk prior to fixing. We do not advise using any type of glue or bond to fix this trim.
Corner Trims: Like the skirting trim, this is best secured with a trim screw. Fixing this trim option from the top into the surface of the deck is best advised. Ensure the material is pre-drilled and counter-sunk prior to fixing. We do not advise using any type of glue or bond to fix this trim.
Edge Board: There are different ways of fixings our edge board and this is normally dependent on the orientation at which you lay this product. The edge board can be fixed on the underside with a starter clip and then securely fixed on the opposite side with either a decking screw or a FastClip. When fixing the edge board with a decking screw, be sure to pre-drill the material.
While fixing your edging usually comes after the point that you have laid your composite deck boards, it is not always the case, especially for edge board installation. Consult our guide to installing a picture-frame for more information on this.
After More Help?
The above guide to laying our composite decking should give you an overview of what an installation will usually cover. However, as we alluded to at the beginning of the article, decking projects are diverse and more technical queries may be better suited by doing one of two things:
- Reaching out to our helpful sales team.
- Consulting our installation resources page.

Need Further Support or Advice?
If you’ve still got questions that have not been answered here, or you would like additional advice,
support or assistance then please give one of our friendly experts a call and we’ll be happy to help.
Just give us a call on 01530 382 180.
